Deploy Your Web Application to staging and production with Elastic Beanstalk, AWS CDK, CloudFront, and Circleci pipelines
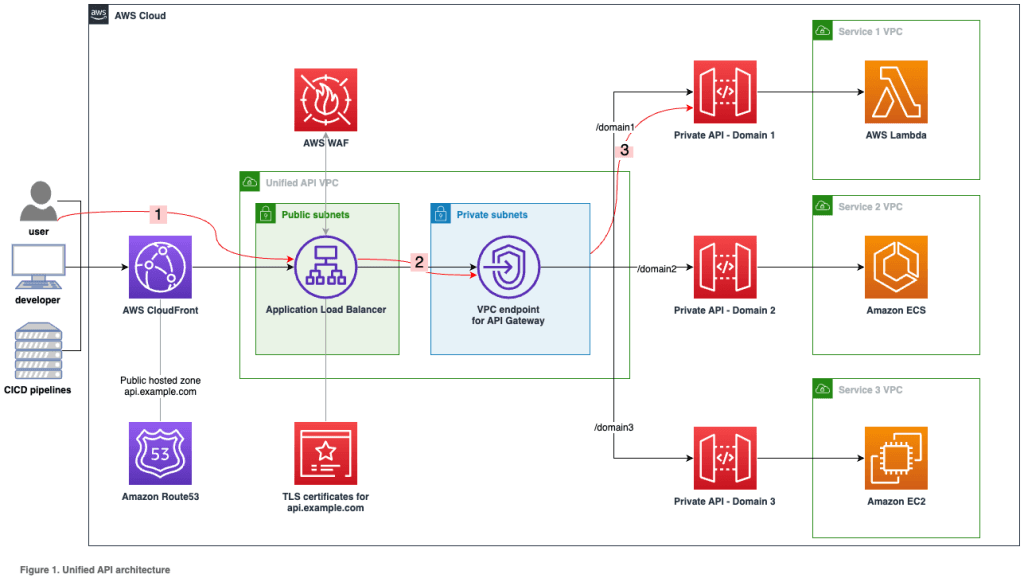
In this guide, I cover the following key aspects Elastic Beanstalk- Load balancers- EC2- Relational Database Service (RDS)- Route 53- CloudFront- Virtual Private Cloud (VPC)- Security Groups- SSL/TLS Certificate Manager - Secrets Manager- S3 Buckets- Namecheap Integration- NextJS/ReactJS CloudFront deployment- Papertrail monitoring & logging- CircleCI pipelines- Staging and Production Environments
- Deploy your web application by creating an Elastic Beanstalk environment and configuring its settings.
- Set up an RDS instance to host your application’s relational database with the desired engine and security settings.
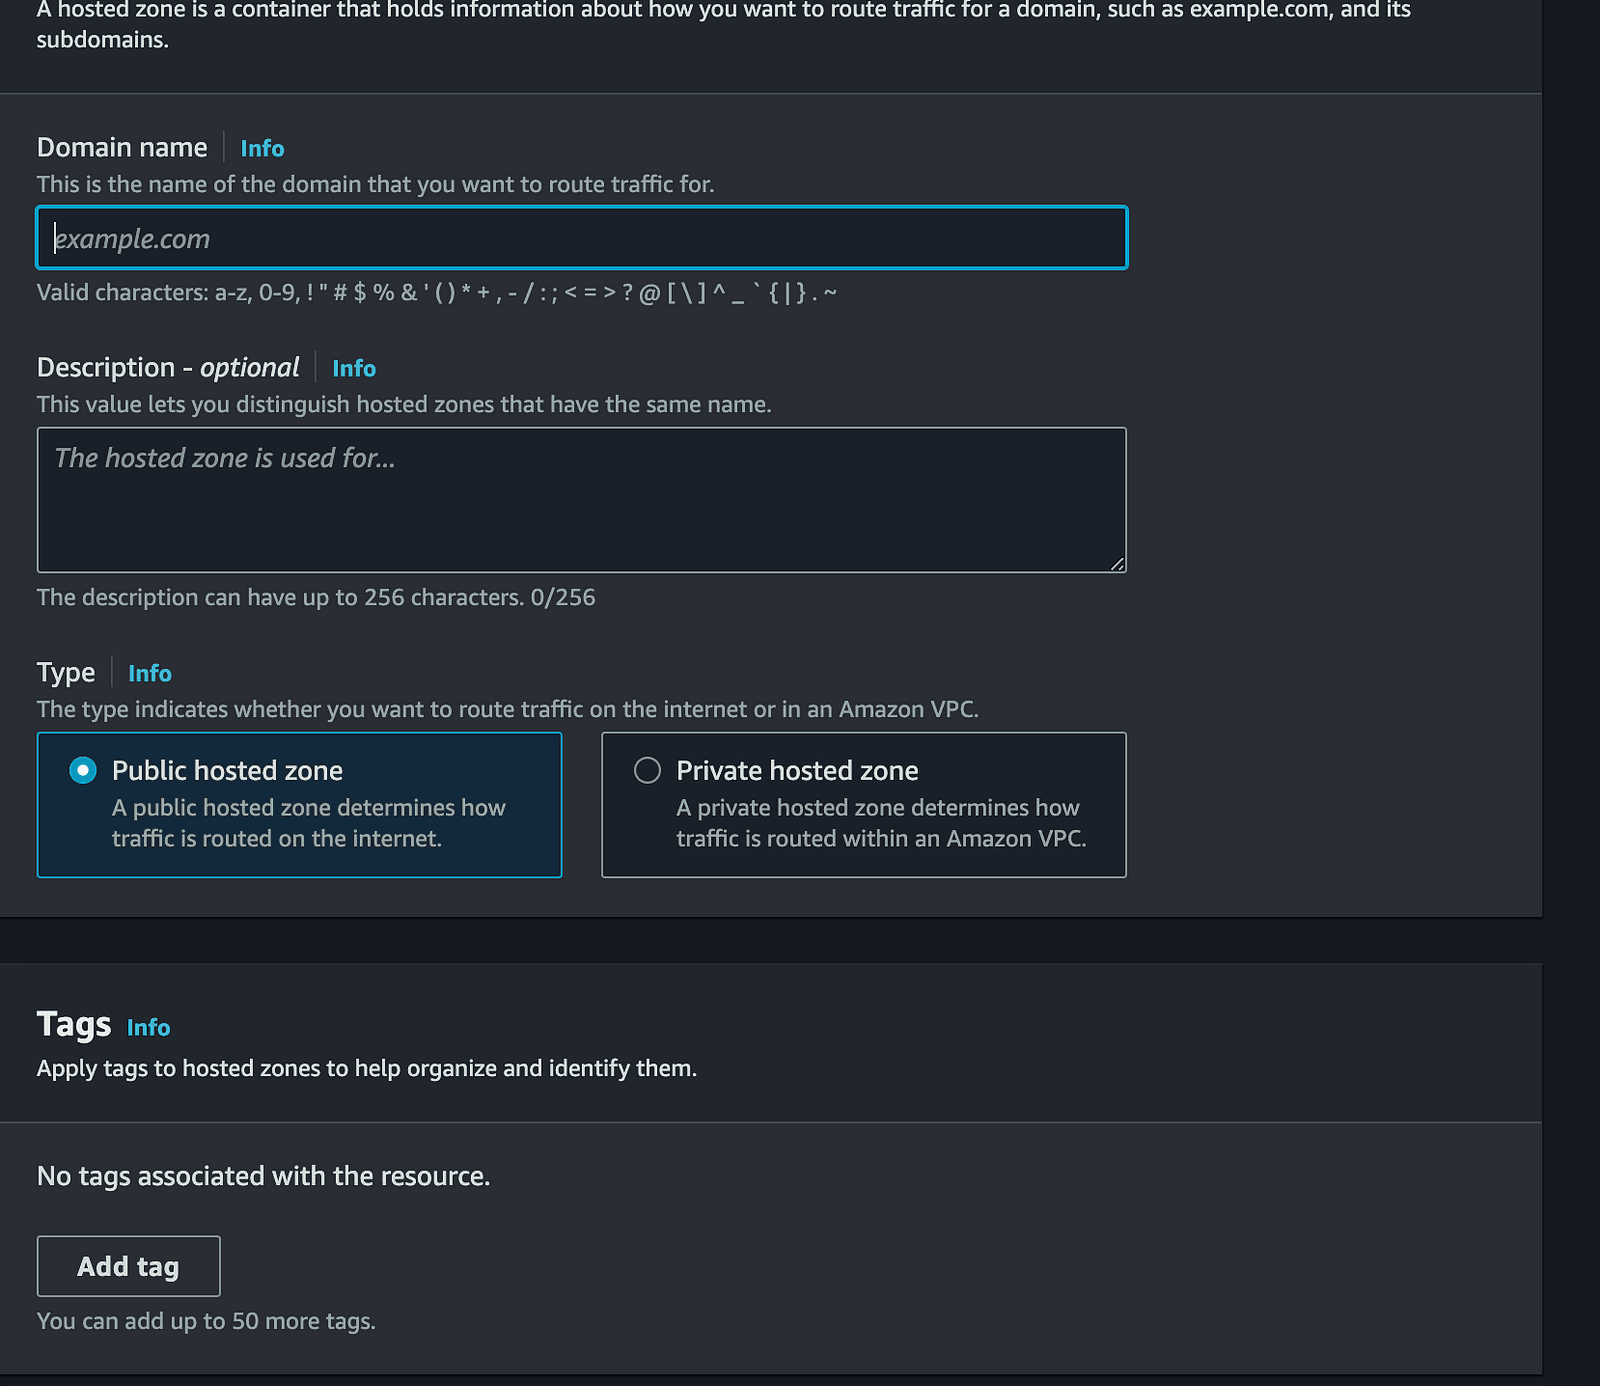
- Manage your domain’s DNS records and hosted zones on Route 53 for efficient domain resolution.
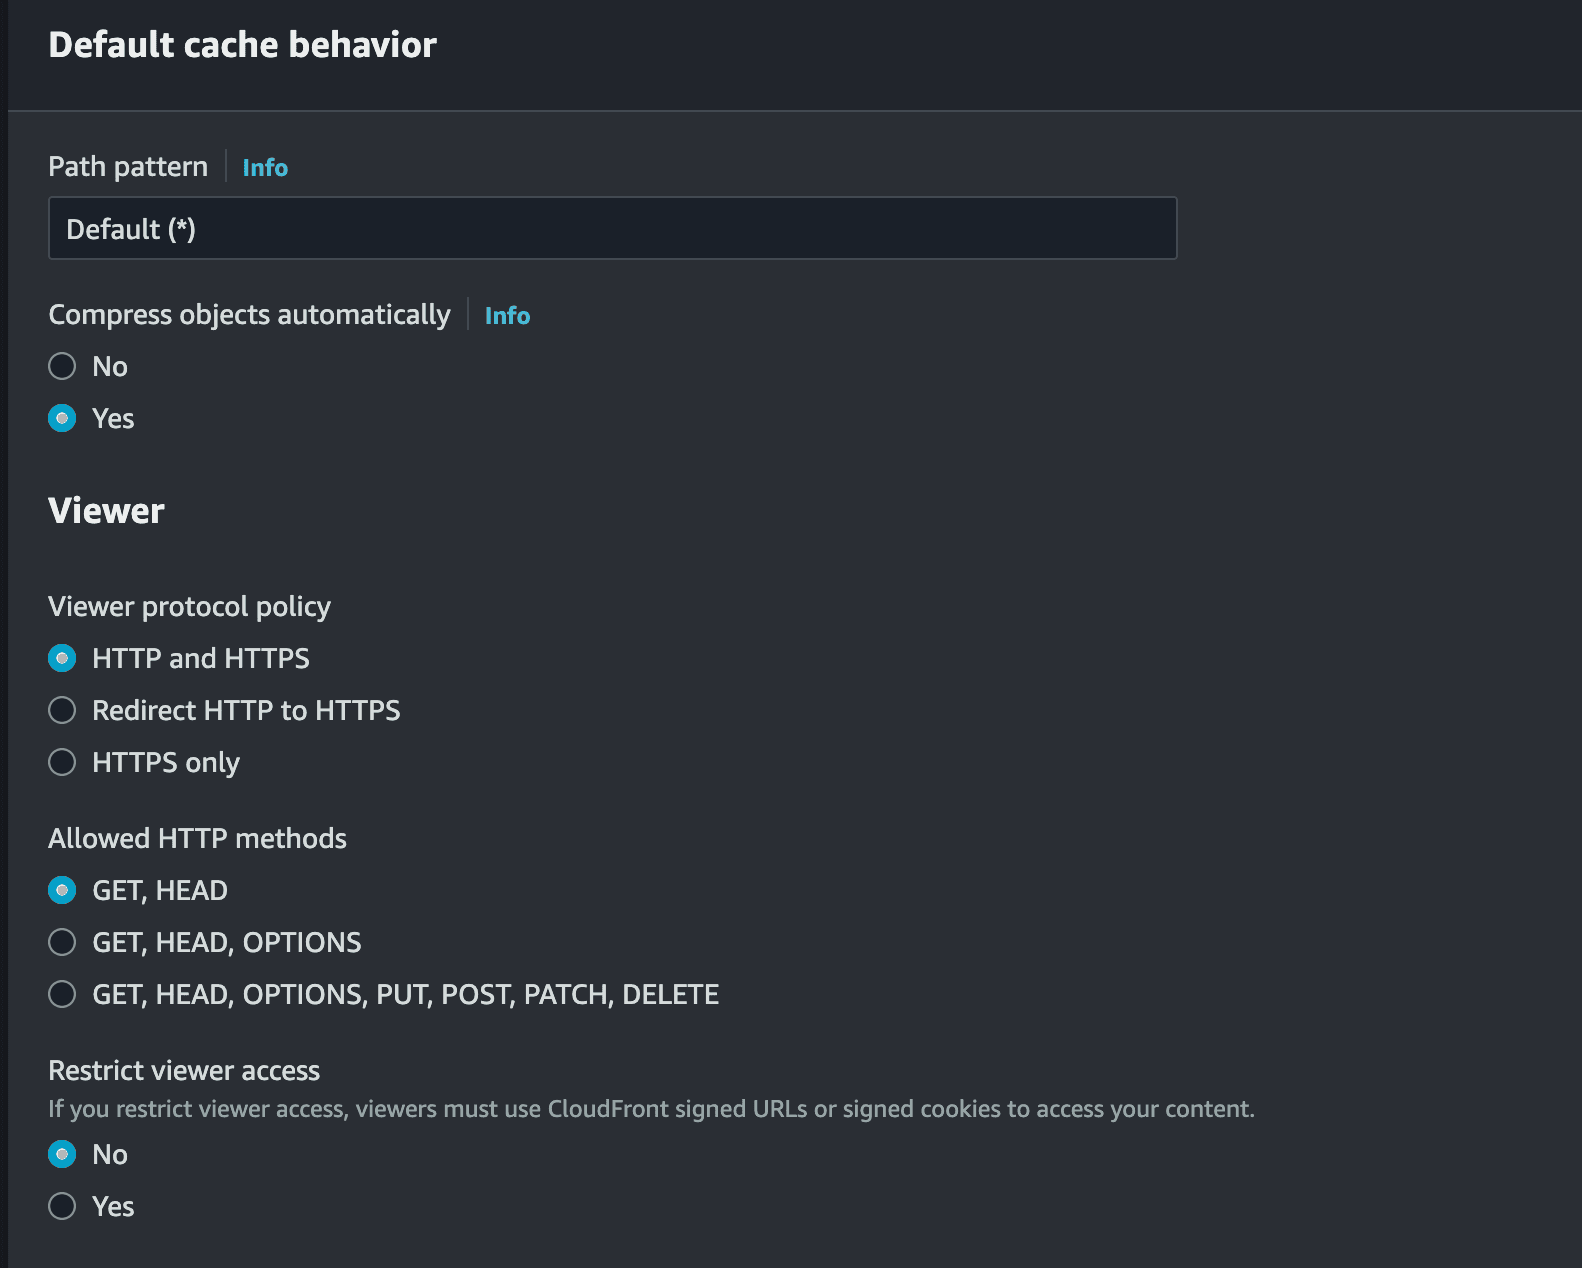
- Accelerate content delivery and reduce latency by creating a CloudFront distribution, configuring origins, and associating it with your Elastic Beanstalk environment.
- Isolate and control your network environment by setting up a Virtual Private Cloud with proper subnets, route tables, and internet gateways.
- Define security groups for services like Elastic Beanstalk and RDS to control inbound and outbound traffic securely.
- Secure your domain with SSL/TLS certificates from AWS Certificate Manager, associating them with your CloudFront distribution and Elastic Beanstalk environment.
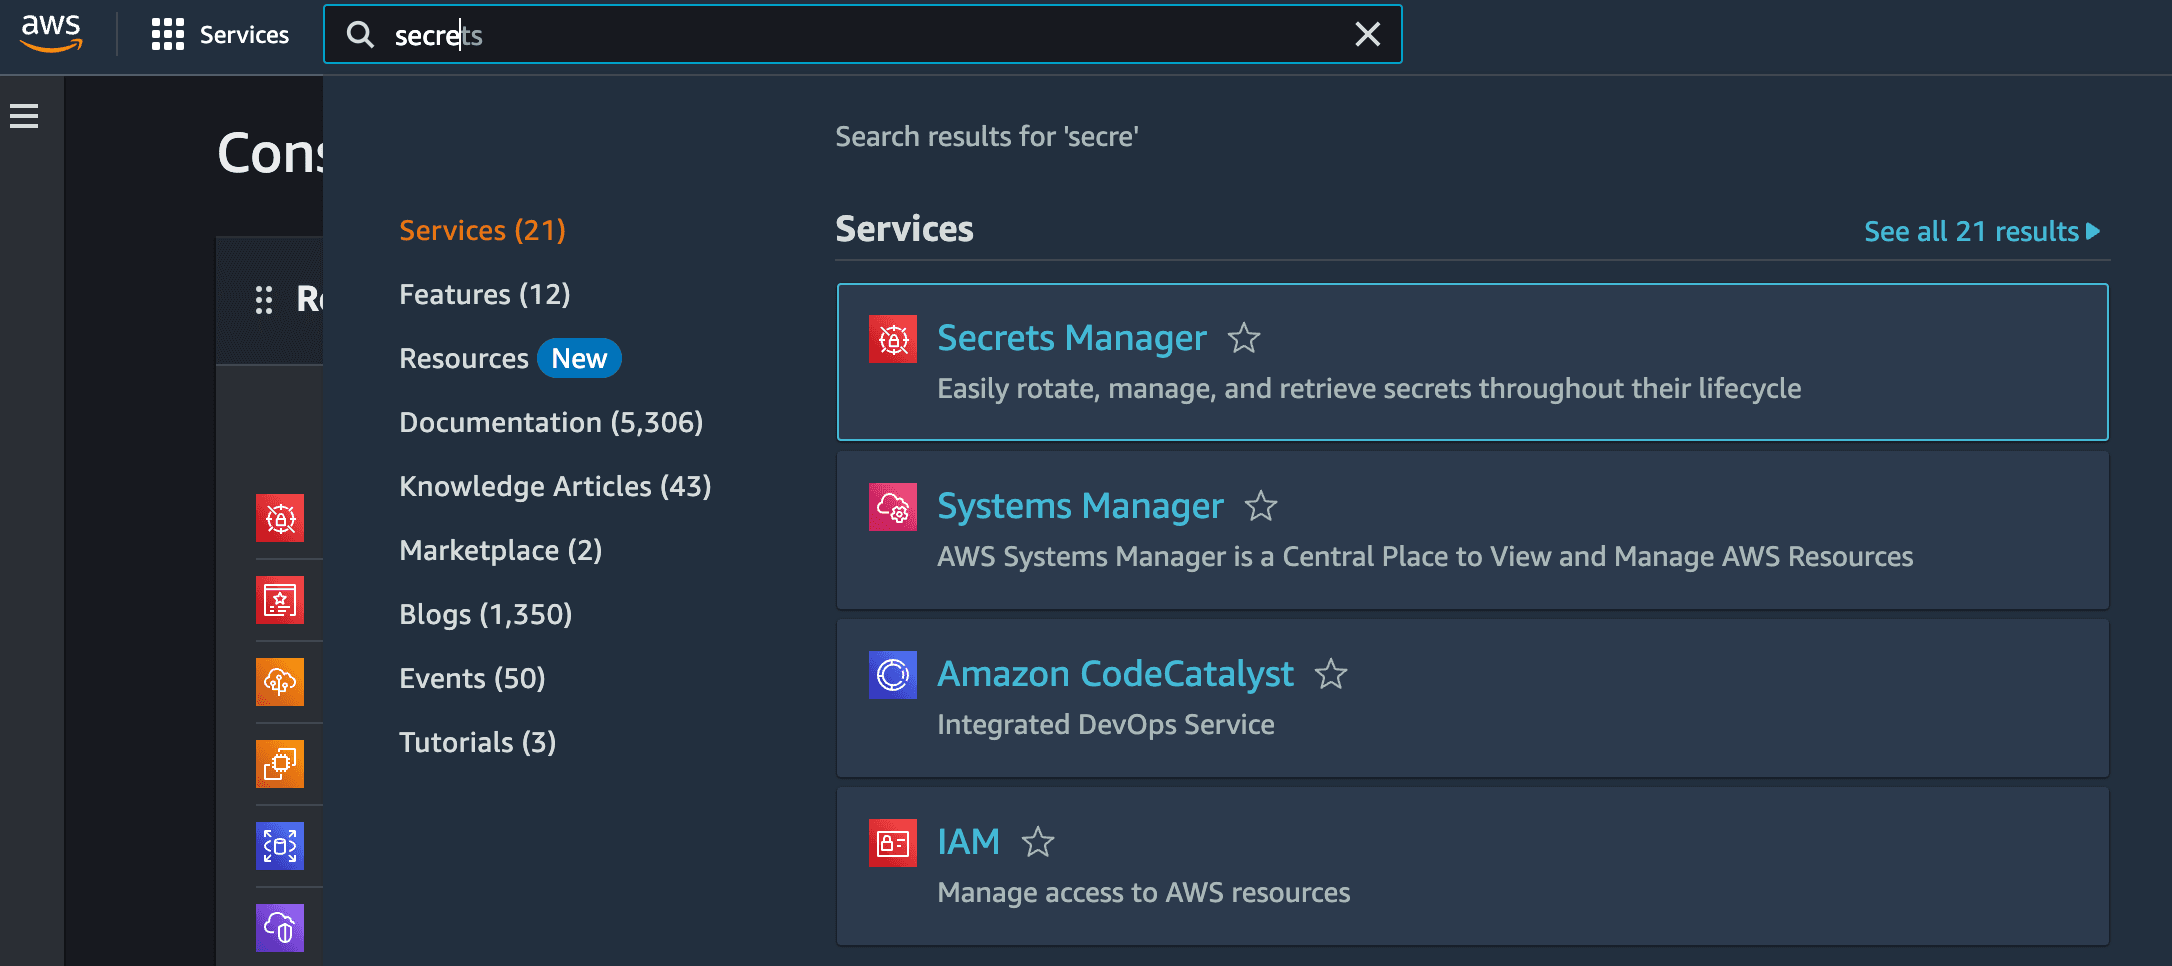
- Safely store and manage sensitive information, such as database credentials, using AWS Secrets Manager and integrate it with your Elastic Beanstalk environment.
- Create and configure S3 buckets for storing static assets, backups, and other necessary files with proper access controls.
- Automate your build and deployment workflows by configuring Circle CI with a .circleci/config.yml file and integrating it with your version control system.
- Point your domain to AWS by updating DNS records on Namecheap and associating the domain with your AWS resources.
https://docs.aws.amazon.com/elasticbeanstalk/latest/dg/GettingStarted.CreateApp.html
https://docs.aws.amazon.com/AmazonRDS/latest/UserGuide/USER_CreateDBInstance.html
Copy the account ID, navigate to security credentials, and create access keys.

~/.aws/config file~/.aws/config file.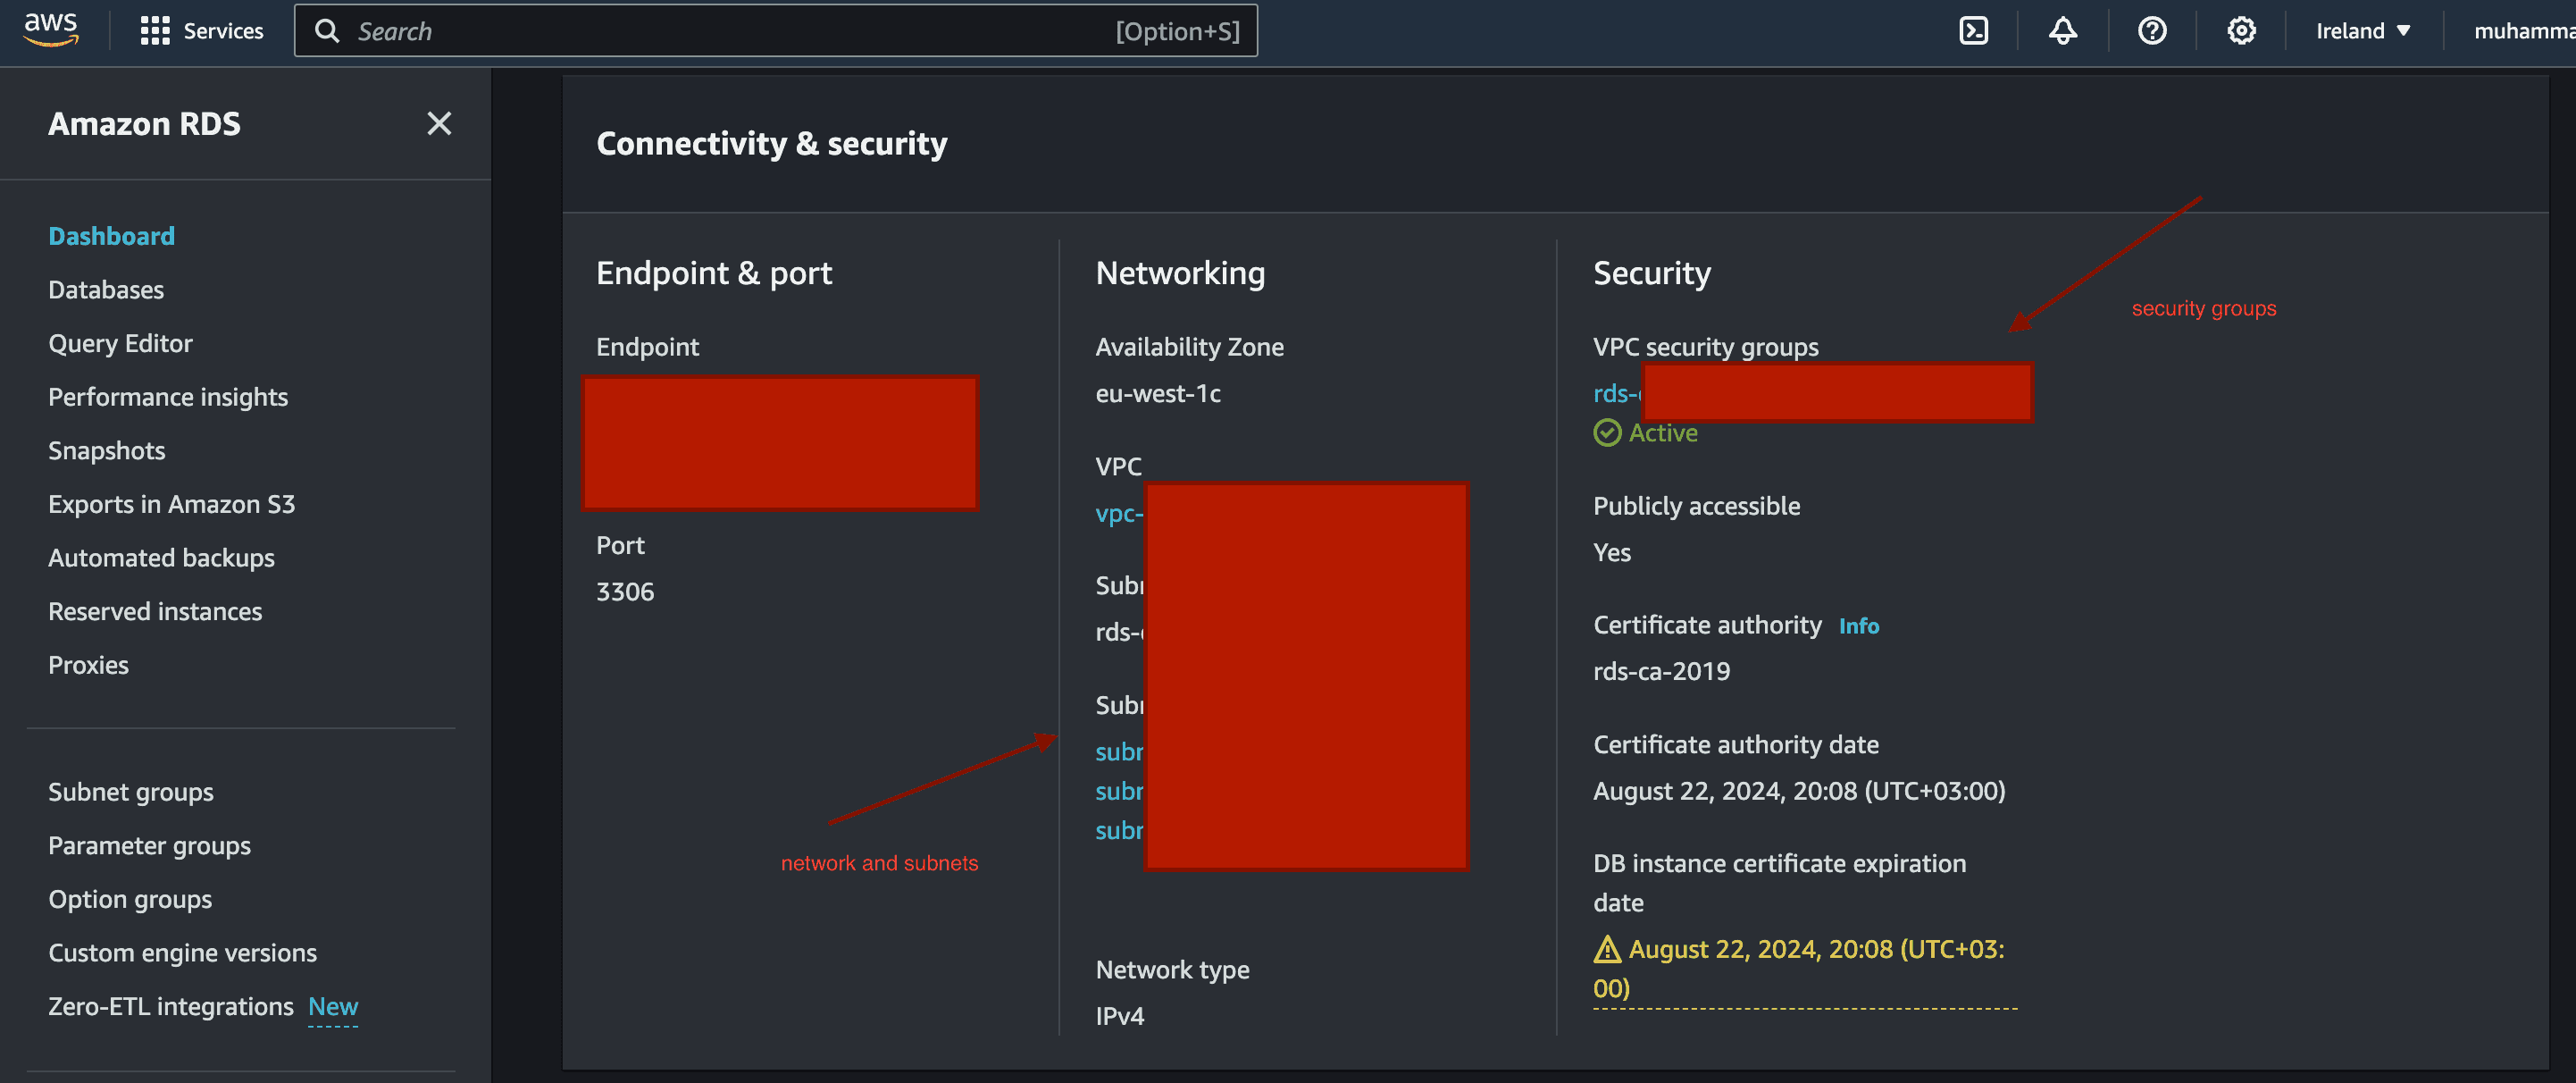


_somevalue12312.domain.com. just remove .domain.com.
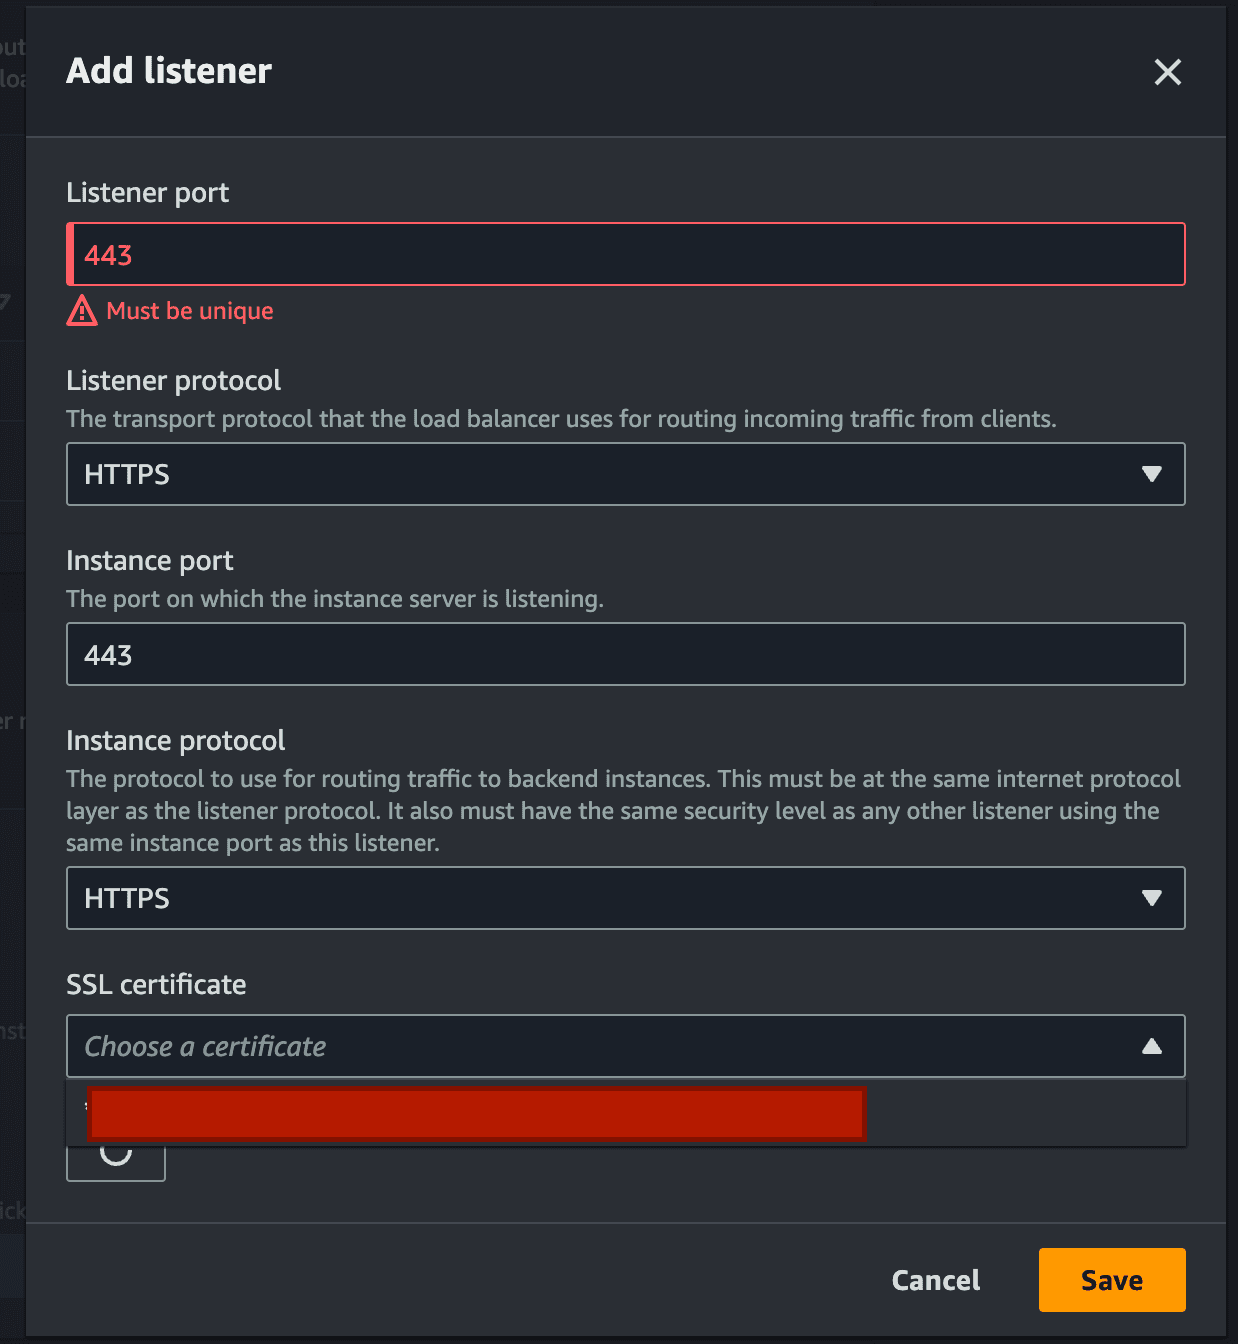
Fill out the above form and choose the certificate which you just generated.
- Open the Amazon EC2 console at https://console.aws.amazon.com/ec2/.
- On the navigation pane, choose Load Balancers.
- Select the load balancer, scroll down click Manage Listeners, and add the following setting


next build command to generate the production-ready build.
