Click Click… Configuring Custom Domain SES Tracking with AWS CDK
Are your customers facing issues with email links because of an adblocker? If so this blog is for you!
Published Feb 22, 2024
Last Modified Feb 23, 2024
In this blog I'm assuming prior knowledge of AWS SES (Send Email Service) but as the name suggests it's basically the service that allows us to send emails in AWS. However it has a number of other great features that takes it beyond this simple explanation.
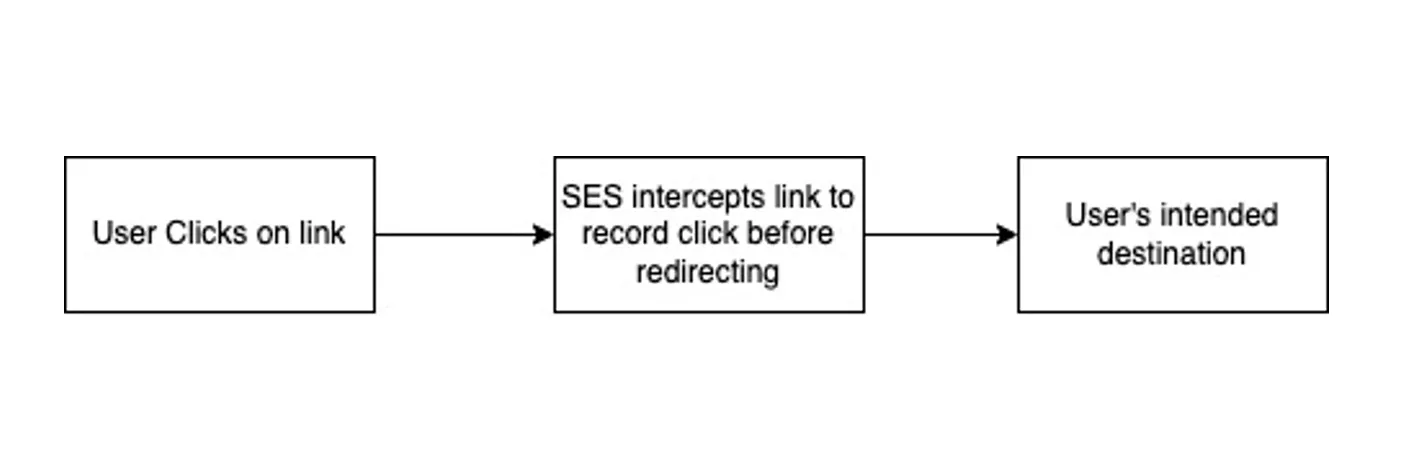
One such feature this service offers is click tracking. When this is enabled AWS intercepts any links in an email with a domain hosted by SES before then redirecting to the intended destination as shown in the diagram below. This allows you to get click events and metrics back to use in your system.
By default AWS use a domain hosted by them to make this process as simple as a click of a button in the console. However, this URL is blocked by most ad blockers which leaves customers unable to navigate to any links included in emails that are sent via SES. This was exactly our experience on a recent project causing our customers to not be able to follow links to our webapp. This meant we needed to step away from the default setup and for this we must look to custom url tracking.
If you are here it's likely that your experience is the same but with the following steps, your users will be able to click with ease in no time!
The first thing you must consider as part of this is what subdomain you'd like to use for your click tracking. In this scenario I'm going to use
click.mydomain.com. Next, you'll need to add it as a verified identity to SES. However, if the subdomain you want to use parent's domain is already a verified identity in SES as it was for us, you can skip this step!
Once your subdomain is ready, the next thing you need to do is get a SSL certificate for HTTPS. For this we used ACM (Amazon Certificate Manager), however you can get this from any trusted Certificate Authority.
It's important to note here that because we want to use this certificate in a CloudFront distribution (spoiler) we must request it from us-east-1.
The next thing we need to define is a new CDN, as already given away, for this we look to CloudFront.
In this we must define three things the domains used, the behaviour we must apply and the certificate we just discussed above.
The behaviour we defined is what allows us to configure CloudFront to the origin following the pattern
r.<region>.awstrack.me, where region is wherever we are sending the SES emails from. Additionally as part of the behaviour in CloudFront we must include a cache policy as we need to past on the
Host header from the initial request to SES so that it can track events from the URL.As we used AWS Route 53 combined with using CloudFront as our CDN this couldn't be any simpler as we just have to create an alias record shown below to point the domain at the CloudFront distribution we've just defined.
It's worth noting that the domain record can take up to 24 hours to become available, but once this is ready you are able to switch your configuration set to use this new domain.
Now once all the above is deployed we simply need to specify the
ConfigurationSetName attribute when sending an email using SES. For example:Following all these steps will allow your users to click through with ease once again!