Unleashing the power of ELT in AWS using Airbyte
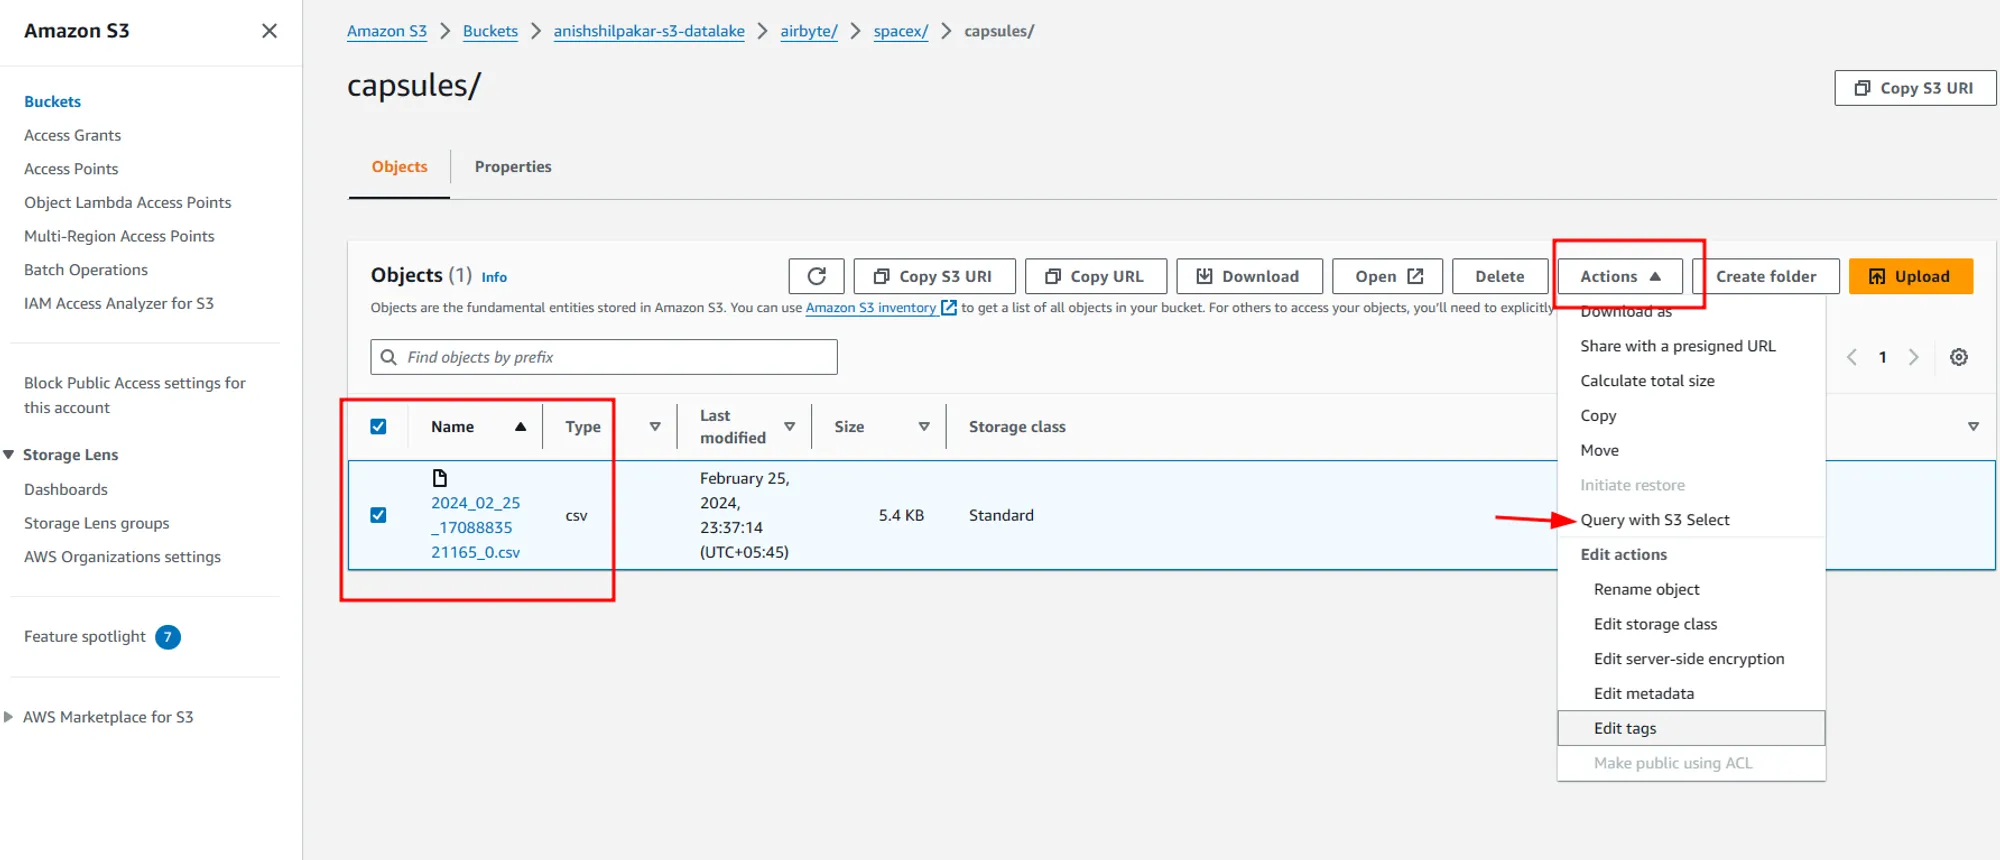
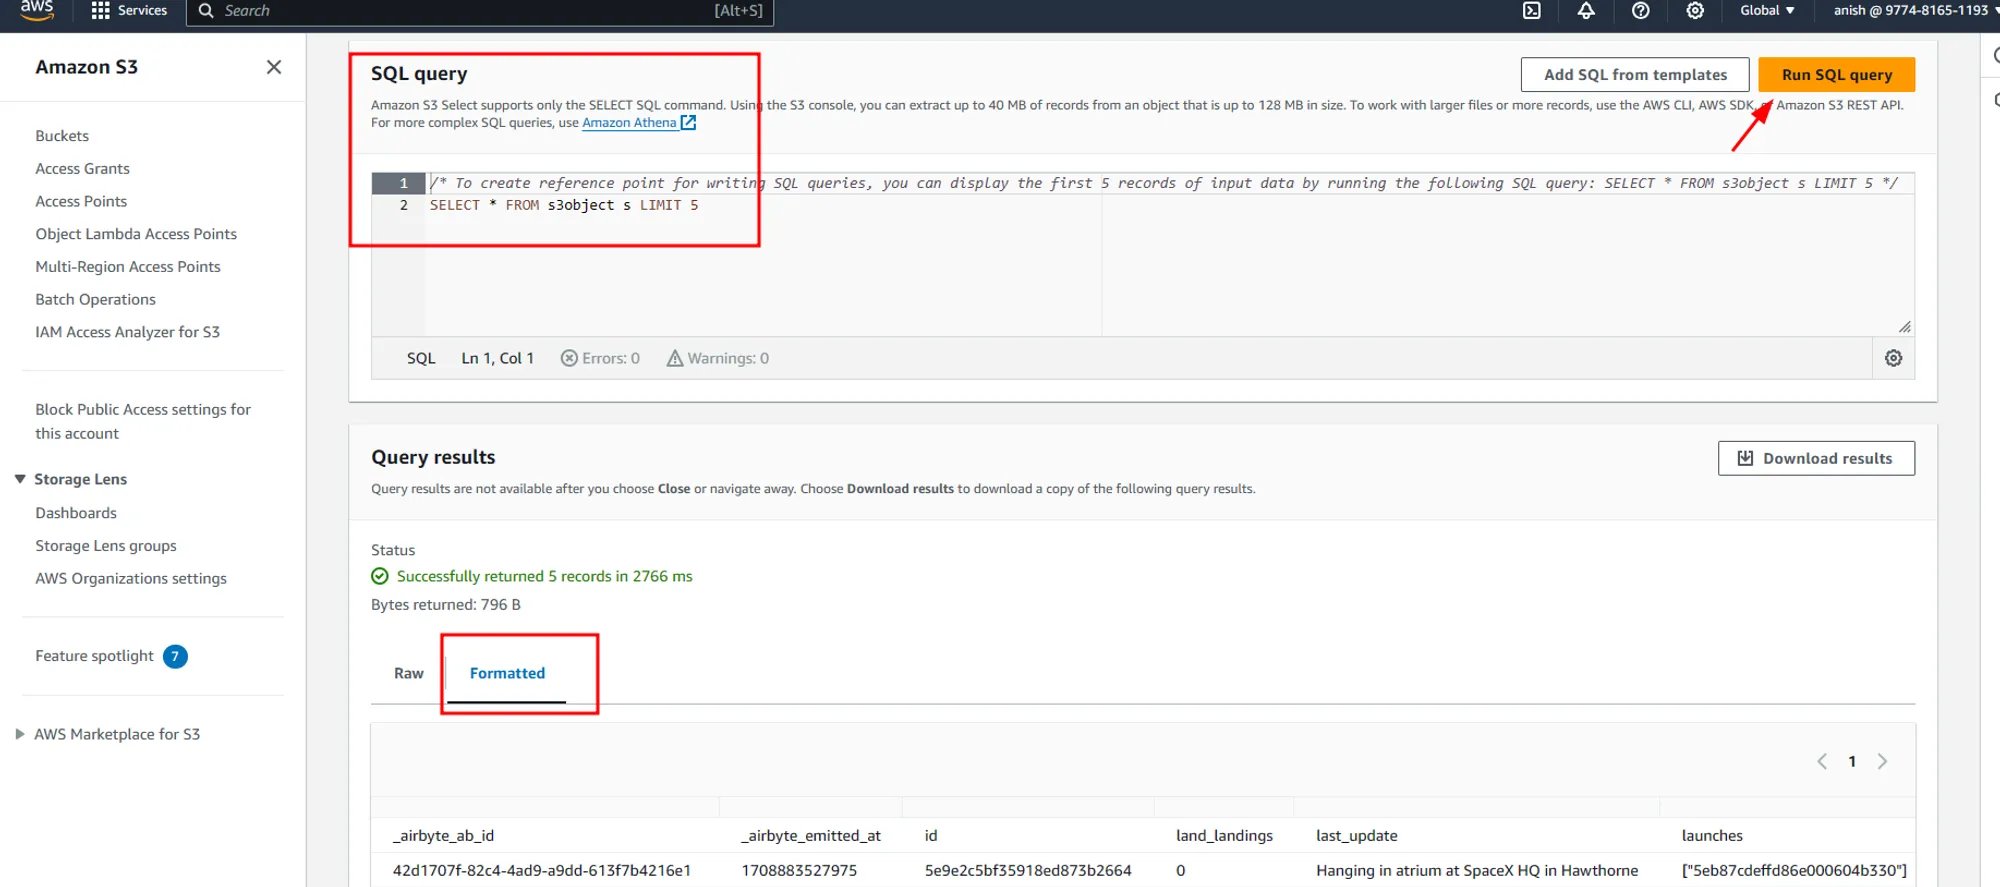
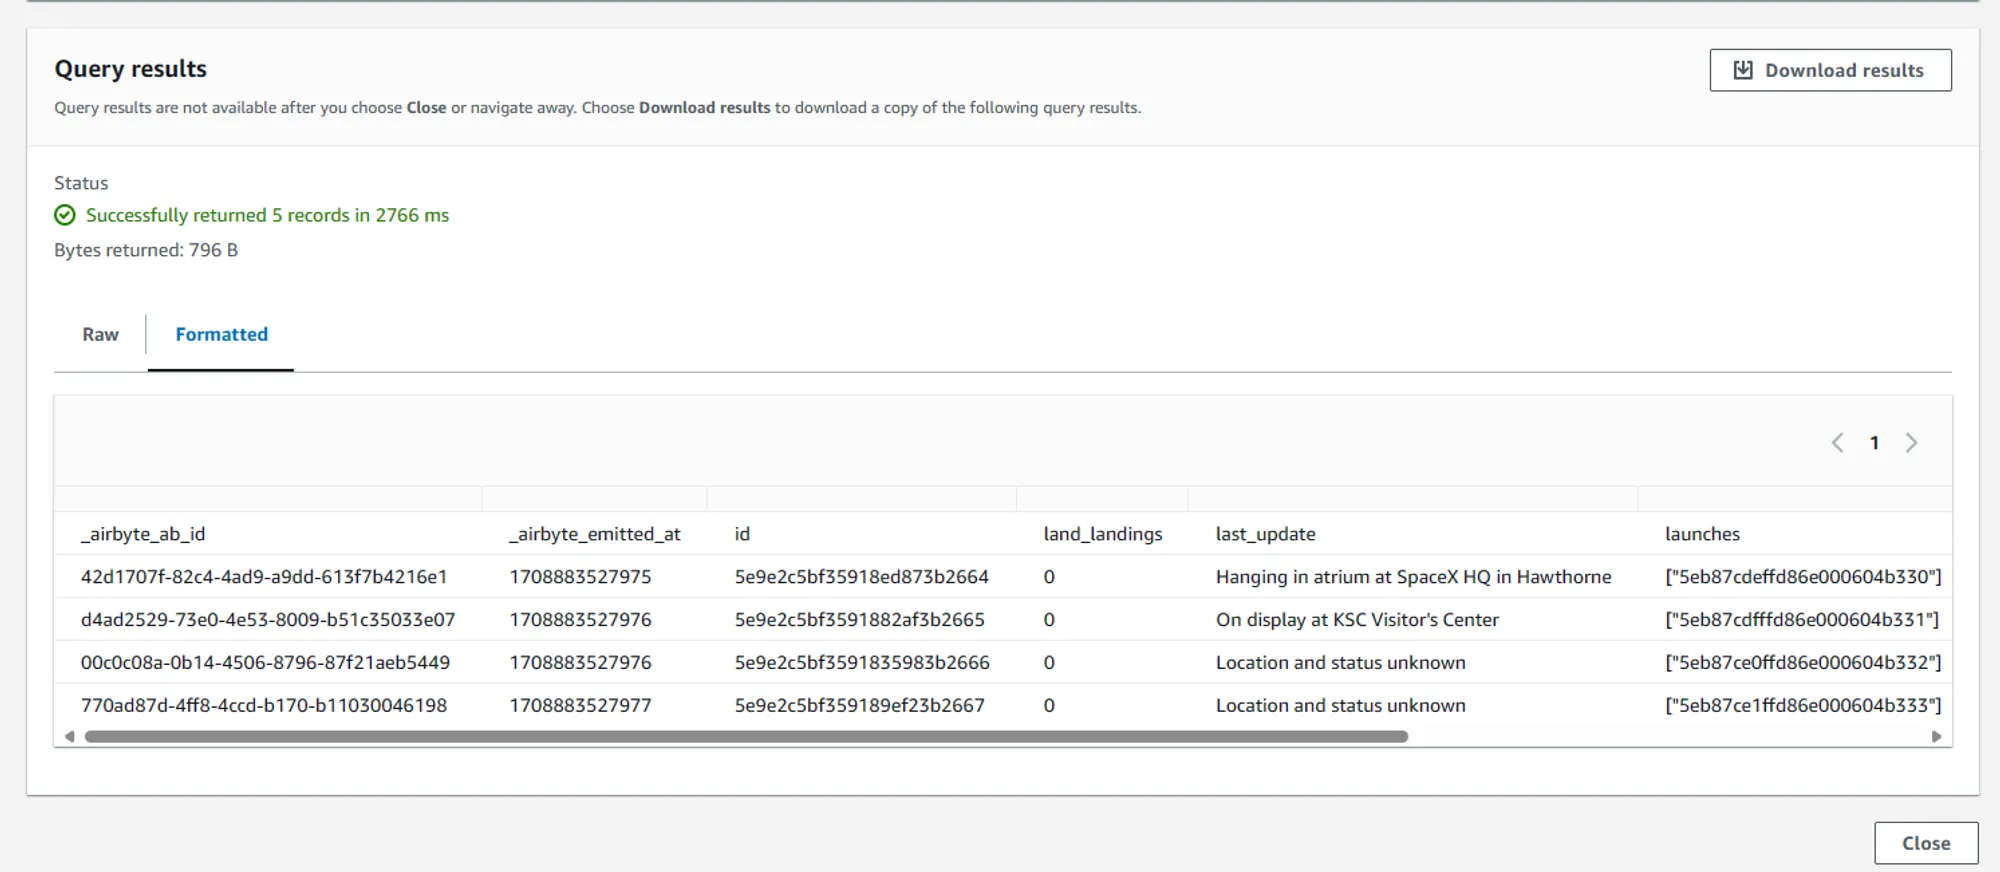
This comprehensive guide explores the ELT approach for data processing in AWS, utilizing Amazon S3 as your data lake. We also introduce Airbyte, an open-source tool that simplifies data movement and streamlines the ELT process. Dive deep into this tutorial, where you'll learn how to connect Airbyte with your S3 data lake and perform efficient ELT operations from a REST API.
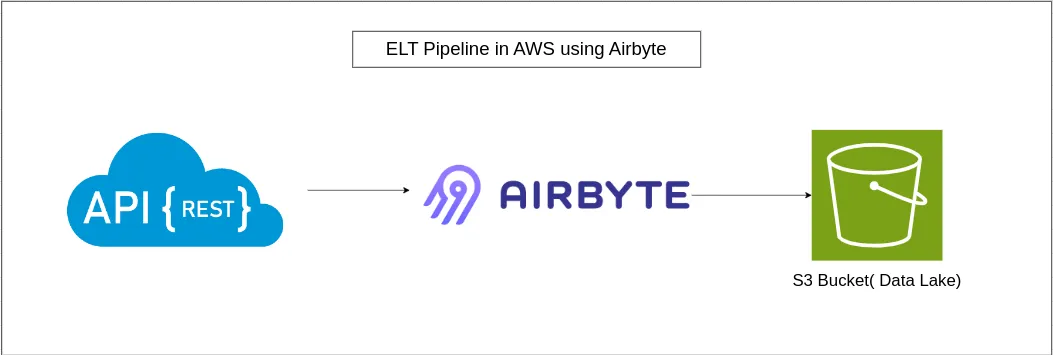
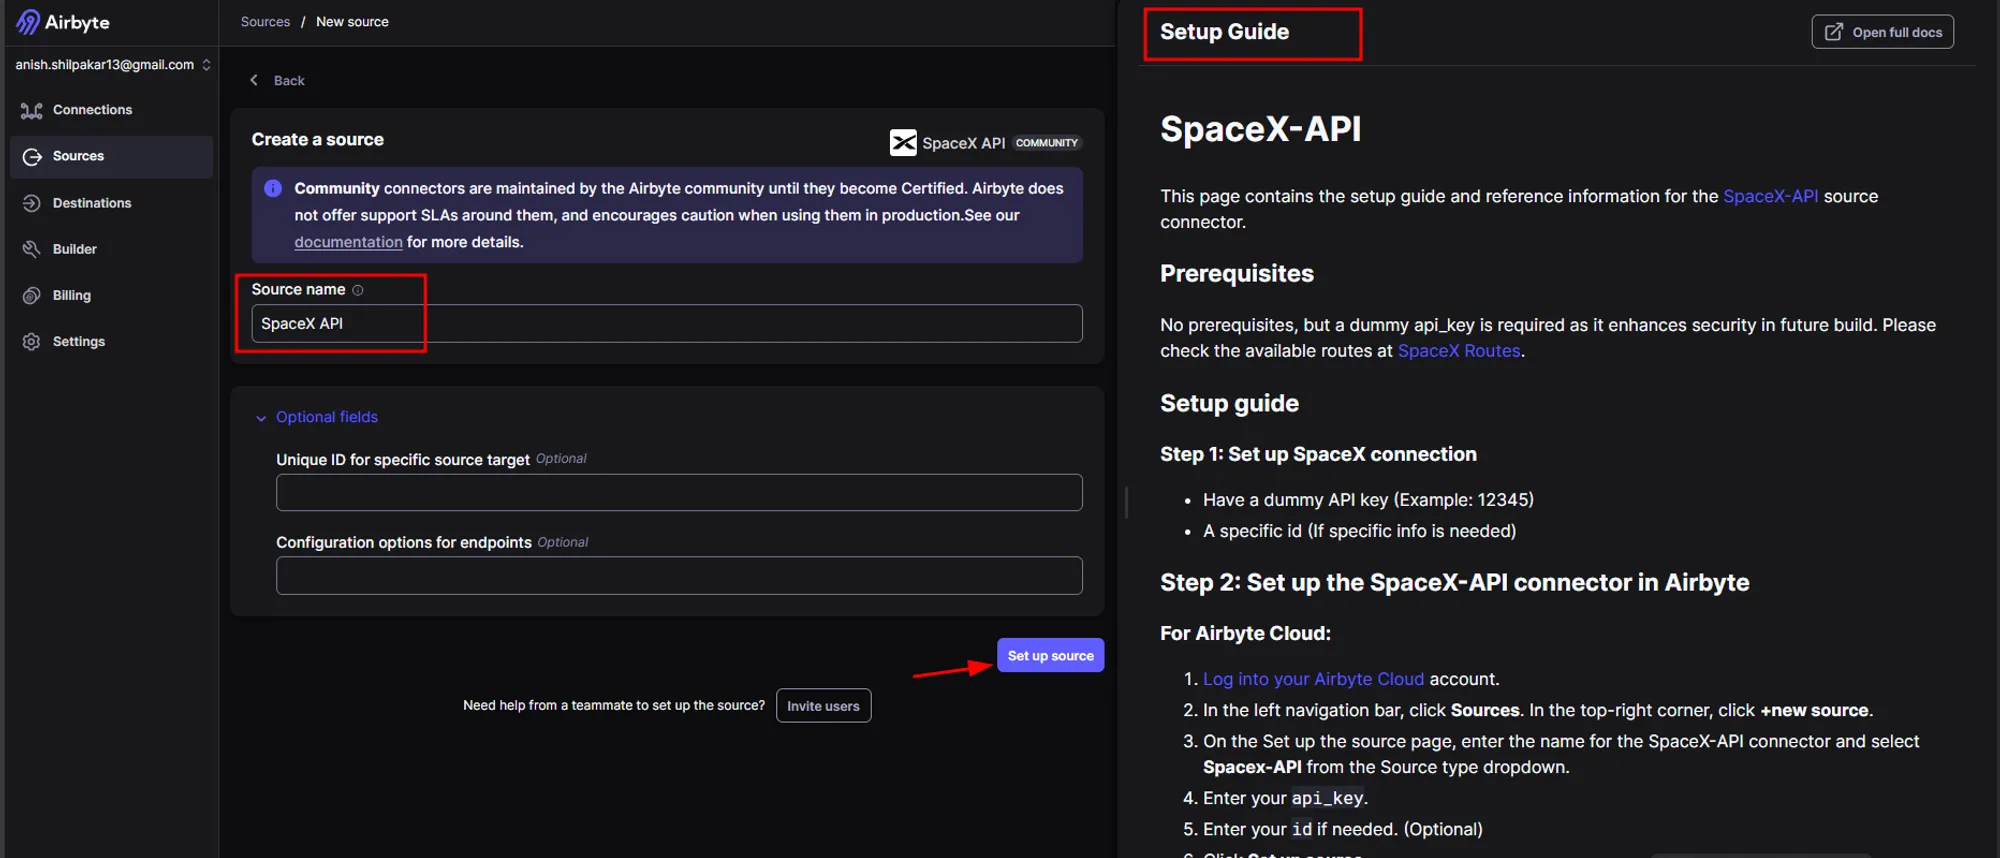
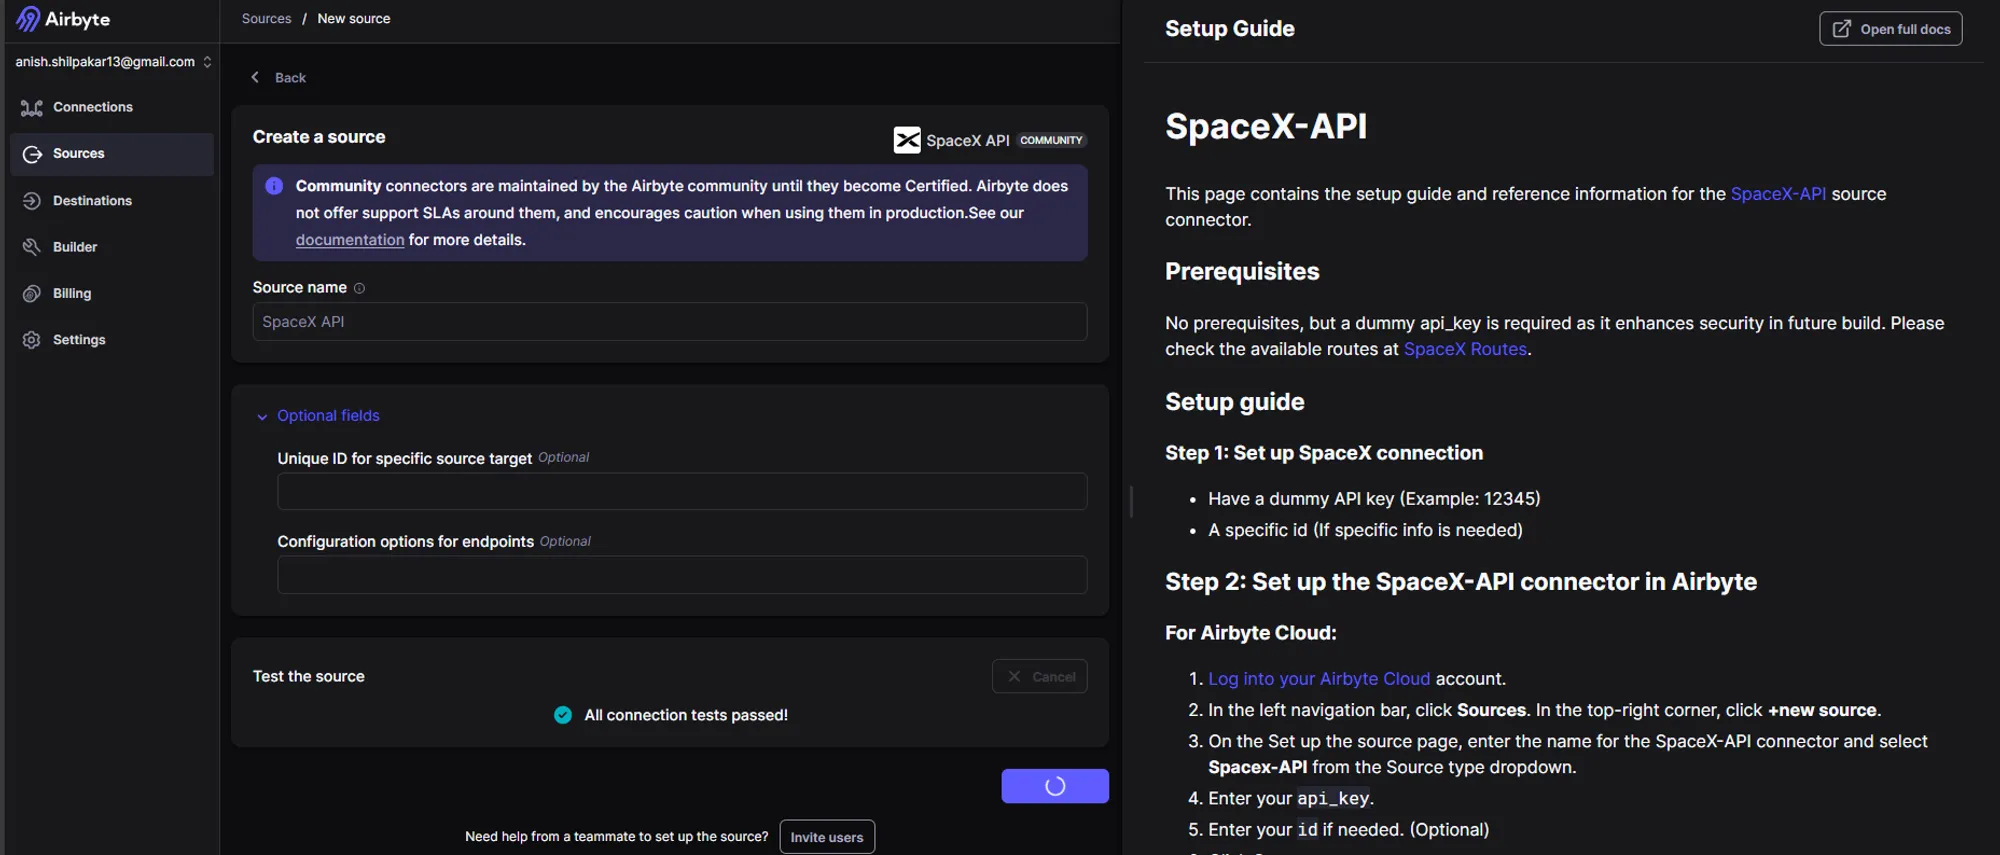
In the architecture above, I've illustrated a basic ELT pipeline with a REST API as the data source. In this example, I've utilized the SpaceXAPI, which offers SpaceX-related data and is accessible in Airbyte as a source connector. Airbyte serves as the ELT tool, ingesting data from the REST API and storing it in an AWS S3 bucket. This S3 bucket functions as a data lake.
- Go to AWS management console.
- Search for S3.
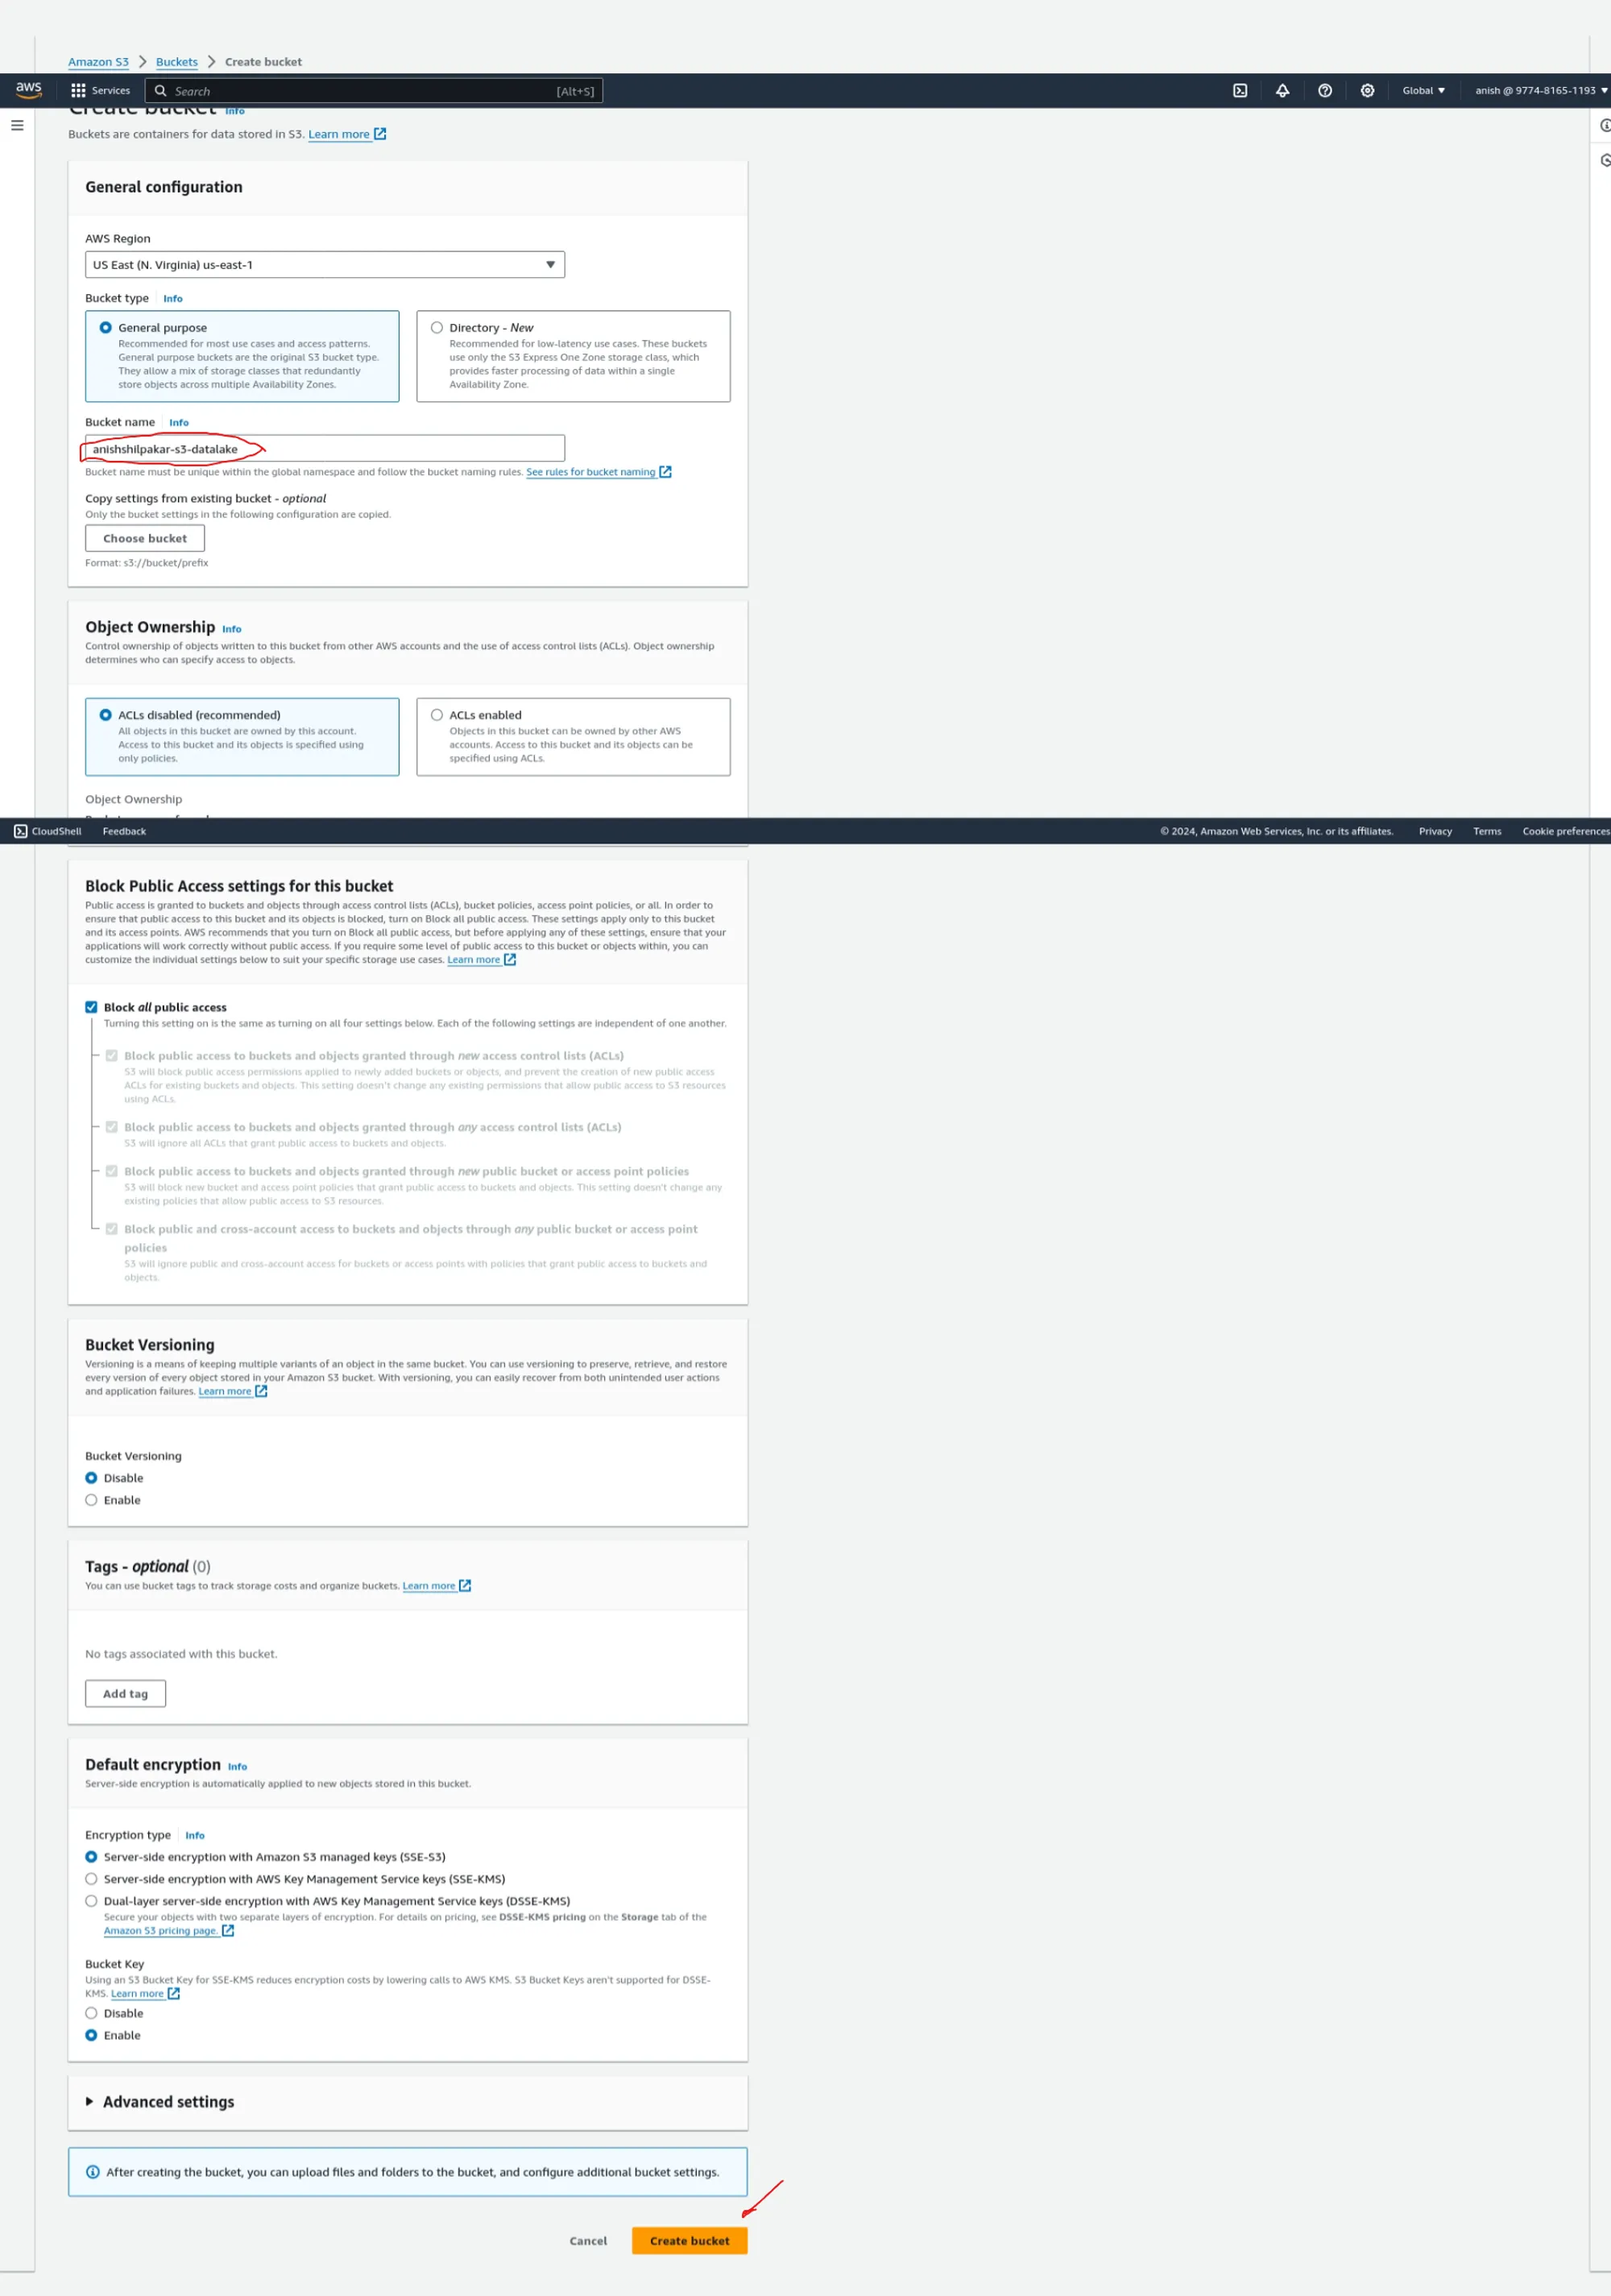
- Click on 'Create new bucket,' select a region of your choice, and give the data bucket a unique name. We can use a format like <your_name>-s3-datalake. For example, in my case, it is 'anishshilpakar-s3-datalake.' We can leave all other default settings, such as versioning and encryption. Then, click on 'Create bucket' to create this new bucket.




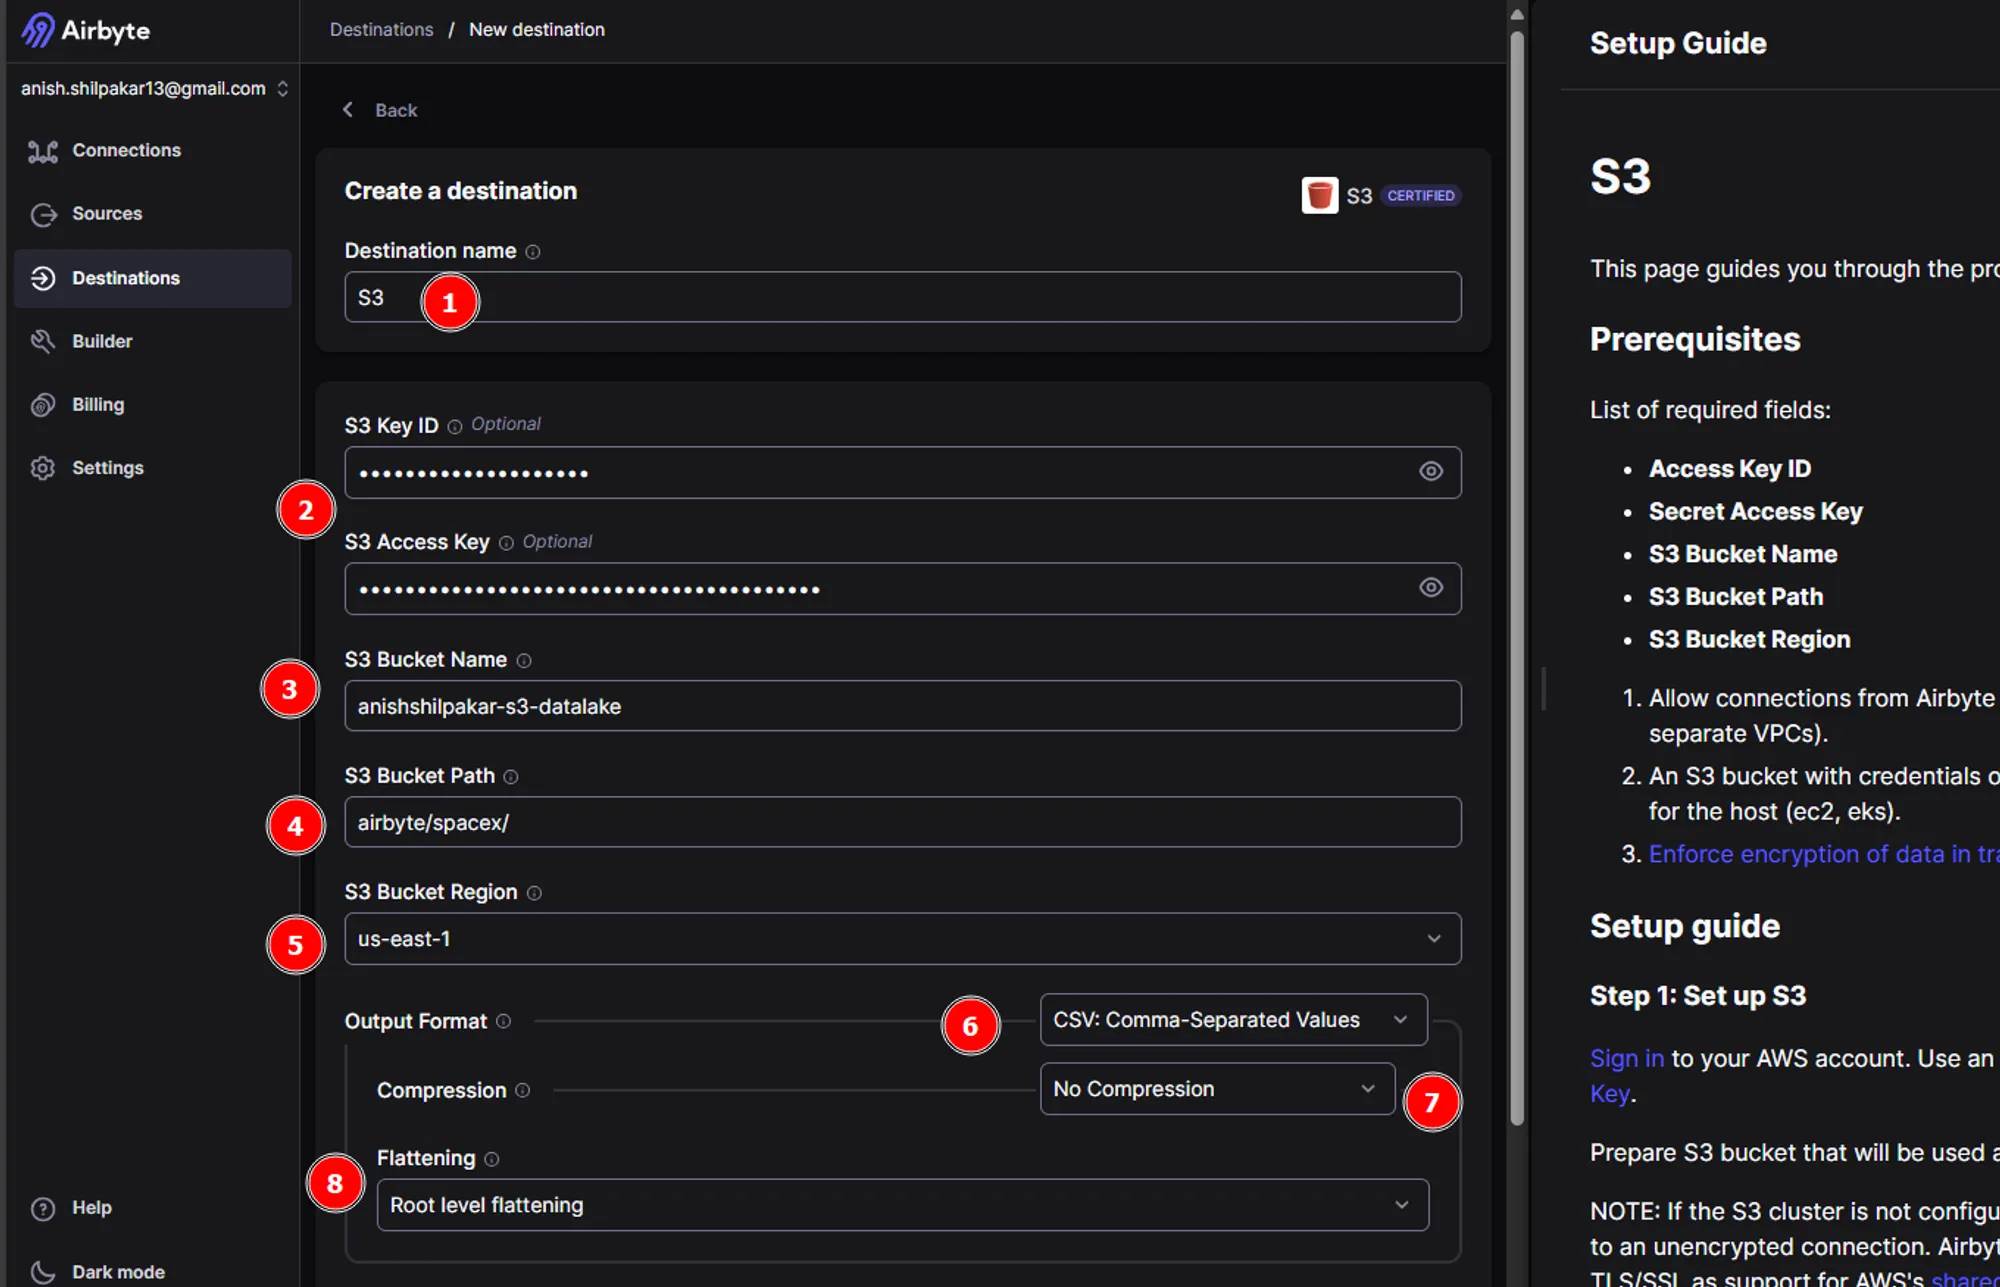
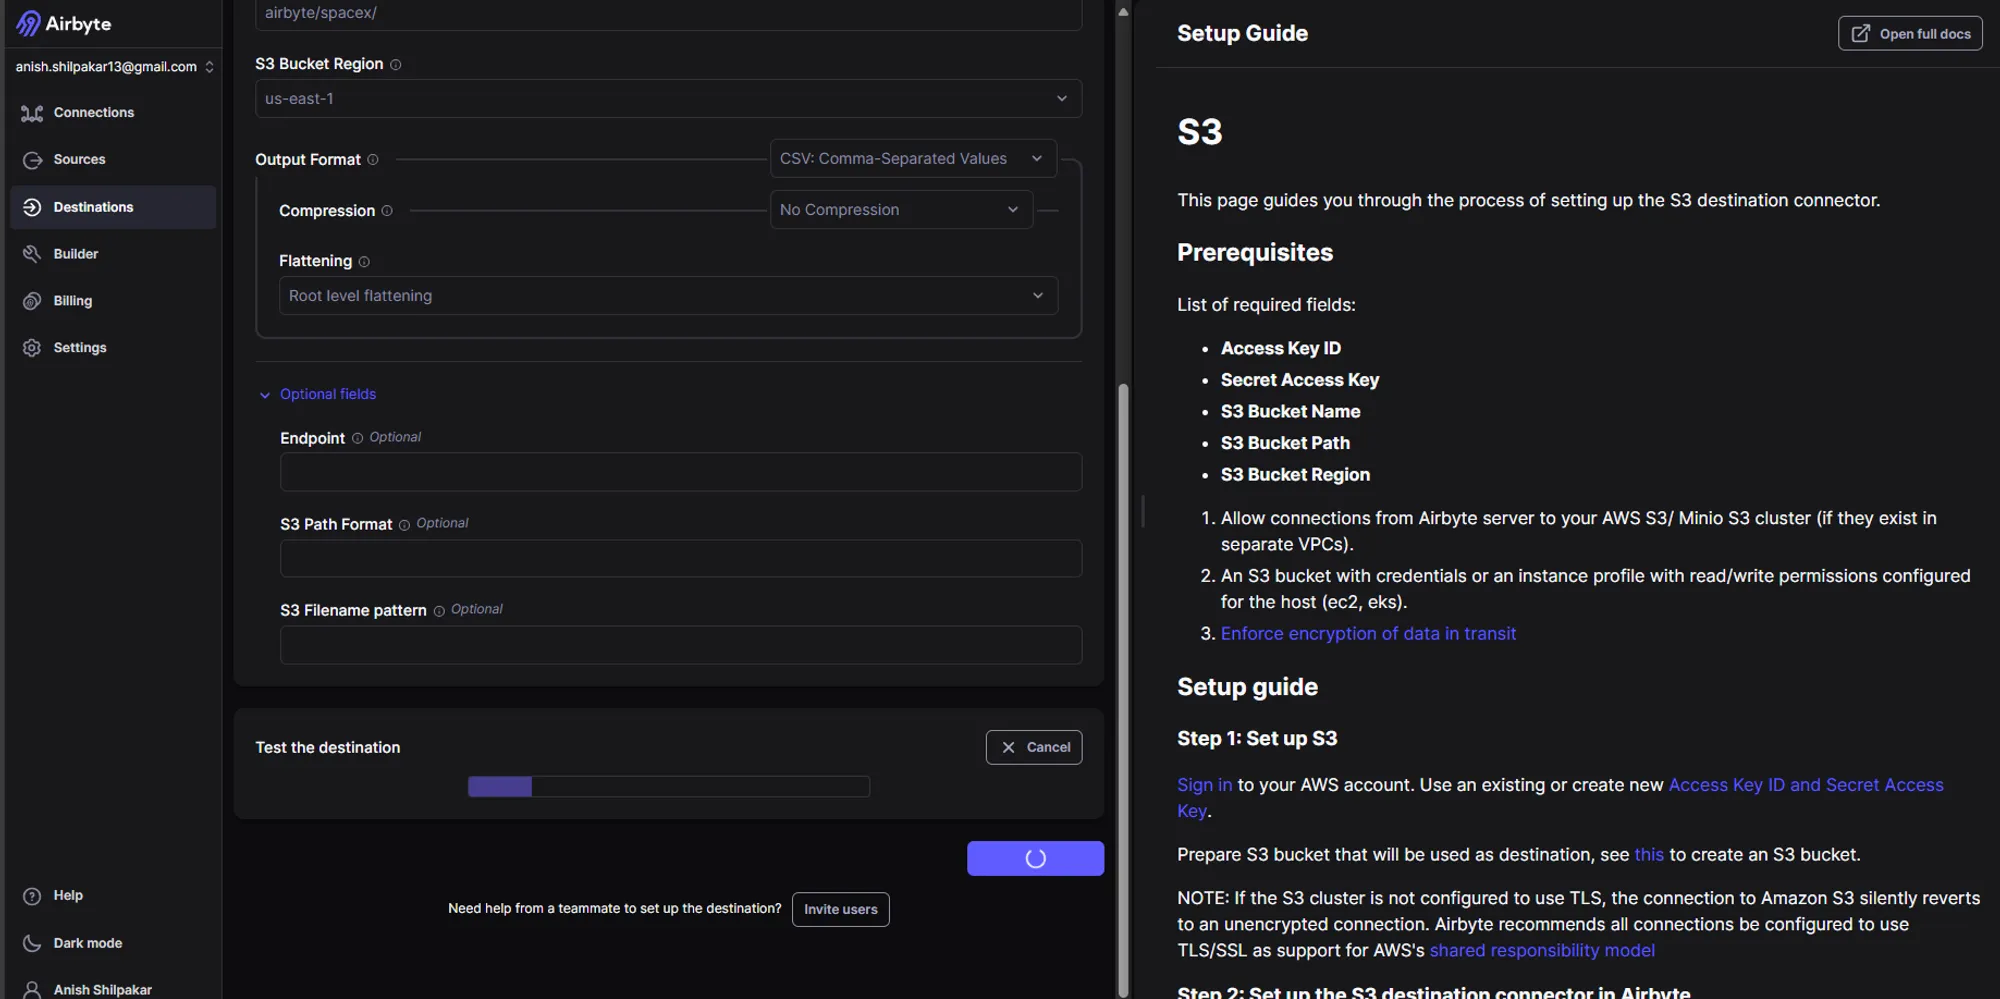
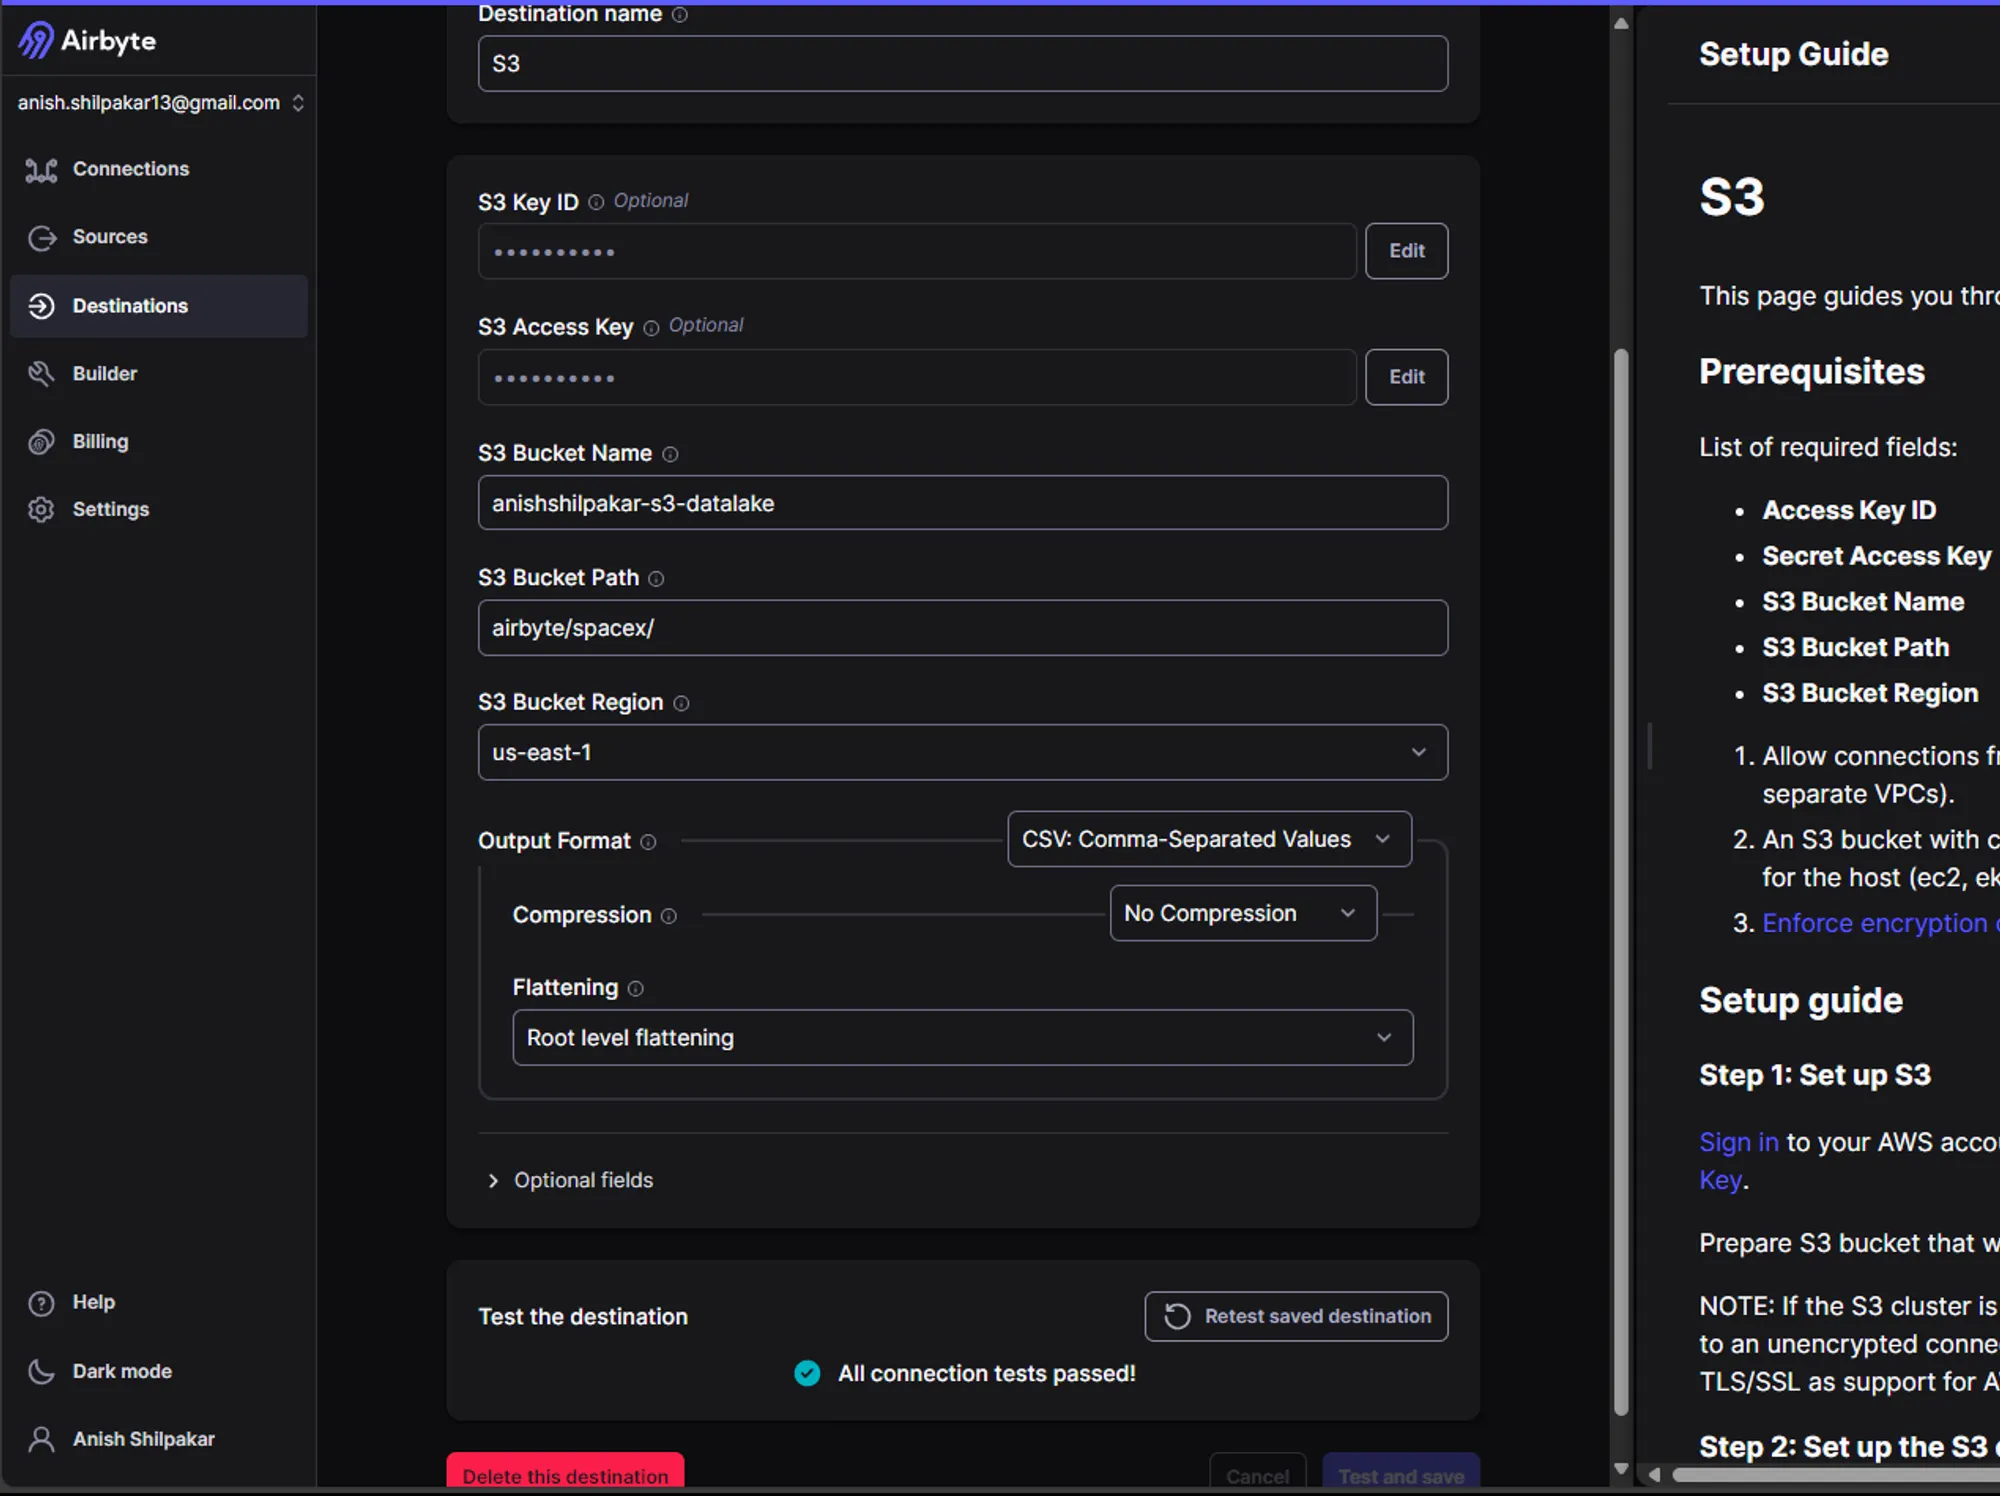
- Firstly provide a meaningful name for the destination connector
- Then we need to provide the S3 key ID and S3 Access Key for the IAM user/role in the AWS account. This is used for authentication in AWS and will grant airbyte permission to upload the ingested data in the s3 bucket.
- Thirdly, provide the name of s3 bucket that was created for the data lake.
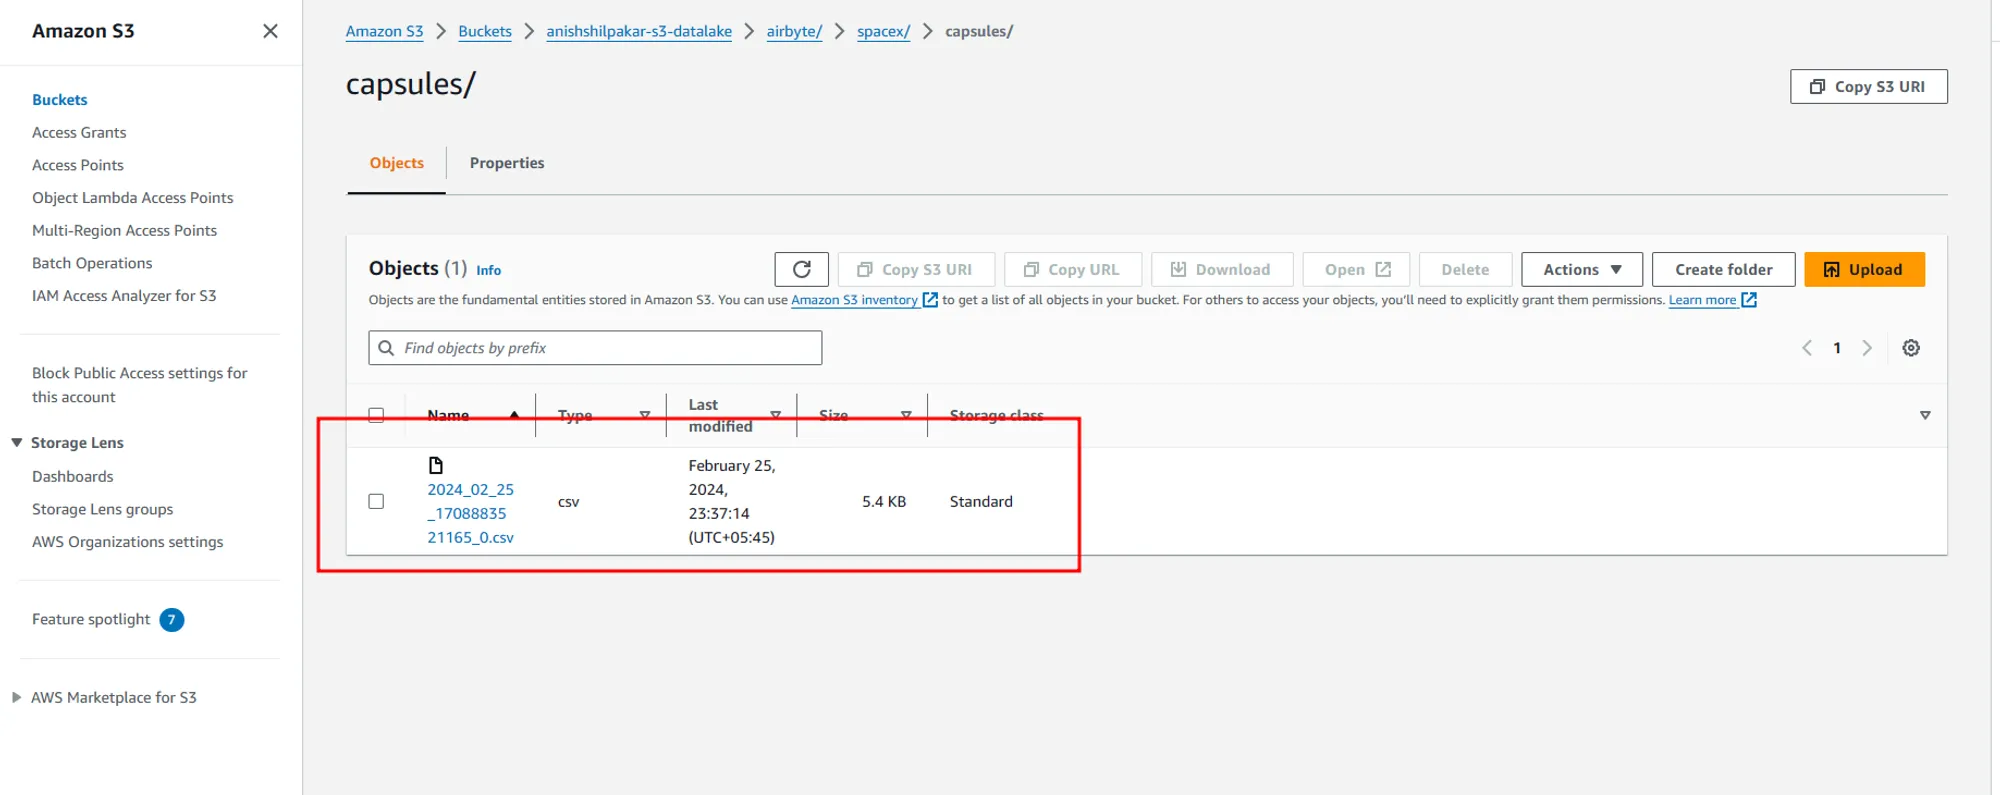
- Then provide a bucket path upto your spacex folder.
- Then we need to provide the region where s3 bucket is hosted.
- In the output format, choose an output format between CSV, JSON, Avro, and Parquet. This determines how the data is stored in the destination.
- Select a compression option. Choosing GZIP compression stores the data as compressed .gz files in your S3 bucket, reducing file size and aiding in faster data uploads.
- Choose between storing data without any flattening or performing root-level flattening. No flattening stores all the data from the source inside a column called "airbyte_data" in JSON format. Root-level flattening processes the data from the source at the root level, resulting in better-processed data.
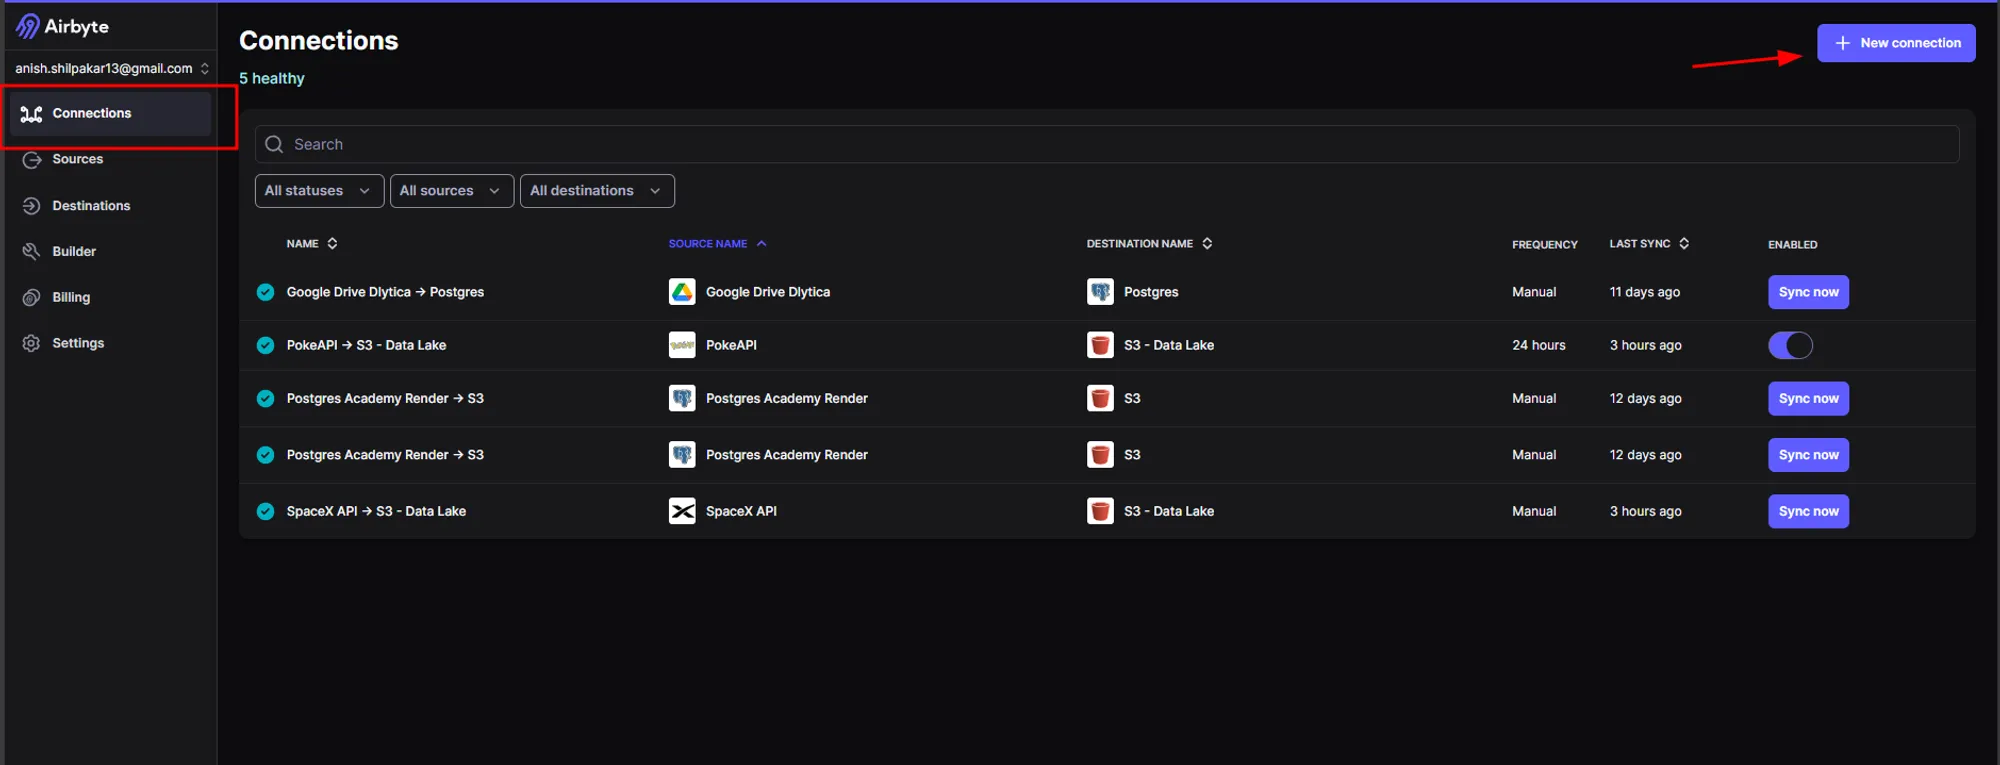
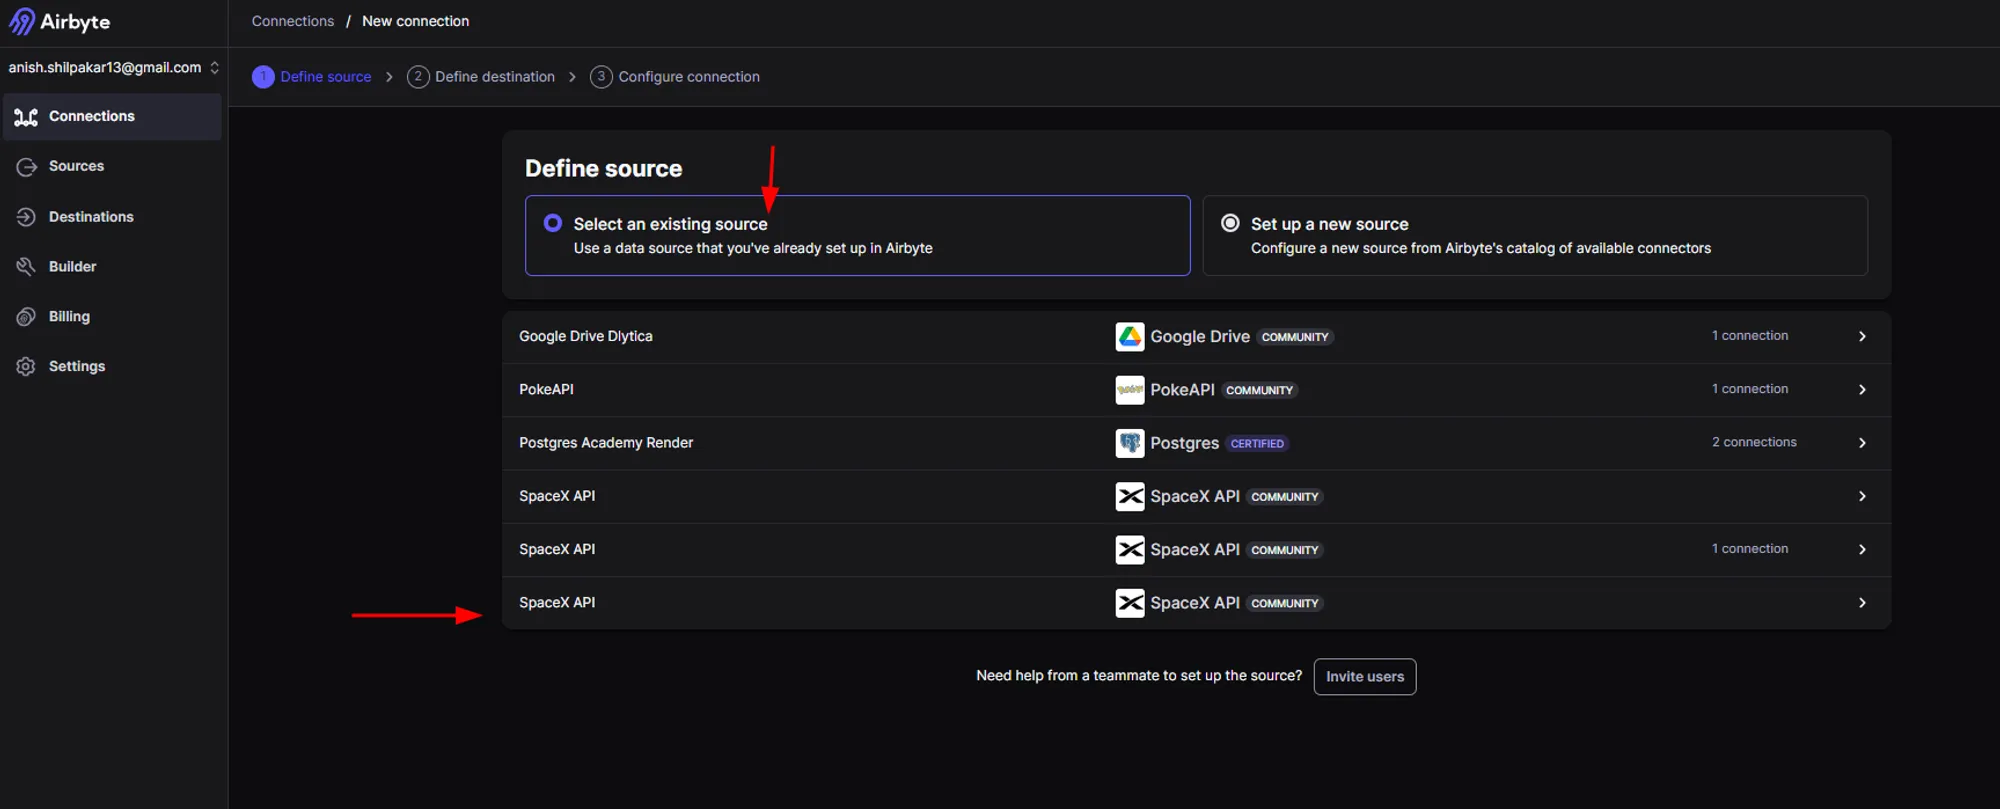
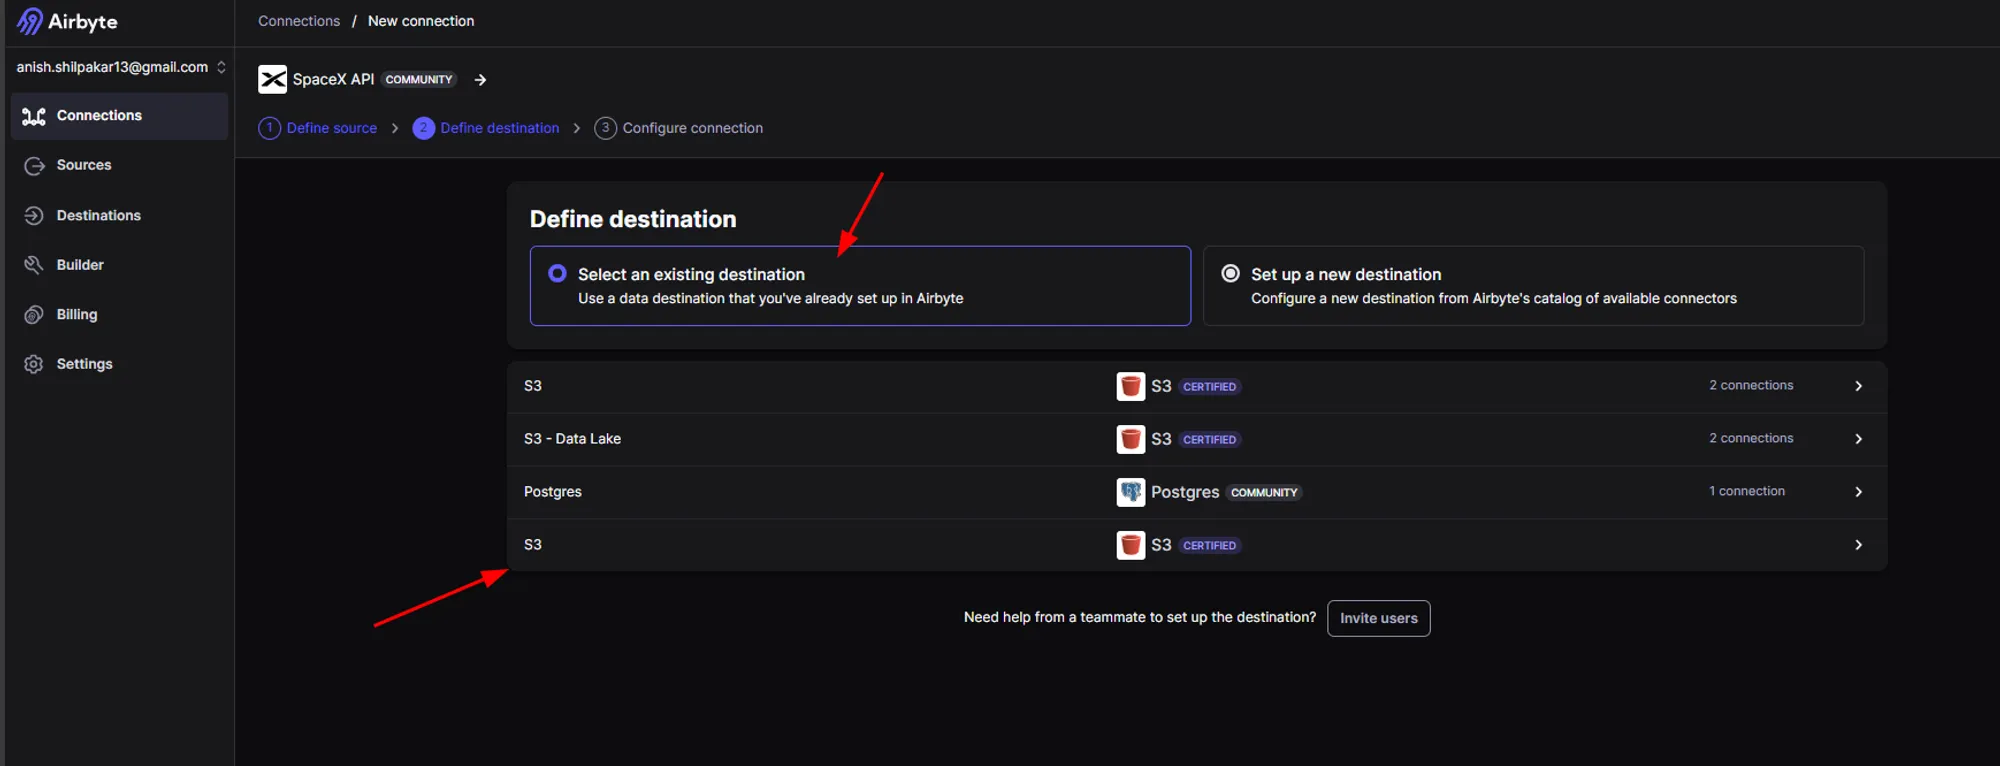

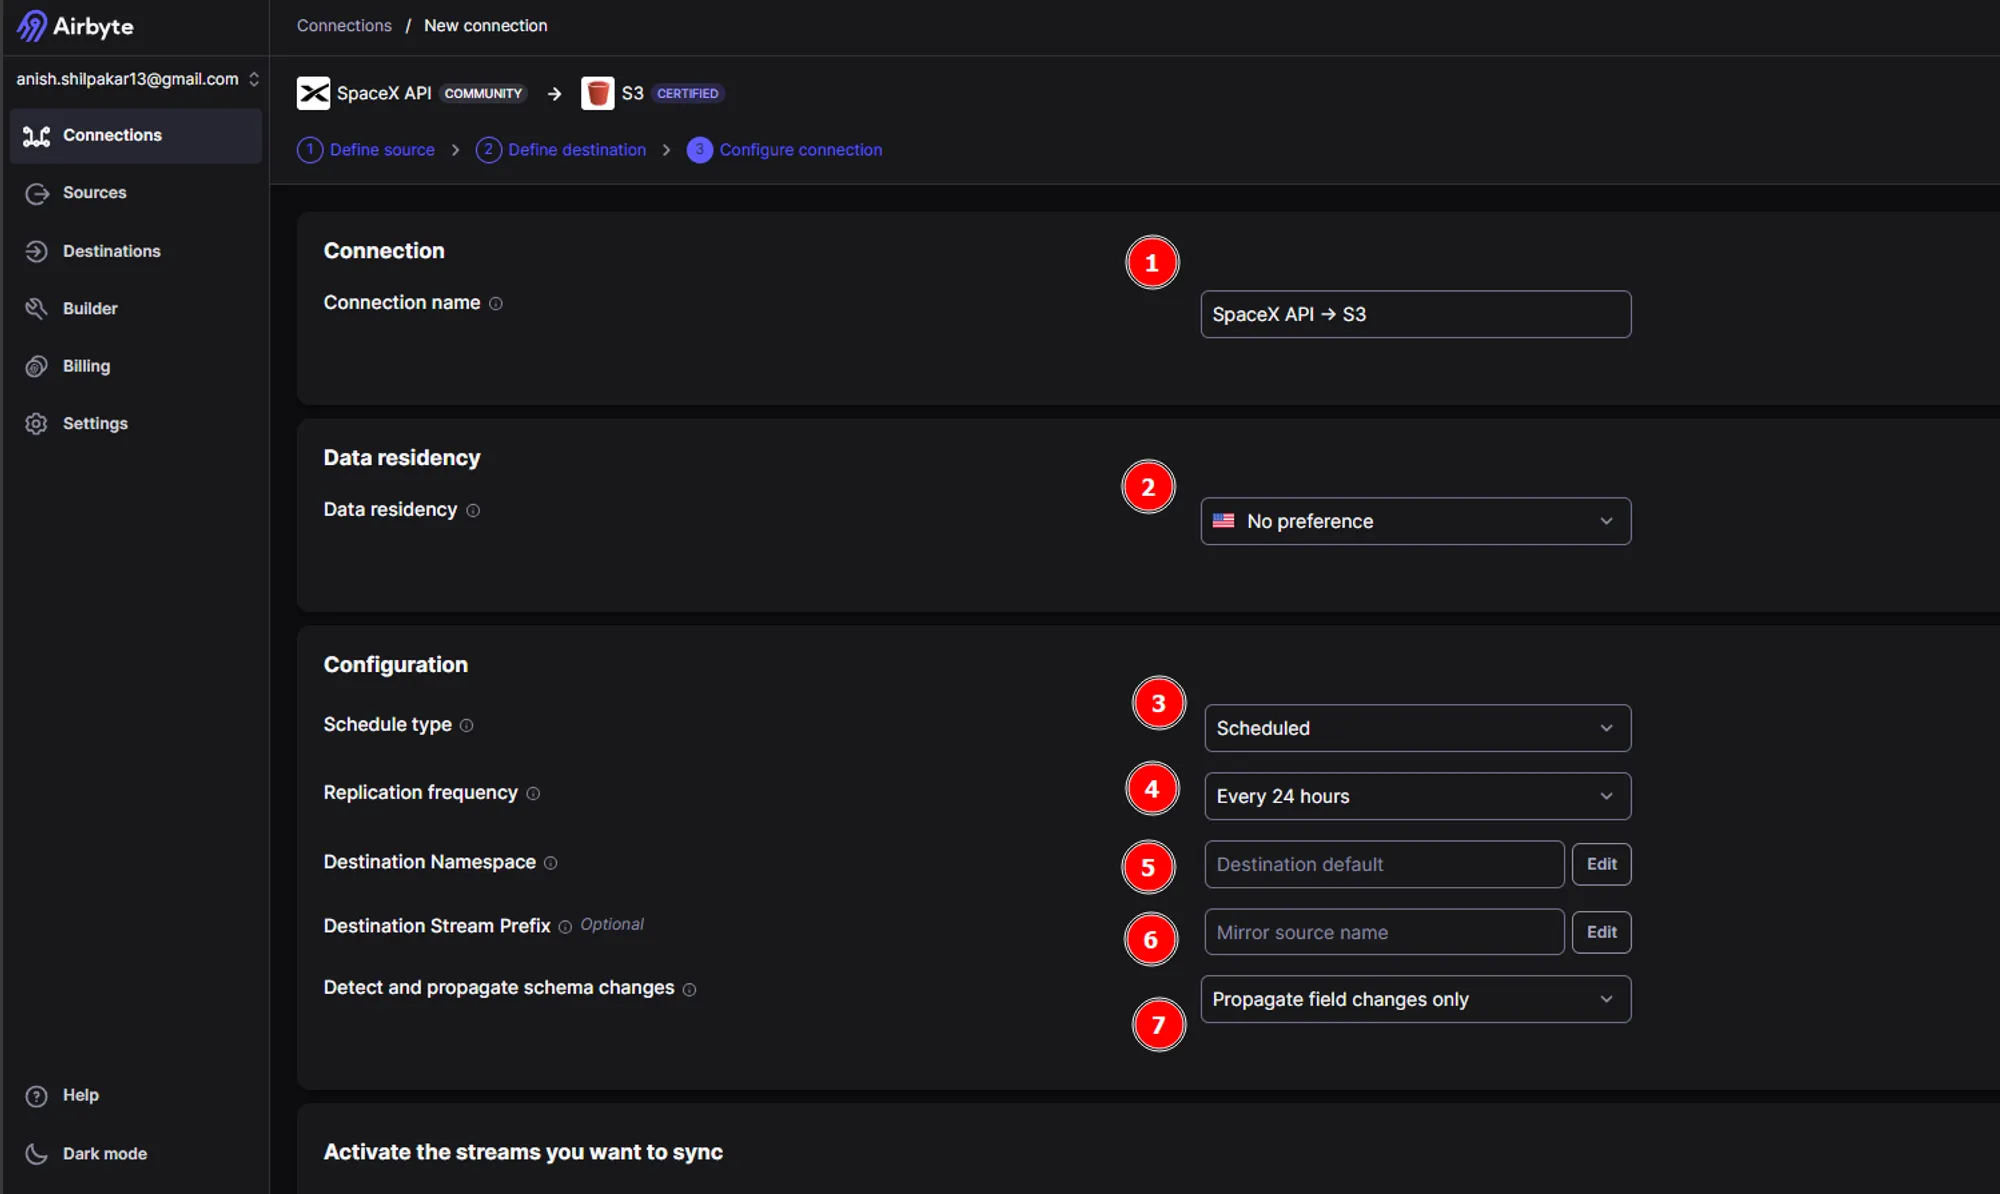
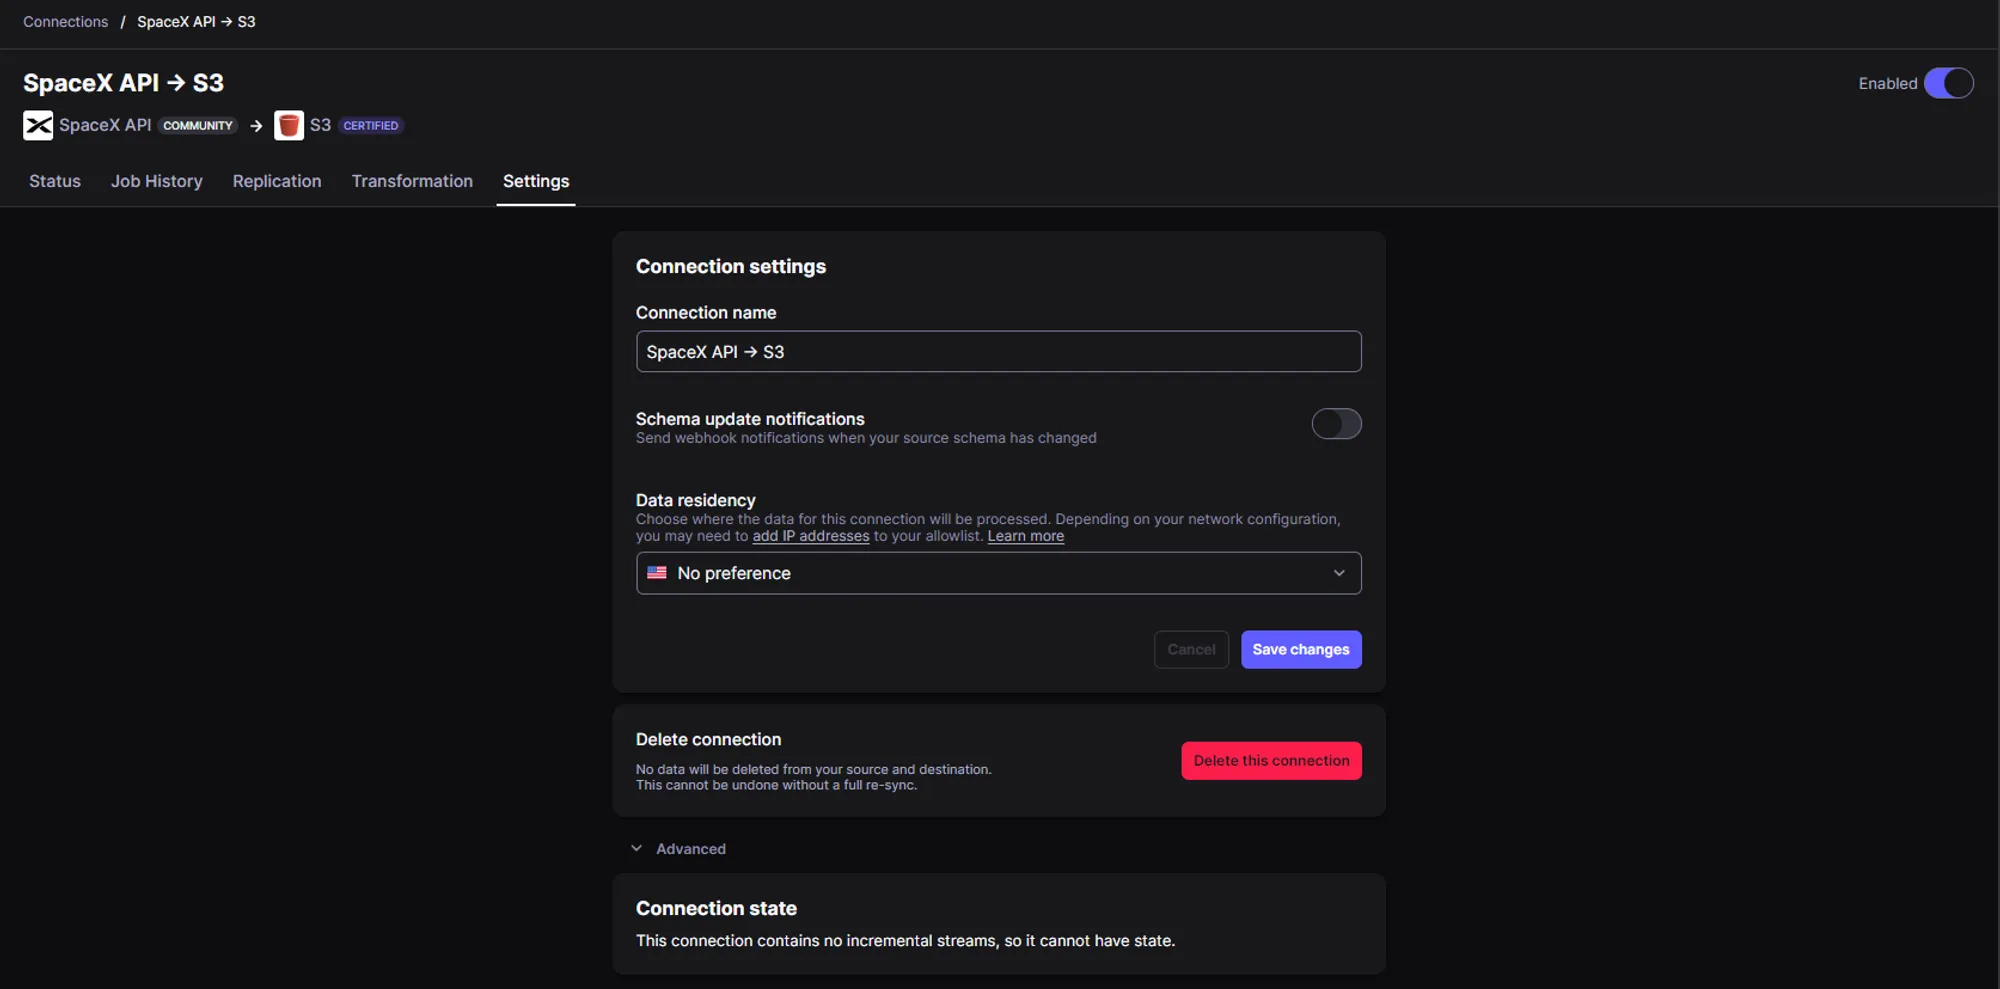
- Firstly, we should provide a meaningful name for the ELT connection
- We can choose where our data will reside by choosing between locations like US and EU.
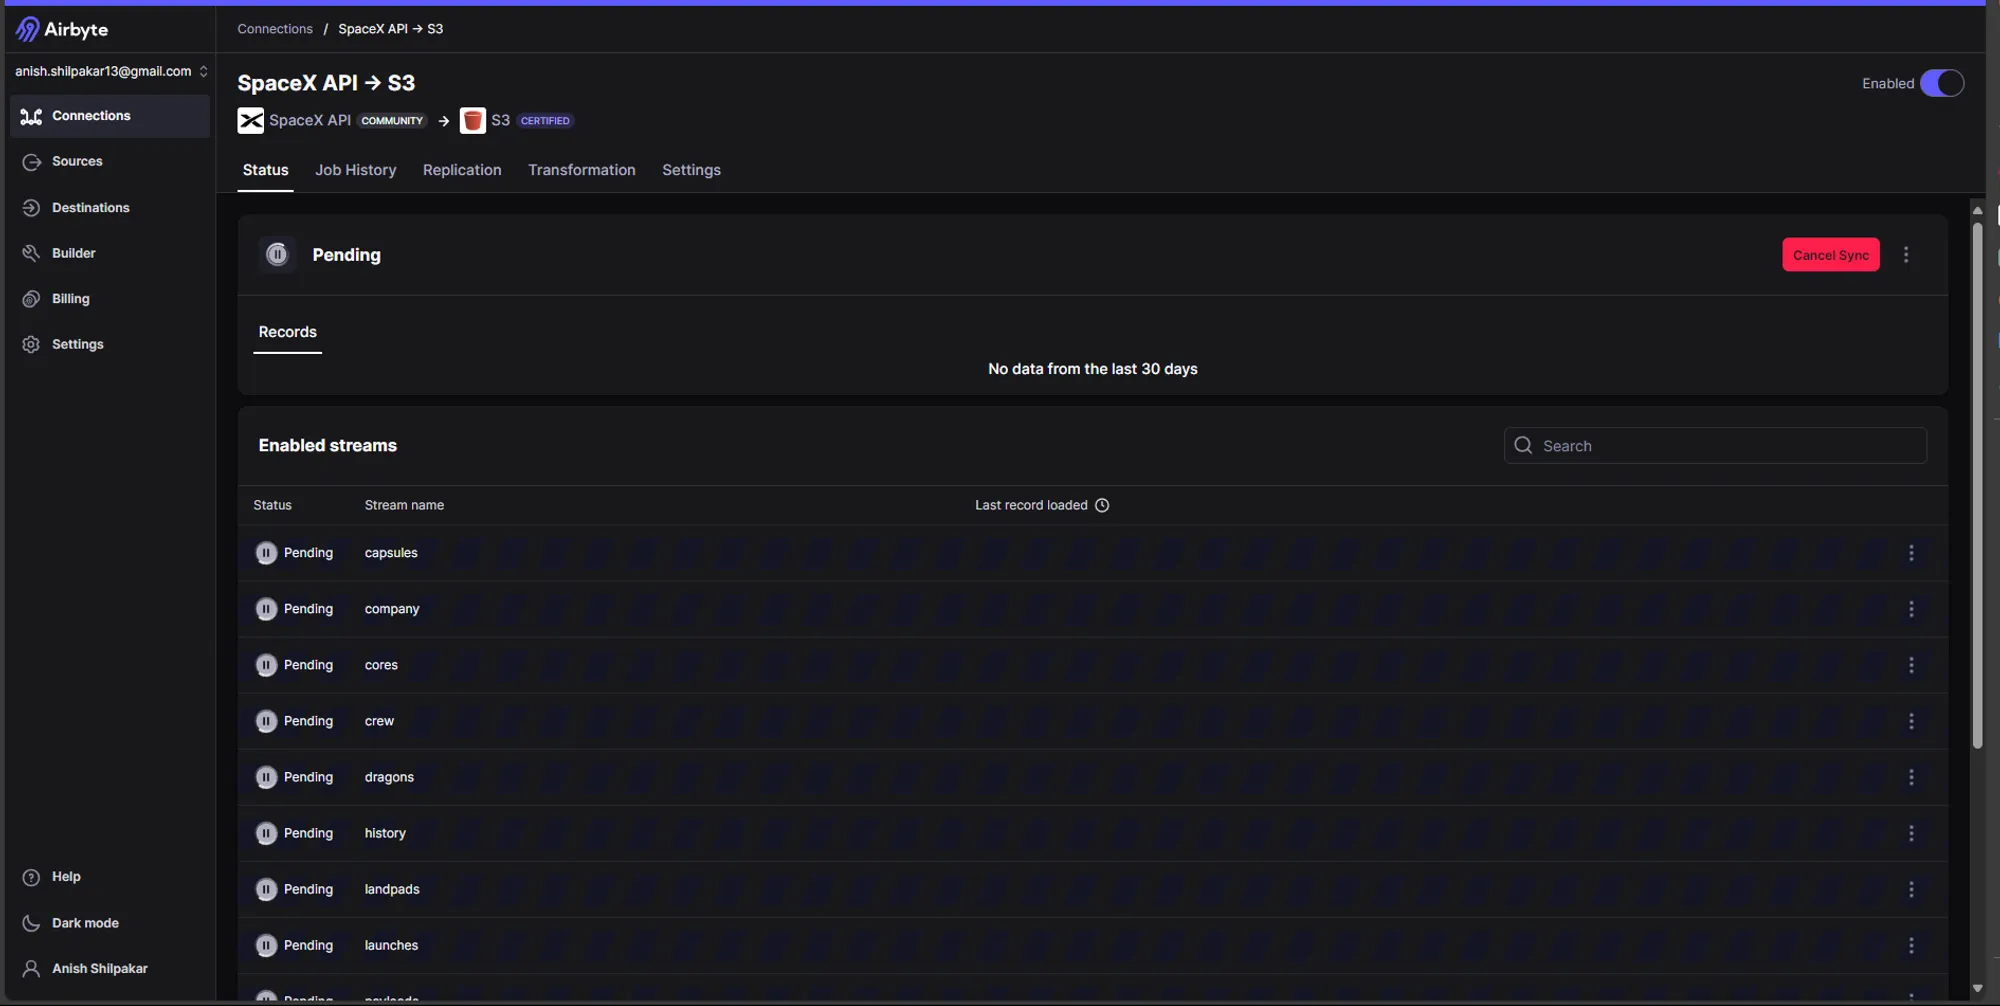
- Airbyte offers three types of sync schedules: scheduled sync, manual sync, and automated sync using cron jobs. For now, we are using a scheduled sync to automate the running of this ELT pipeline as per the specified schedule.
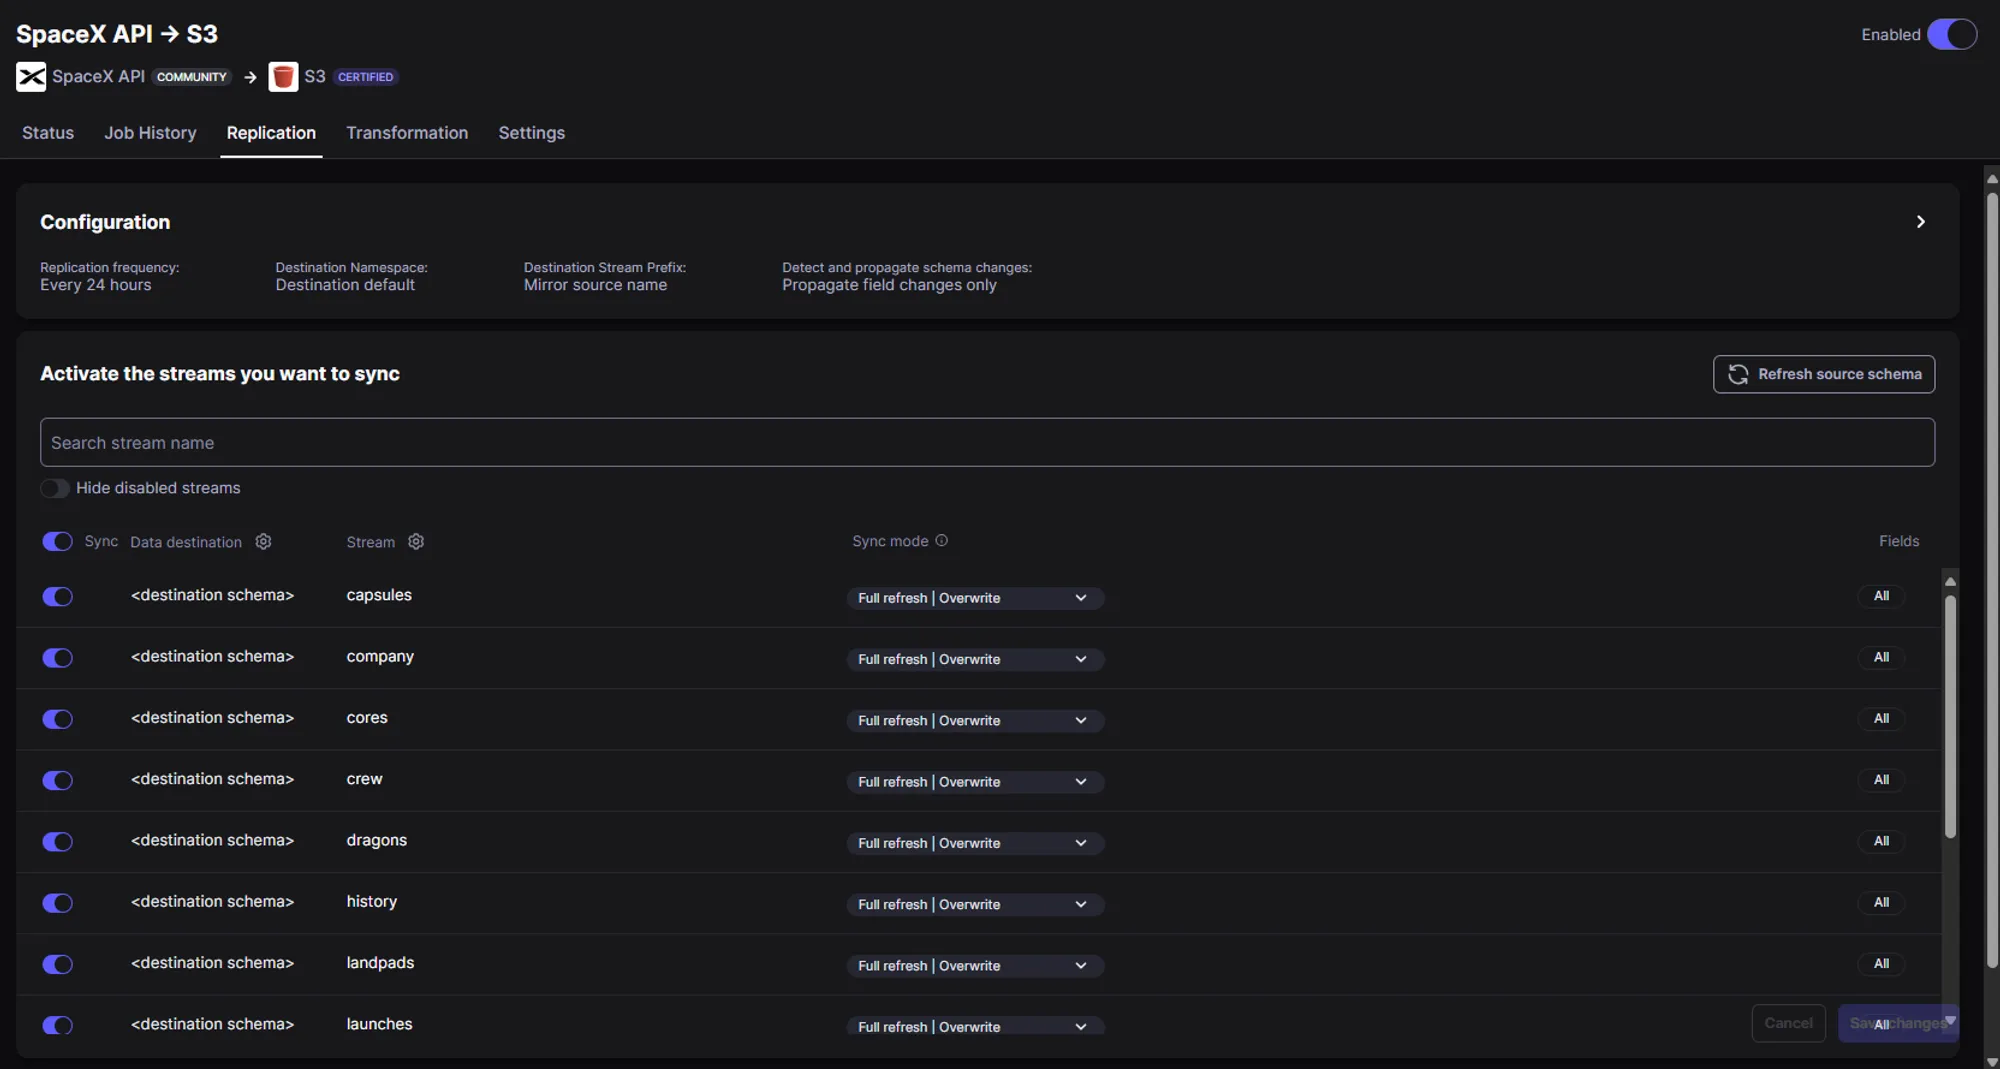
- In the replication frequency, we specify at which intervals we want to perform sync between source and destination.
- The destination namespace defines where the data will be synced in the destination folder. Here we can configure folder structure for synced data files and how to name the folders for synced data.
- The destination stream prefix can be used to add a prefix before every data folder synced and is an optional field.
- In the next option we can choose whether to automatically propagate field changes in source or to propagate both field and schema changes in source or to manually approve changes.
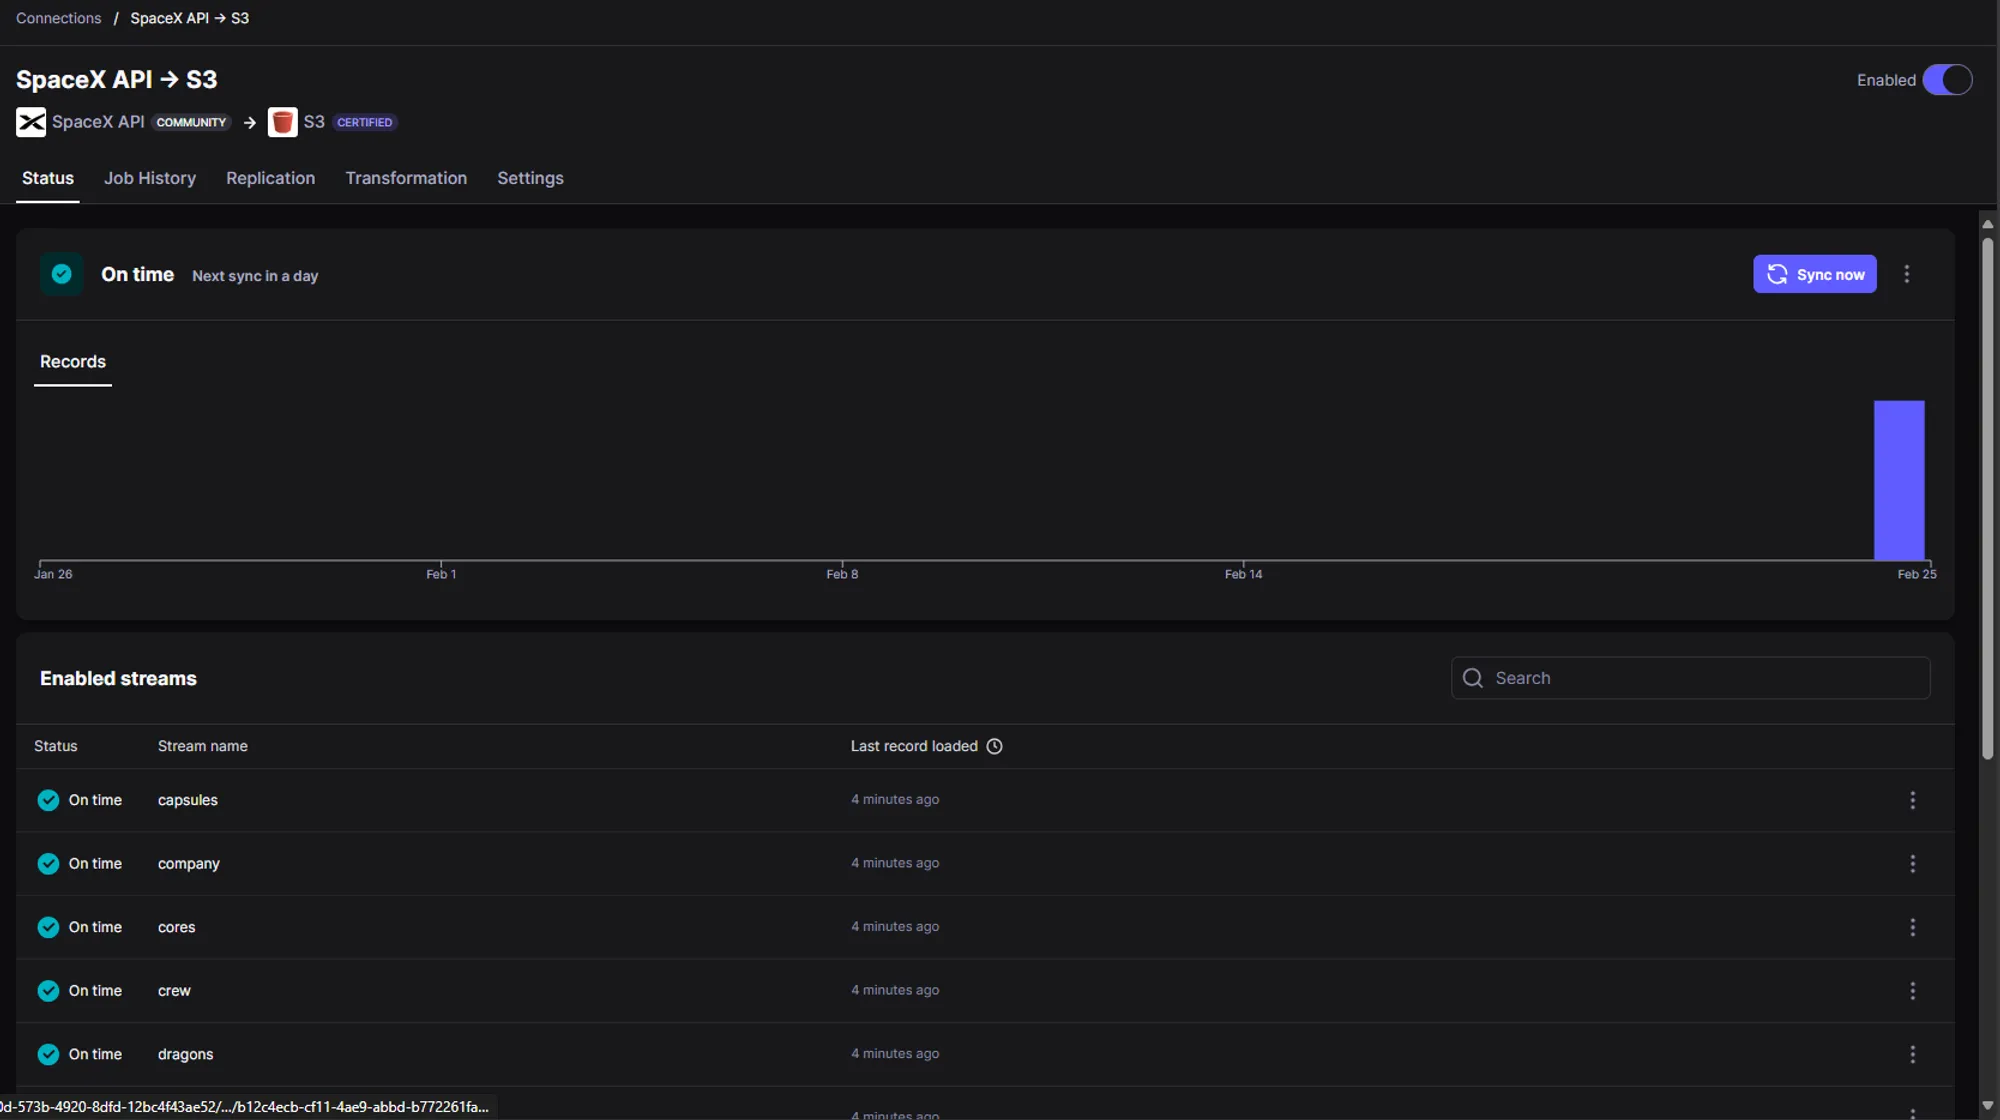
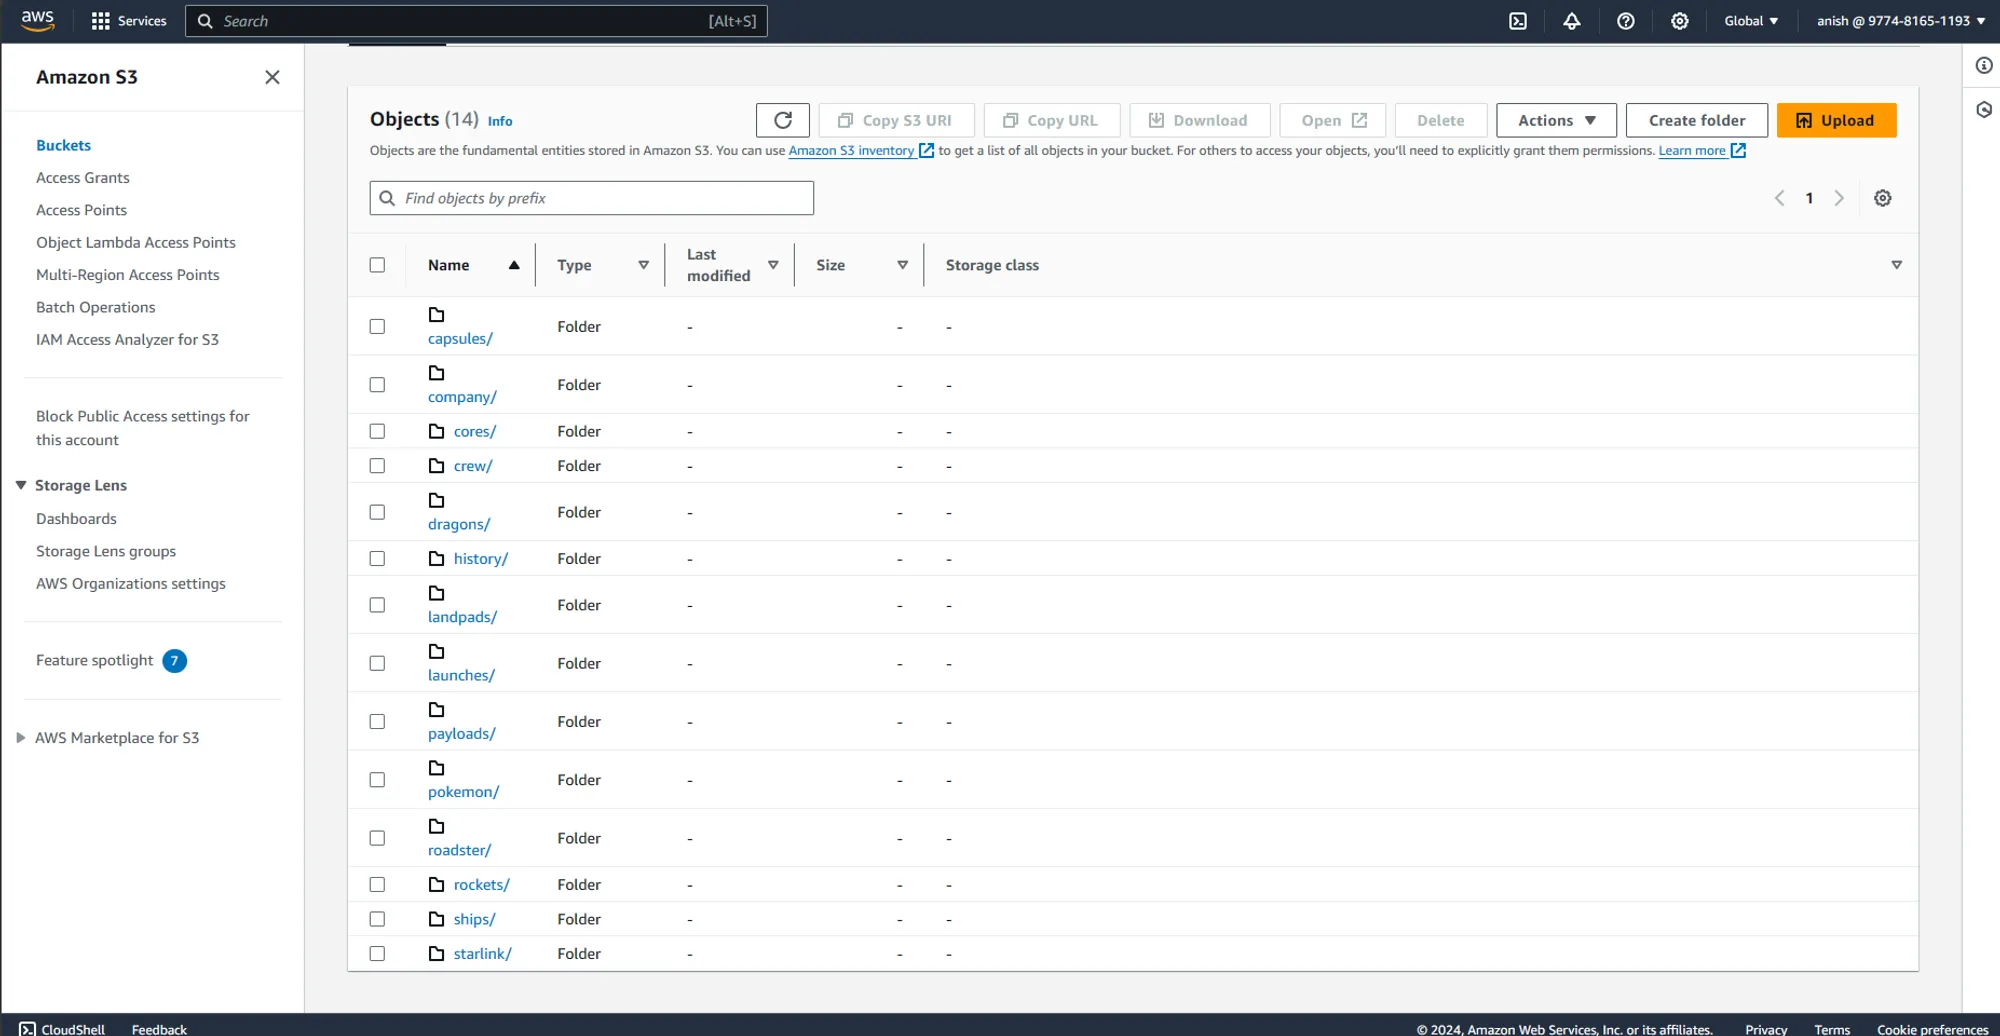
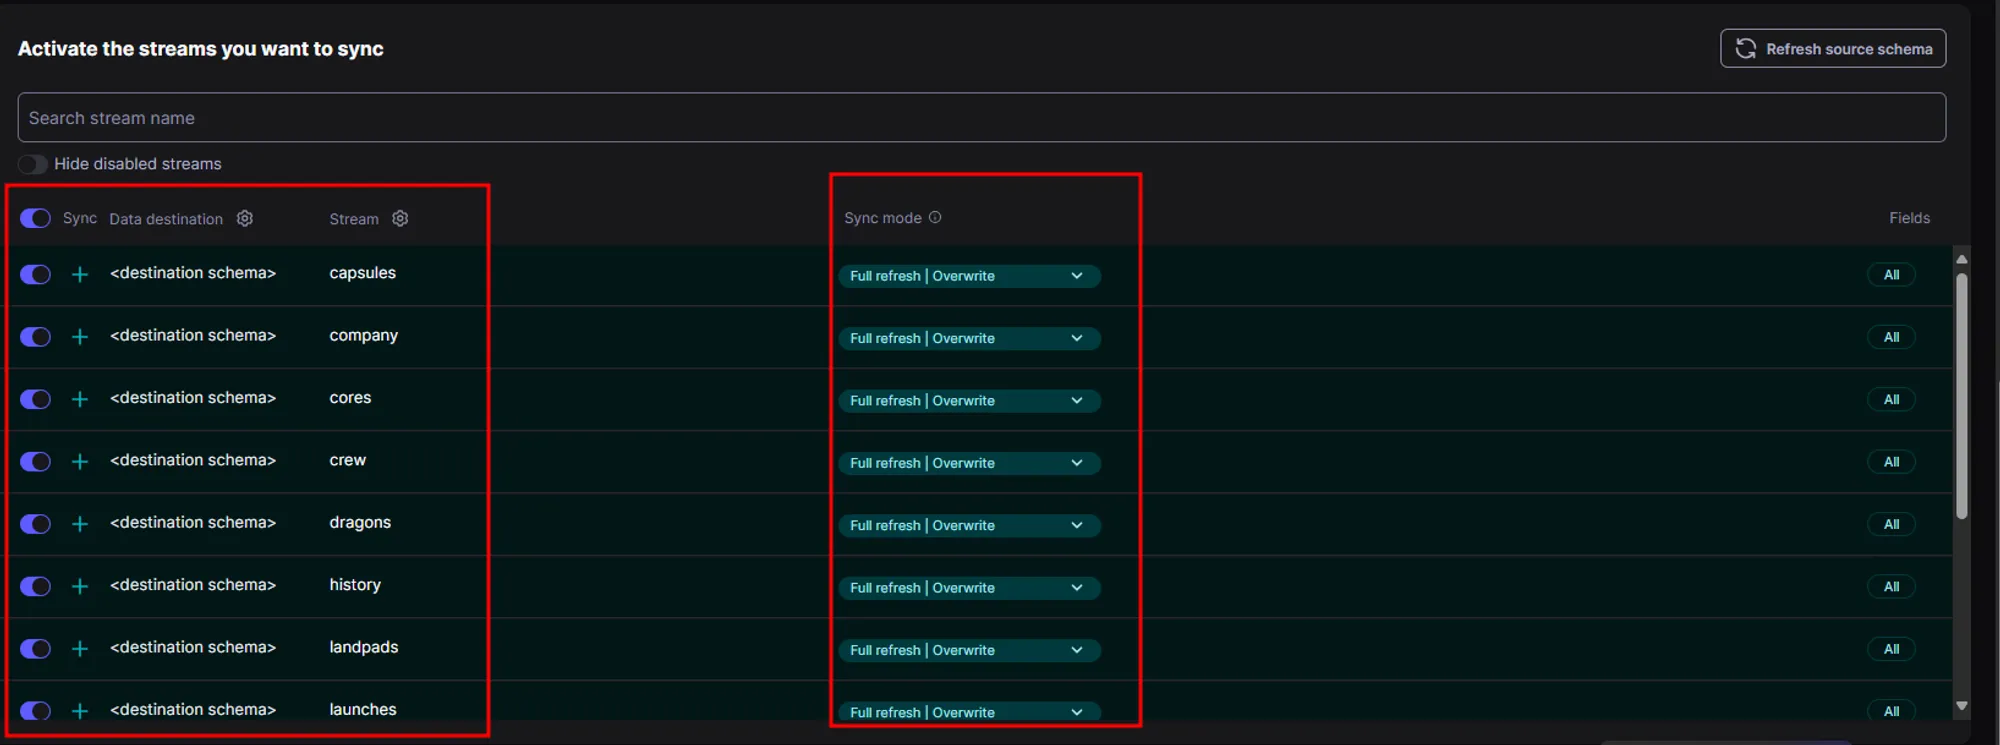
- In the next step we need to activate the streams from source that we want to replicate/ingest in our destination, so folders are only created for the streams that are activated here inside destination folder.
- Also for each activated stream, we have to select a sync mode. In the sync mode, we have options for full refresh and incremental load in source side and whether to overwrite all data or append new files in the destination side.
