Amazon Connect Integration with Gen-AI
Amazon Cloud base Contact Center integration with Amazon Q Gen AI-powered technology.
Published Mar 4, 2024
Amazon Connect stands as intuitive cloud-based contact/call center service. In this blog I will walk through the Amazon Connect deployment process, highlighting key aspects such as integration with an external identity provider and incorporation of generative AI-powered assistance.
The solutions I used for this blog are
Prerequisite you will need to setup AWS Managed Active Directory. Here is link I wrote. Also AWS Administrator IAM role. The time I am writing this blog Amazon Connect is supporting only two (US East 1 and US West 2) regions.
- Setting up Amazon Connect
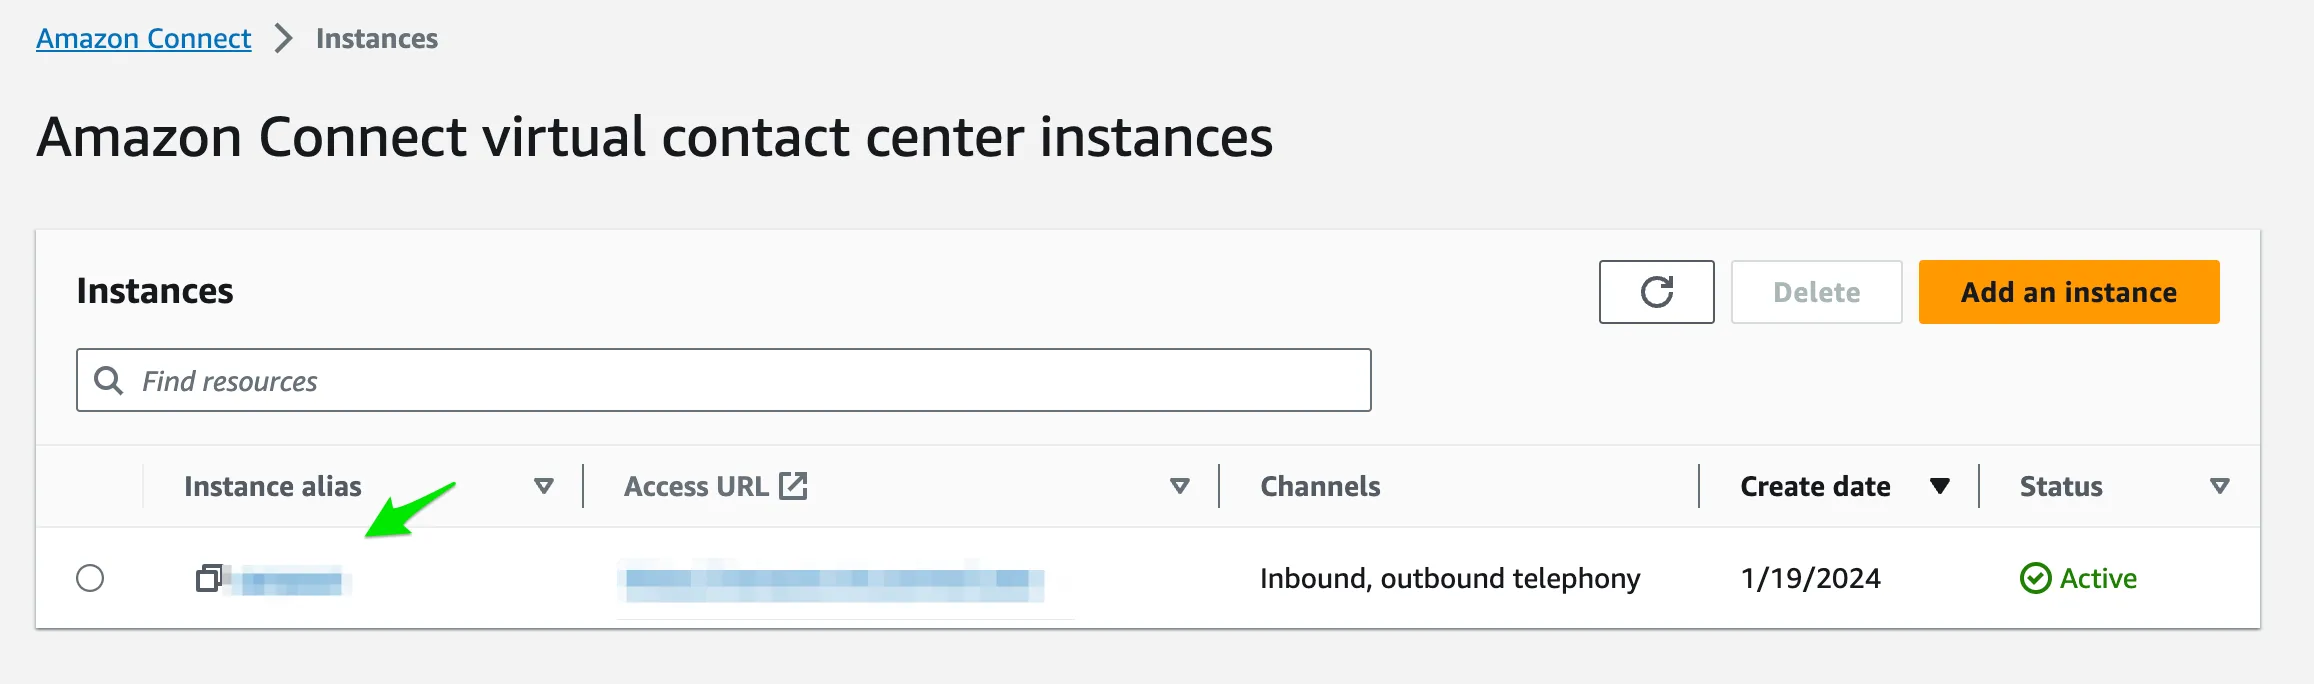
- Login AWS account and browser Amazon Connect service: https://us-east-1.console.aws.amazon.com/connect/v2/app/instances?region=us-east-1
- Click "Add an instance"
- At "Set identity" select "Link to an existing directory" and select Active Directory you want to use for Amazon Connect.

Amazon CX Set identity - At Administrator step you can select "No administrator" for right now. (Hint: you can set administrator later)
- Set telephony step check both "Allow incoming calls" and "Allow outgoing calls"
- At Data storage step keep everything default unless you want to use S3 bucket you already created.

Amazon Connect Data storage - At Review and create step please carefully review everything if require add tags then click Create instance.
- Access to Amazon Connect virtual contact center instance
- After Amazon Connect instance is Active, click instance alias
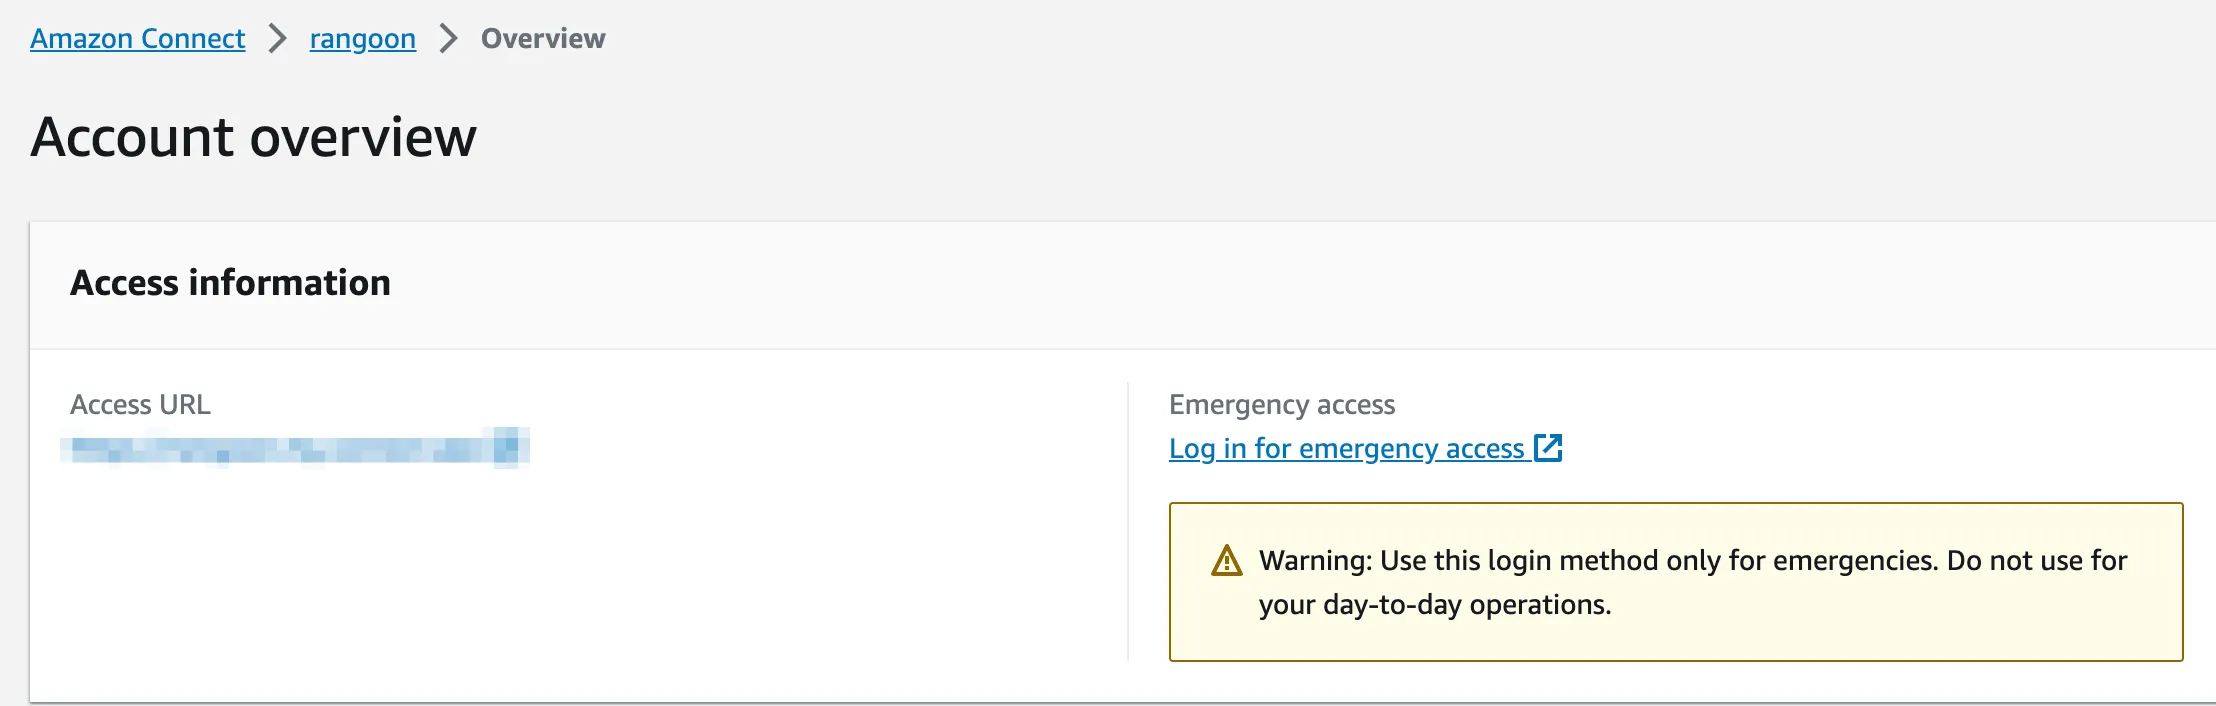
- At the Account overview page click the "Log in for emergency access" top right for add users from Active Directory.
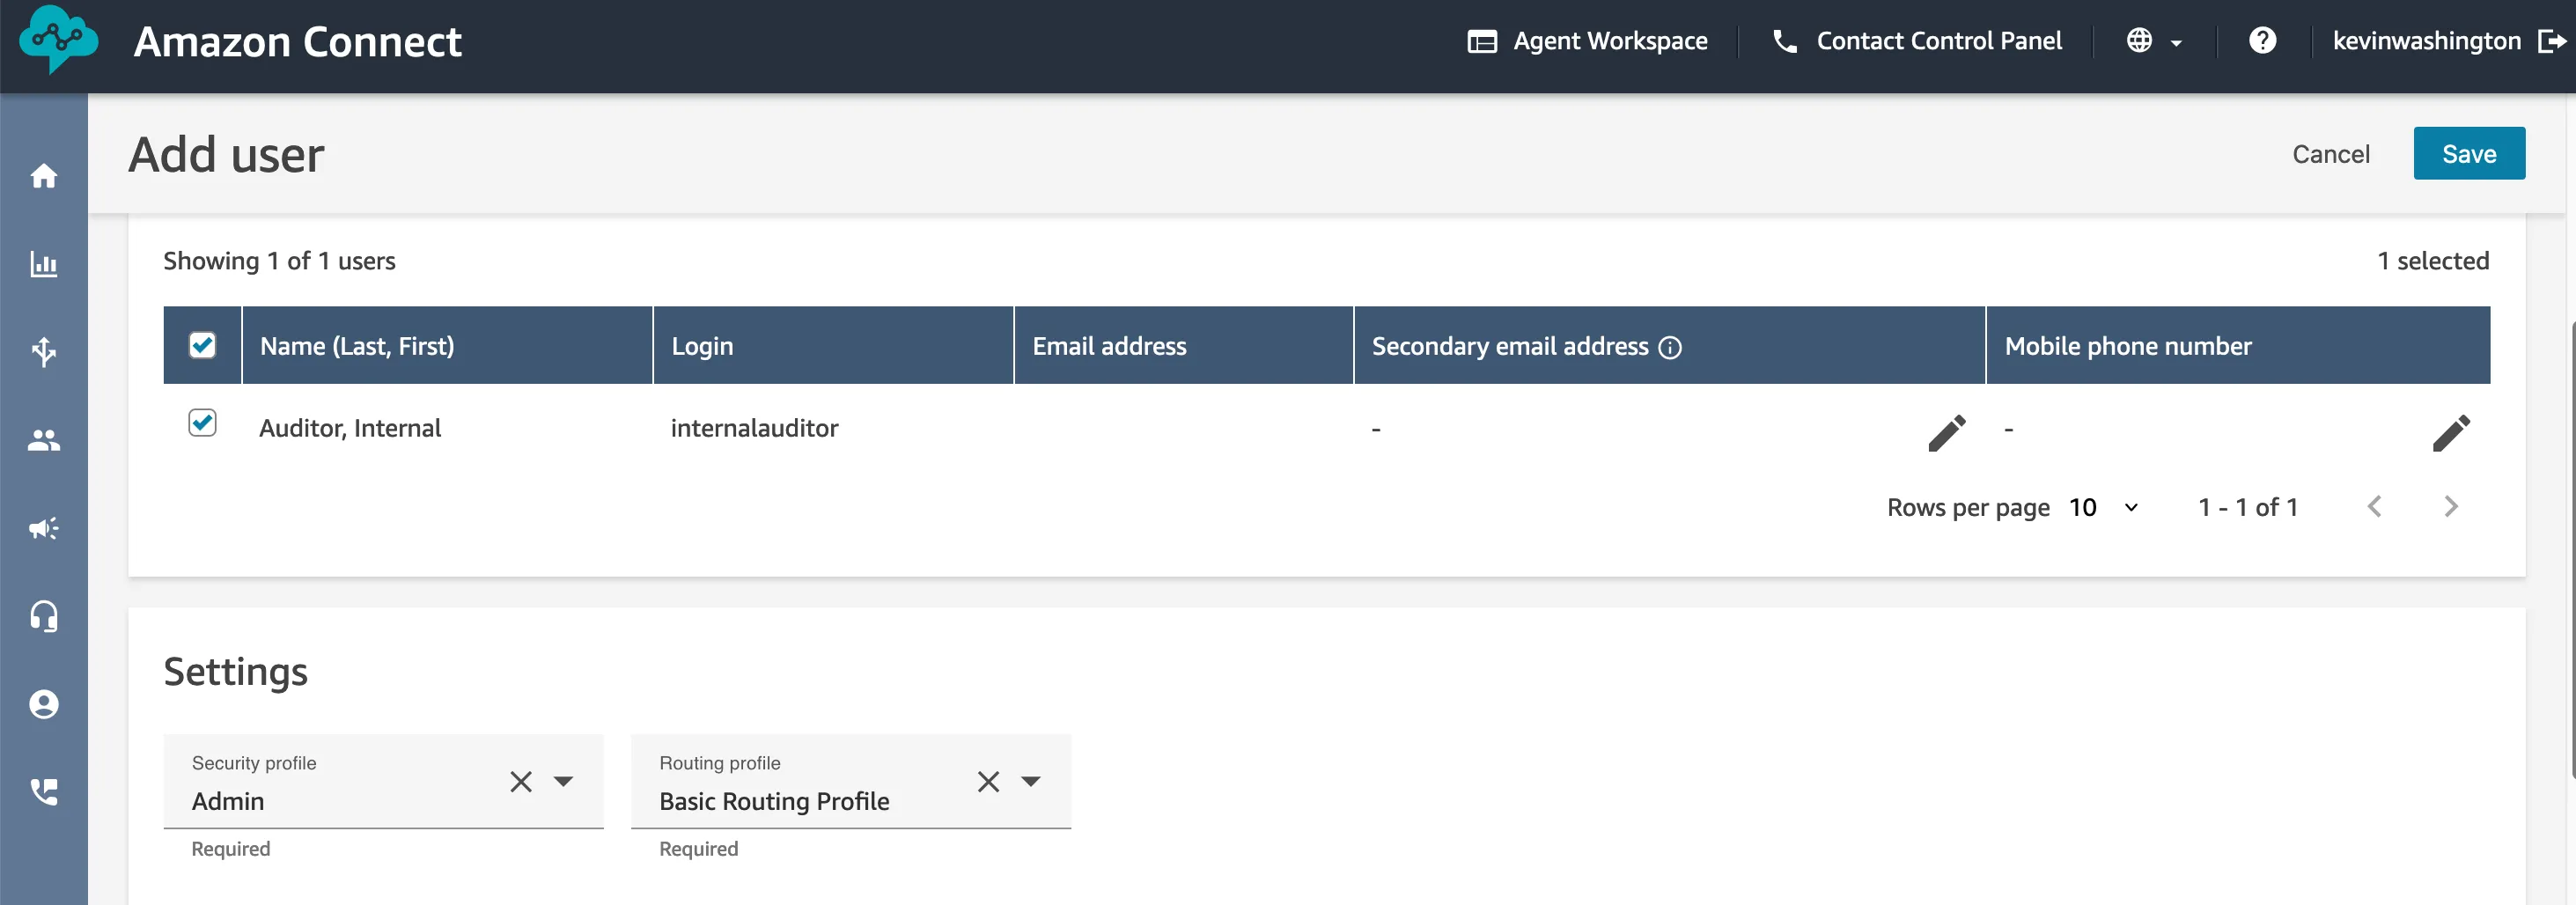
- Under User Management select Add new users: select the user and at Settings pls choose right security profile and right routing profile. (hint: create admin user with Admin Security and basic routing profiles) Then click Save.
- After create flows claim the phone number and associate with Contact flow/IVR. Under the channels on left menu bar select phone number and claim.
- Integration with Amazon Q
- Open Amazon Connect console https://us-east-1.console.aws.amazon.com/connect/v2/app/instances?region=us-east-1
- Select the instance created above
- On the left side choose Amazon Q and choose Add domain then create a domain
- Create an AWS KMS key using below code and replace account number.
- Select Symmetric and click next then give meanful alias name and description
- On the review page end below code (replace your account number)
- Add domain
- Create S3 bucket in same account and upload documents for testing (pdf, words and etc..,)
- On the Add integration page, choose Create a new integration and source as S3 buck. Browse the S3 bucket you created.
- Under encryption select KMS key your created.
- Then choose Next and Add integration.
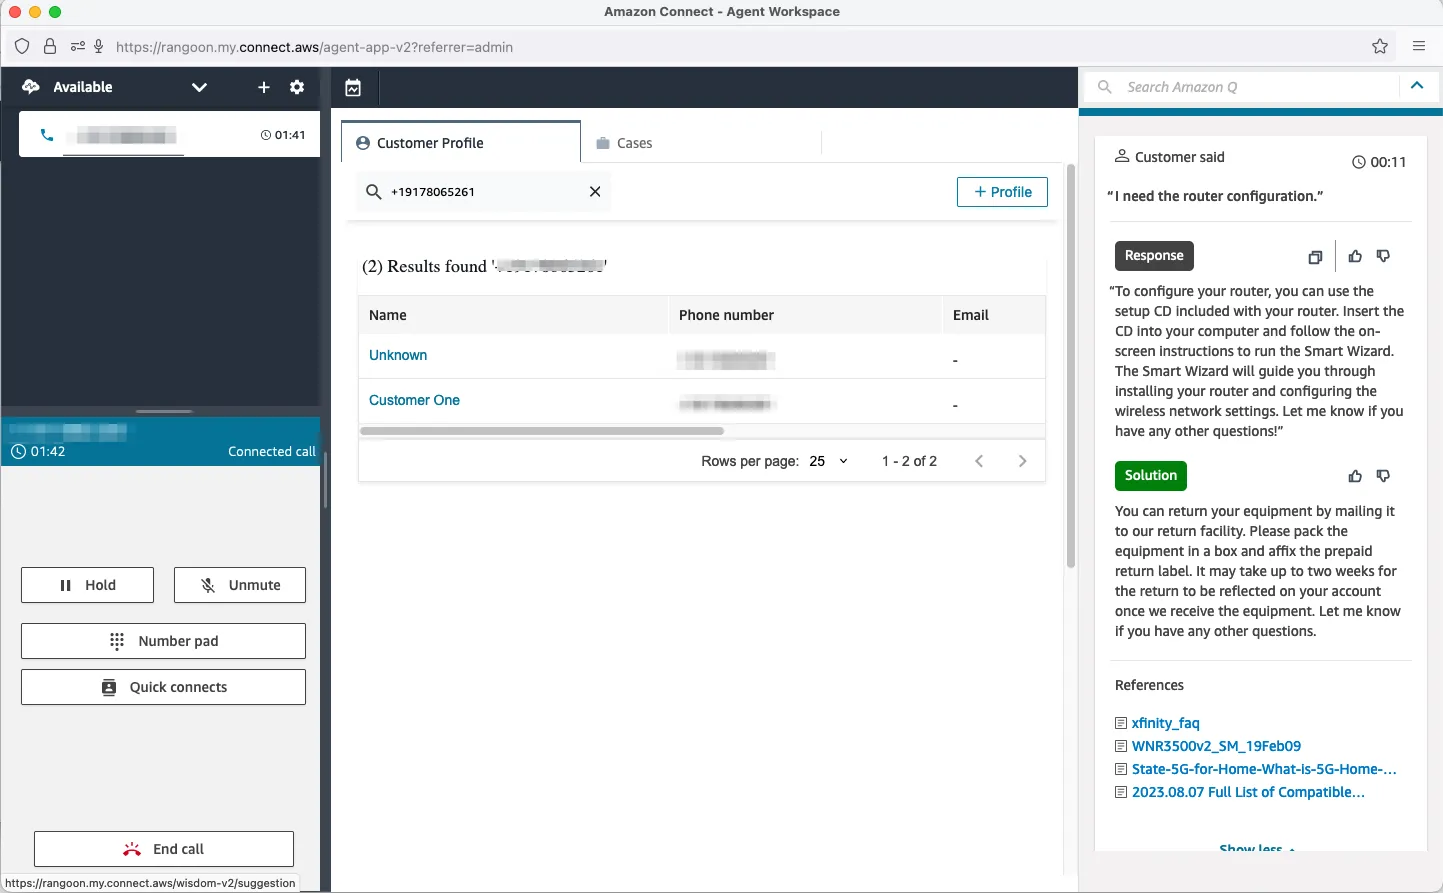
- After successful integration you can go Agent Workspace or https://
instance name.my.connect.aws/agent-app-v2/ - Now you can search Amazon Q manually or Amazon Q will listen between Agent and Customer.
Cloud base contact center is integrated with Amazon Q (Gen AI-powered) and managed users with Amazon managed Active Directory.