Guide to Creating Custom Machine Images on AWS
AWS AMI Customization: How to Build Your Own Machine Image
Published Jun 6, 2024
Amazon Machine Images (AMI) are the fundamental building blocks for creating virtual machines (EC2 instances) in the Amazon Web Services (AWS) cloud. An AMI is essentially a snapshot or template of a virtual machine that includes the operating system, software, and configurations required to launch an instance. Think of it as a pre-configured "golden image" that you can use to quickly spin up new EC2 instances, saving you time and effort.
The real power of AMIs lies in their ability to be customized to your specific needs. Instead of starting from scratch each time you need to launch a new instance, you can create an AMI that includes all the necessary software, configurations, and even your own custom applications. This way, when you launch a new instance from your AMI, everything is already set up and ready to go.
Let's say you have a React application that you want to deploy on AWS. You could create an AMI that includes the necessary dependencies, such as Node.js and your application code, pre-installed and configured. Then, whenever you need to launch a new instance for your application, you can use this custom AMI, and your app will be ready to run without any additional setup.

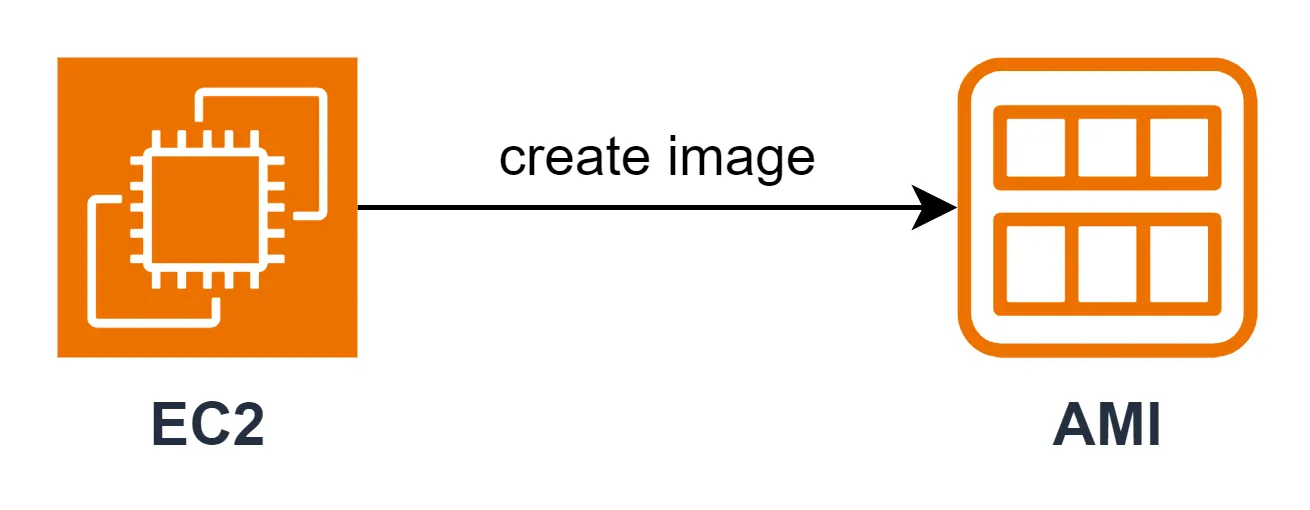
There are a few ways to create a custom AMI, but the simplest method is to start with an existing EC2 instance, configure it to your liking, and then create an AMI from that instance. Here's how you can do it:
First, launch an EC2 instance using an existing base image (e.g., Amazon Linux, Ubuntu, Windows Server) that aligns with your requirements.
Once your instance is running, connect to it and start customizing it. Install any necessary software, configure settings, and deploy your applications. This is the step where you'll make your instance unique and tailored to your needs.
After you've finished customizing the instance, you can create an AMI from it. In the AWS Management Console, locate the instance, right-click on it, and select "Image" and then "Create Image." This will capture the current state of your instance, including all the software and configurations you've added, and save it as a new AMI.
Now that you have your custom AMI, you can use it to launch new EC2 instances whenever you need them. Simply navigate to the AMIs section in the AWS Management Console, select your custom AMI, and click "Launch Instance." All the software and configurations you've set up will be automatically applied to the new instance, saving you time and ensuring consistency across your deployments.
Creating custom AMIs in AWS is a powerful way to streamline your infrastructure and ensure consistency across your deployments. By pre-configuring your instances with the necessary software, dependencies, and even your own applications, you can launch new resources quickly and with confidence. Embrace the flexibility and efficiency of AWS AMIs to take your cloud-based applications to the next level!
