Optimizing Delivery workloads with the Amazon Location Service Route Optimization Accelerator

Learn how to deploy the new Route Optimization Accelerator and optimize delivery routes

Zach Elliott
Amazon Employee
Published Apr 18, 2024
Last Modified Apr 19, 2024

Introduction

In the world of transportation and logistics, organizations are doing everything they can to reduce time, distance or emissions when performing multiple stops. As part of this, designing an optimal route is crucial. In order to assist organizations in this, we are announcing the Route Optimization Accelerator, a tool designed and built by AWS Prototyping Architect Mirash Gjolaj, to build optimized driving routes that factor in many configuration options. Utilizing Amazon Location Service Matrix Routing provided by HERE Technologies, the Route Optimization Accelerator provides an open-source, customizable solution that can help organizations design sustainable, cost effective routes. Follow this guide to install the accelerator and start optimizing your first route.

Installing the Accelerator

For the purposes of this post, we'll be installing the accelerator on a AWS Cloud9 instance. It can be installed on a variety of systems, as long as they meet the requirements. Ensure the system has plenty of memory and disk space, as the installation and configuration process is resource-intensive. We recommend m5.large for Cloud9 at a minimum.

Installing prerequisites

Since we are using AWS Cloud9, it comes with many of the libraries and tools installed that we will be using to install the accelerator, however we do need to install a few additional tools.

Installing pnpm

pnpm is used as a package manager throughout this deployment. To install it, simply run

Installing AWS PDK

Next we need to install the Project Development Kit from AWS. PDK is used to accelerate the deployment of reusable components using AWS CDK. To install it, run

Installing Maven

Maven does not come included on AWS Cloud9 instances, so we will need to install it

Installing additional Docker build environments

Because we are running this on Cloud9 on an x86_64 based instance, we need to install additional build environments to support the arm64 build environment that the accelerator was developed on. Note if you are deploying this from an ARM based system such as an M-Series Mac or Graviton-based EC2 instance, this step is not required. Run the following command:

Initializing the accelerator

First, we need to clone the code from GitHub. To do this, run
Next, navigate to the route-optimization-accelerator directory and run
This will install prerequisite packages required to install the Accelerator.
Next we need to log into the ECR Public Gallery where the base container image is hosted. In order to do this, run the following command, replacing [profile] with the name of the AWS Profile loaded on your machine.
For example on a Cloud9 Instance the command would look like this
Now run the following command to build the app
This command will take some time to run. Once it is completed, you should see the following:

Deploying the Accelerator

Now that the prerequisites are taken care of, let's deploy the Accelerator project. First, ensure you have bootstrapped the environment for CDK. Navigate to the packages/infra-app directory and run the following, replacing [profile] with your configured AWS profie.
Finally, run the following command, replacing admin@an-email-domain.com with the email address you would like to use to log into the Web UI, and [profile] with your configured AWS profile.
 This step will take approximately 5 minutes. When it runs successfully, you should see similar output to the following:

Logging in for the first time

During the deployment process, you will receive an email to the admin email you specified in the deploy command. This email will contain your username and temporary password. Locate this email and the InfraDev.WebApiEndpointxxxxx URL from the build command output above.
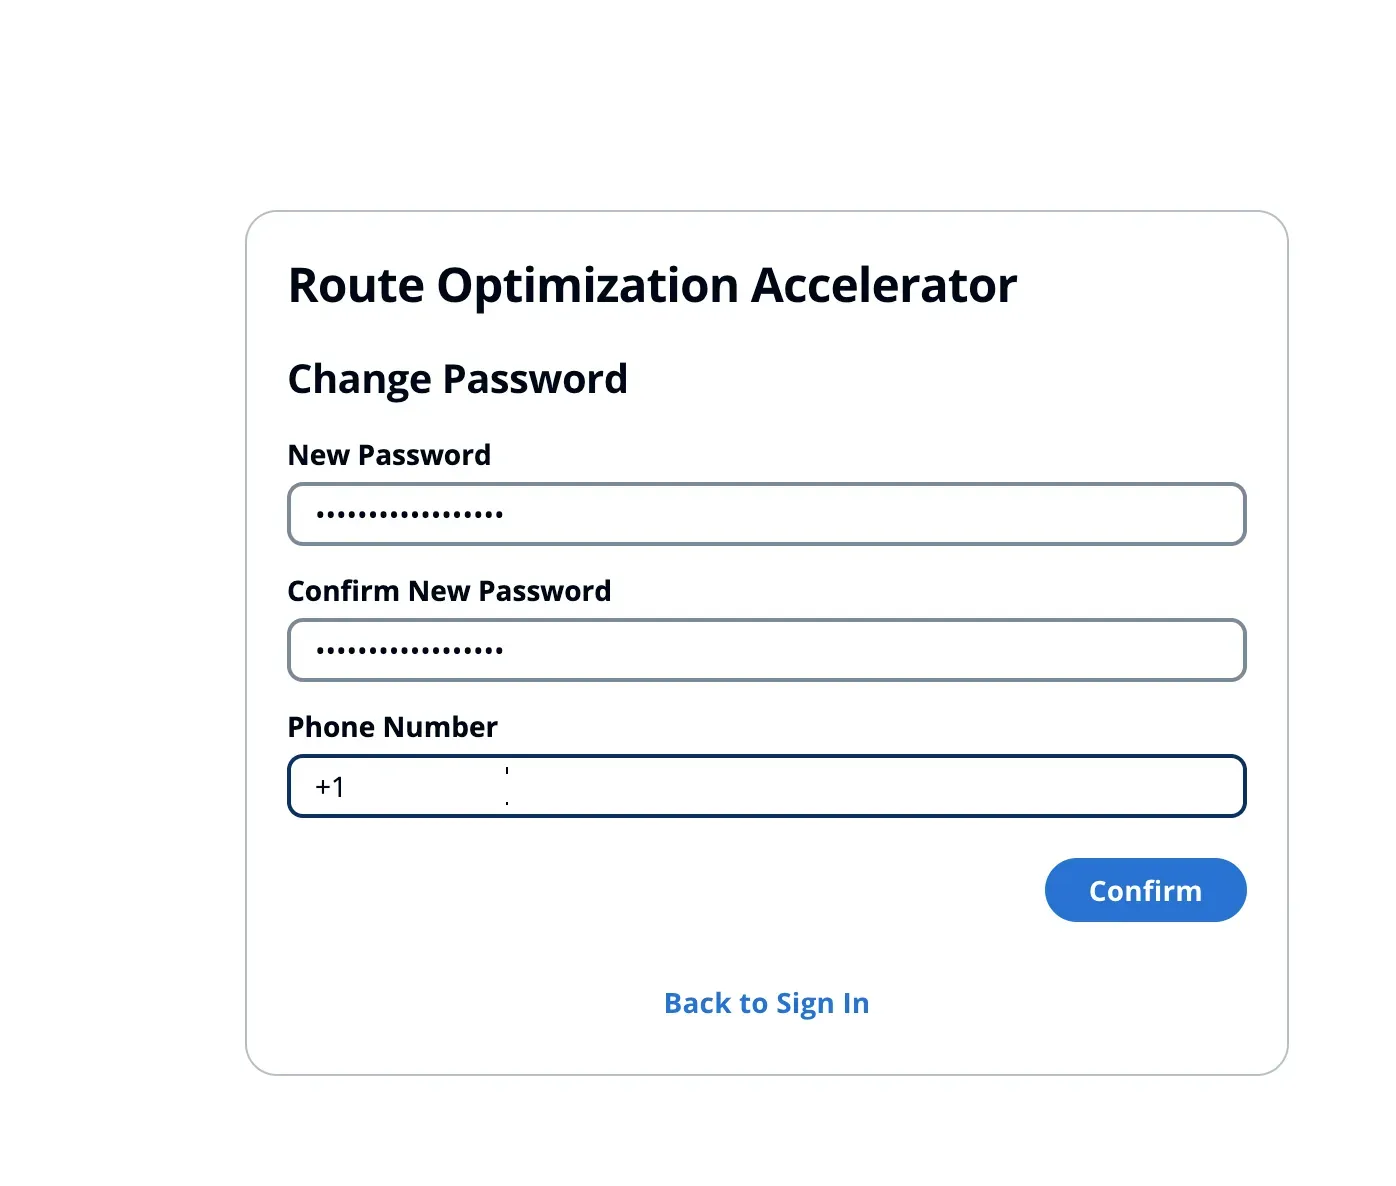
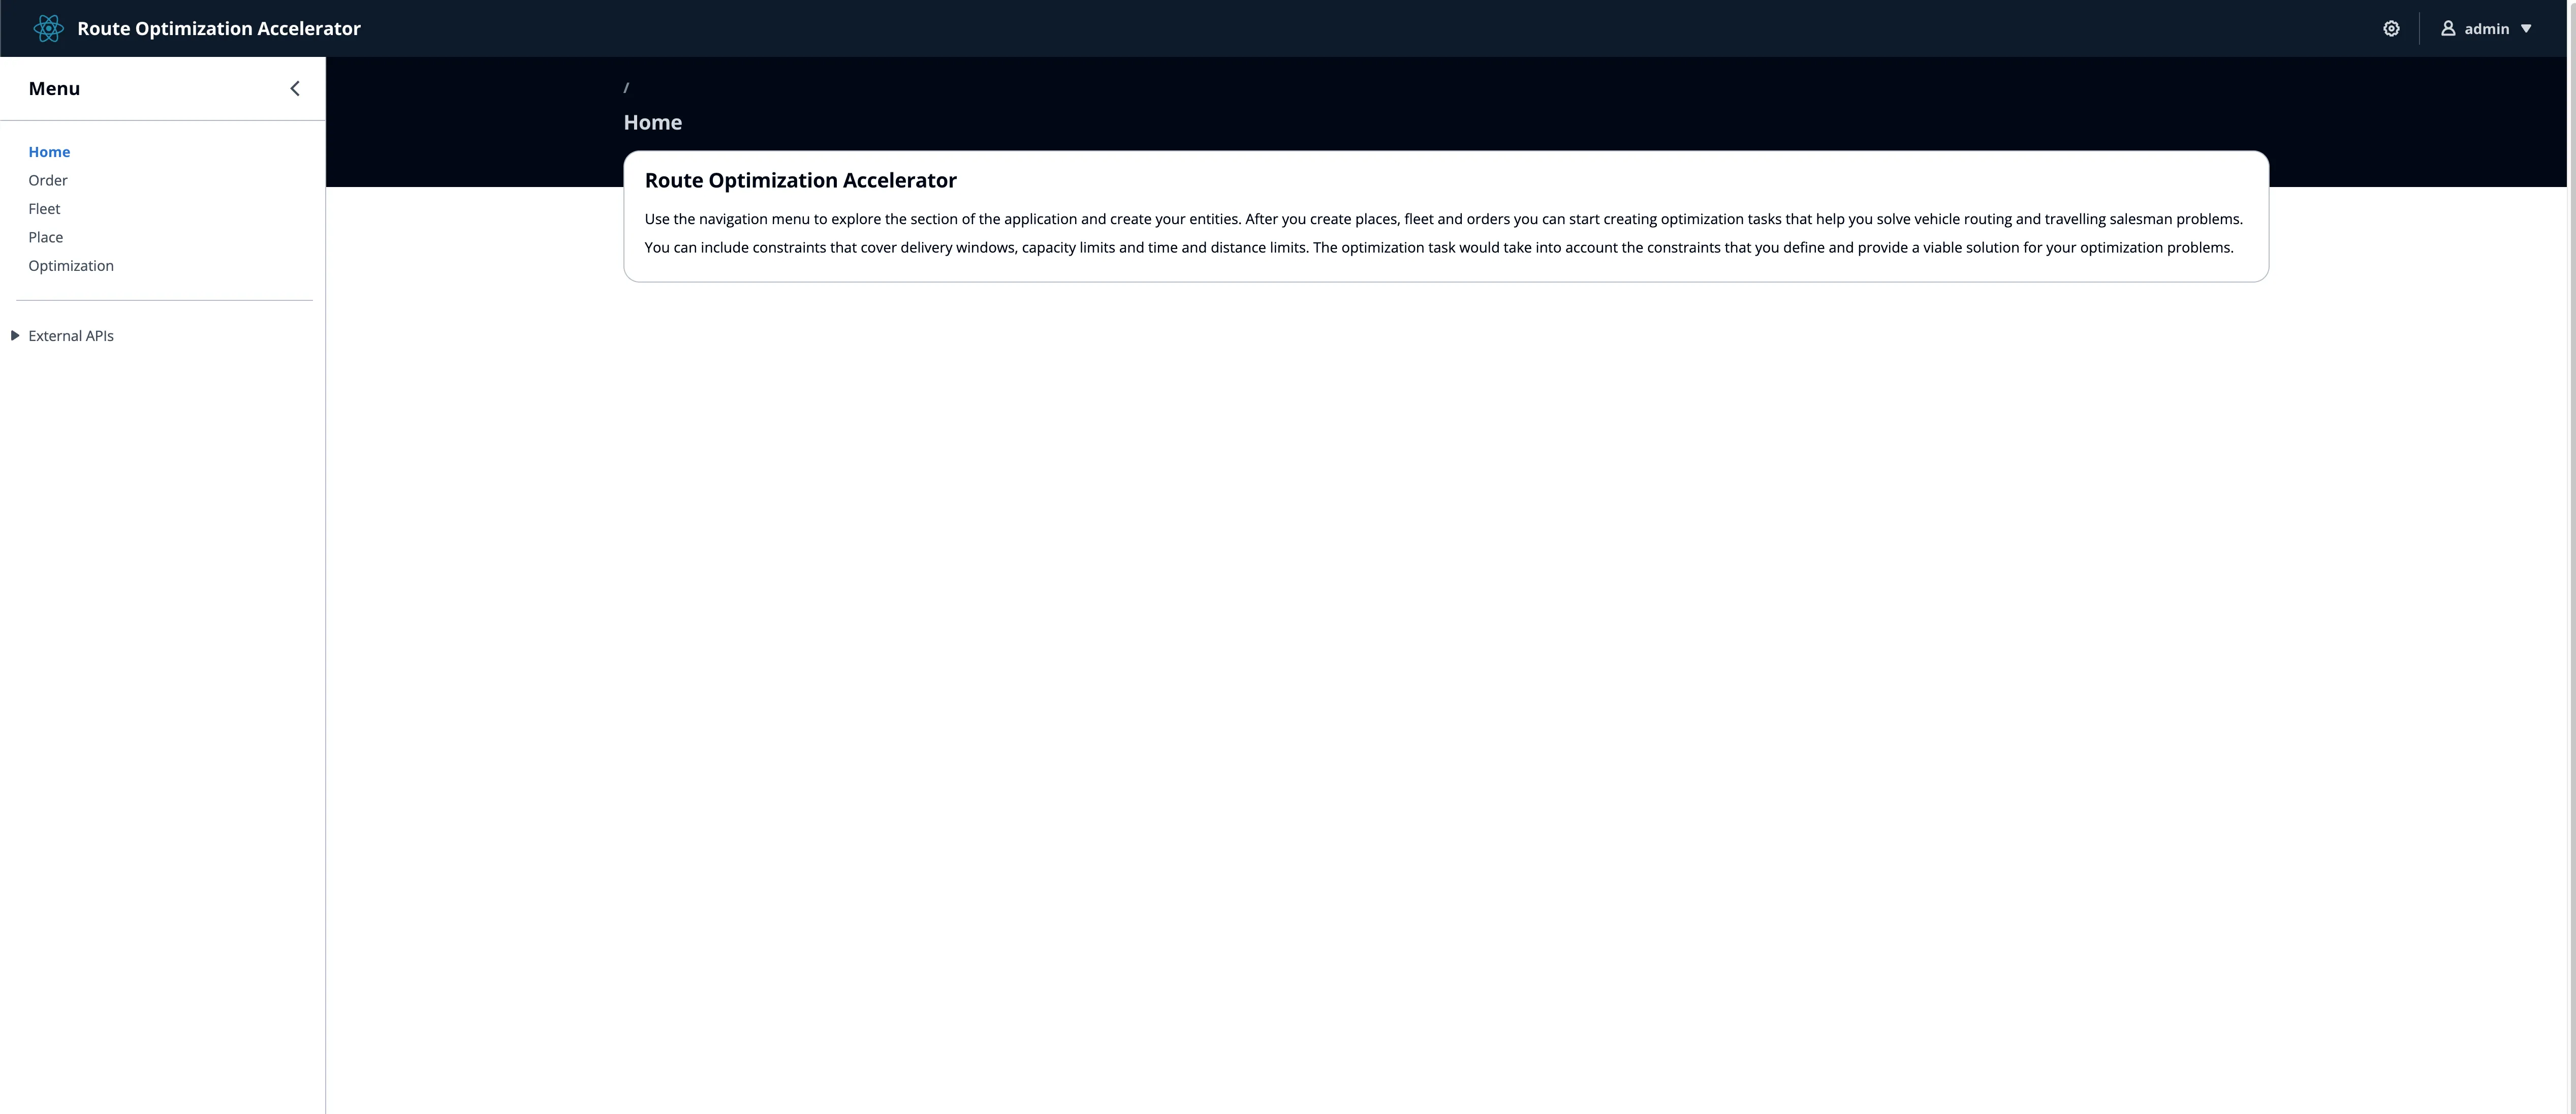
Navigate to the WebApiEndpoint URL in your browser, then login with the temporary password and username. You will then be prompted to enter a new password. Choose a strong password, noting if it does not meet the requirements set by the application, it will require you to enter a new password. Additionally, enter your phone number for notification text messages from the application. Select Confirm. You will now be logged into the Route Optimization Accelerator Dashboard
Setting new password
Configuring new login password
Route Optimization Accelerator Dashboard

Creating our first optimization

Now that we've deployed the Accelerator, it's time to create our first optimization. For this, we will use the traveling salesman problem, which asks "Given a list of points and the distances between each pair of points, what is the shortest possible route that visits each point exactly once and returns to the origin point?" In order to solve this problem, we will define a single vehicle with multiple stops.

Defining our origin and destination

The first step in our route optimization is defining where we need to start and where we need to make deliveries to. In this example, we will use Amazon corporate buildings located in Seattle, WA. The Accelerator uses Amazon Location Service and the Place Index capability to geocode our addresses to latitude and longitude geographic coordinates that can be used by the route optimization tasks.

Setting the Origin

On the left side menu, select Place. In the Create a new place page, select Seattle Depot as the Name, select Depot as the Type and for the address, enter 2021 7th Ave
Seattle WA, 98121​
which is the Amazon Doppler office. Select Save
Depot Configuration
Depot Configuration

Setting delivery locations

Now that we've configured the Origin, we can set our delivery locations. On the left side menu, select Place. In the Create a new place page, we will create 5 locations. Repeat the steps we followed in creating the origin, with selecting Location as the Type. Create 5 Locations using the following 5 addresses:
Name: Nitro_North
Address: 2250 7th Ave
Seattle WA, 98121
Name: Spheres
Address: 2111 7th Ave
Seattle, WA 98121
Name: Reinvent
Address: 2121 8th Ave ​
Seattle, WA 98121
Name: Blackfoot
Address: 1918 8th Ave
Ste 400
Seattle WA, 98101
Once you are finished, you should see a screen like this:
Completed Places List

Defining the fleet

For our first example, we will only be using a single vehicle. On the left side menu, navigate to Fleet and select Create New. In the Create a new Fleet member page, enter the following information, leaving some fields as default. Note the Limits set for a fleet vehicle will override any limits set during the Optimization process.
Name: Vehicle1
Location: Seattle Depot
Max Orders: 10
Select Save
Fleet Configuration for Vehicle1
List of Fleet Vehicles

Viewing Fleet Locations

In the fleet view, you also have the ability to view live positions of your fleet, utilizing Amazon Location Service Trackers. These can be updates from IoT Tracking devices or a mobile application that calls the Route Optimization Accelerator External API, or the Amazon Location Service Trackers API.
To update using Amazon Location Service Trackers, you first need to obtain the ID of the Vehicle. Select Details next to the Vehicle and then copy the ID using the copy button to the left of the ID.
Vehicle Details Page
Using the AWS CLI, we can submit a location update. Note this location update can also be performed using an AWS IoT Core Rule, or any other AWS SDK that your application may be using. To perform an update using the AWS CLI, enter the following command from your Cloud9 Terminal, replacing [ID]with the ID retrieved above for your vehicle:
You should now see a pin on the map corresponding to the vehicle's location.
Vehicle Location map
Vehicle Location Map

Creating orders

At this point we've created a fleet of 1 vehicle, and a list of 6 locations. Now we need to define our orders. For this simple example, we are not going to define any sort of restrictions or attributes for each order. On the left side menu, navigate to Order and select Create New. For the Name set ORDER1 with the Origin set as Seattle Depot and the Destination set as Nitro_North. For Service time set 300. Select Save. Repeat this process 4 more times with the following information:
Order Configuration
Order Configuration
Name: ORDER2
Origin: Seattle Depot
Destination: Spheres
Service time: 300
Name: ORDER3
Origin: Seattle Depot
Destination: Oscar
Service time: 300
Name: ORDER4
Origin: Seattle Depot
Destination: Reinvent
Service time: 300
Name: ORDER5
Origin: Seattle Depot
Destination: Blackfoot
Service time: 300
List of orders created
List of created orders

Creating Optimization

We've now created all the required information to perform a basic optimization. On the left menu, navigate to Optimization and select Create New.
First, we add our vehicles. In this case we only created one vehicle, so select Vehicle1 from the dropdown, then select Add. Select Next
Fleet Selection
Fleet Selection
Now select all 5 orders. From the Orders dropdown, select each order and select Add. Once all 5 orders are added, select Next
Order Selection
Order Selection
Now we can configure additional details about our optimization. You have the ability to customize many attributes about the optimization. For this example however, we will leave everything as default. Note that if you didn't set any limits for an individual fleet vehicle, these values will apply to all vehicles in the optimization. Select Next. Confirm everything looks correct on the Review and Launch page, and select Create Optimization Task.
Review and Launch
Review and Launch the Optimization
While the optimization is in progress, the Status will be Pending. Wait for the task to complete. This may take a few minutes.
Optimization in progress
Once the optimization is complete, you will see a map with our Seattle Depot in red, and delivery locations in Blue. In order to view more details about the optimization, select View assignment details.
Optimization Complete
This will break down the assignment into each portion of the journey. Selecting a given portion from the list will show the route on the map
Assignment Details
Assignment Details

More complex optimizations

At this point we've solved the Traveling Salesman Problem, so let's take a look at another problem, which is the Vehicle Routing Problem. In this case, we have multiple vehicles making deliveries. The Route Optimization Accelerator will factor in multiple vehicles to handle orders and split the deliveries based on configured parameters. For example, we can add more vehicles to the fleet, as well as more locations and orders, and perform a new optimization task. We've additionally added restrictions to the number of Orders a vehicle can deliver and a maximum distance in order to better balance the routes out. We can now see multiple assignments present with both vehicles performing deliveries.
Assignment for Vehicle1
Assignment for Vehicle2

Conclusion

In conclusion, we can use the Route Optimization Accelerator to solve a variety of vehicle routing challenges. This article just scratched the surface of what the Accelerator can solve using various configurations. Please review the detailed documentation for information on automating optimization tasks, as well as using the external API to build connections to other applications.
 

Any opinions in this post are those of the individual author and may not reflect the opinions of AWS.

2 Comments