Integrating Snyk with AWS ECR
This is a tutorial on integrating and connecting Snyk with AWS ECR(Elastic Container Registry).
Published Apr 20, 2024
Hey everyone! Say that your team wants to integrate Snyk with ECR within AWS to check the security vulnerabilities with your containers. How would we do that you might ask? This is a tutorial on integrating and connecting Snyk with AWS ECR(Elastic Container Registry).
AWS Knowledge
Snyk Knowledge
Curiosity and Determination ALWAYS
Our organization would like to check for vulnerabilities in our ECR repos so that we can begin work on improving them. Snyk has not been connected to our ECR service in AWS and we’re tasked with doing so.
Step 1 (Starting In Snyk)
To start, we’ll need to head over to our Snyk web console and select “Integrations” that is under our Organizations menu to the left-hand side. Once there, under “Container registries” we want to select “ECR”. Here, we’ll be brought to a screen that looks like this:

We are then instructed to go to AWS and select the IAM service to create our policy.
Step 2 (Working with IAM)
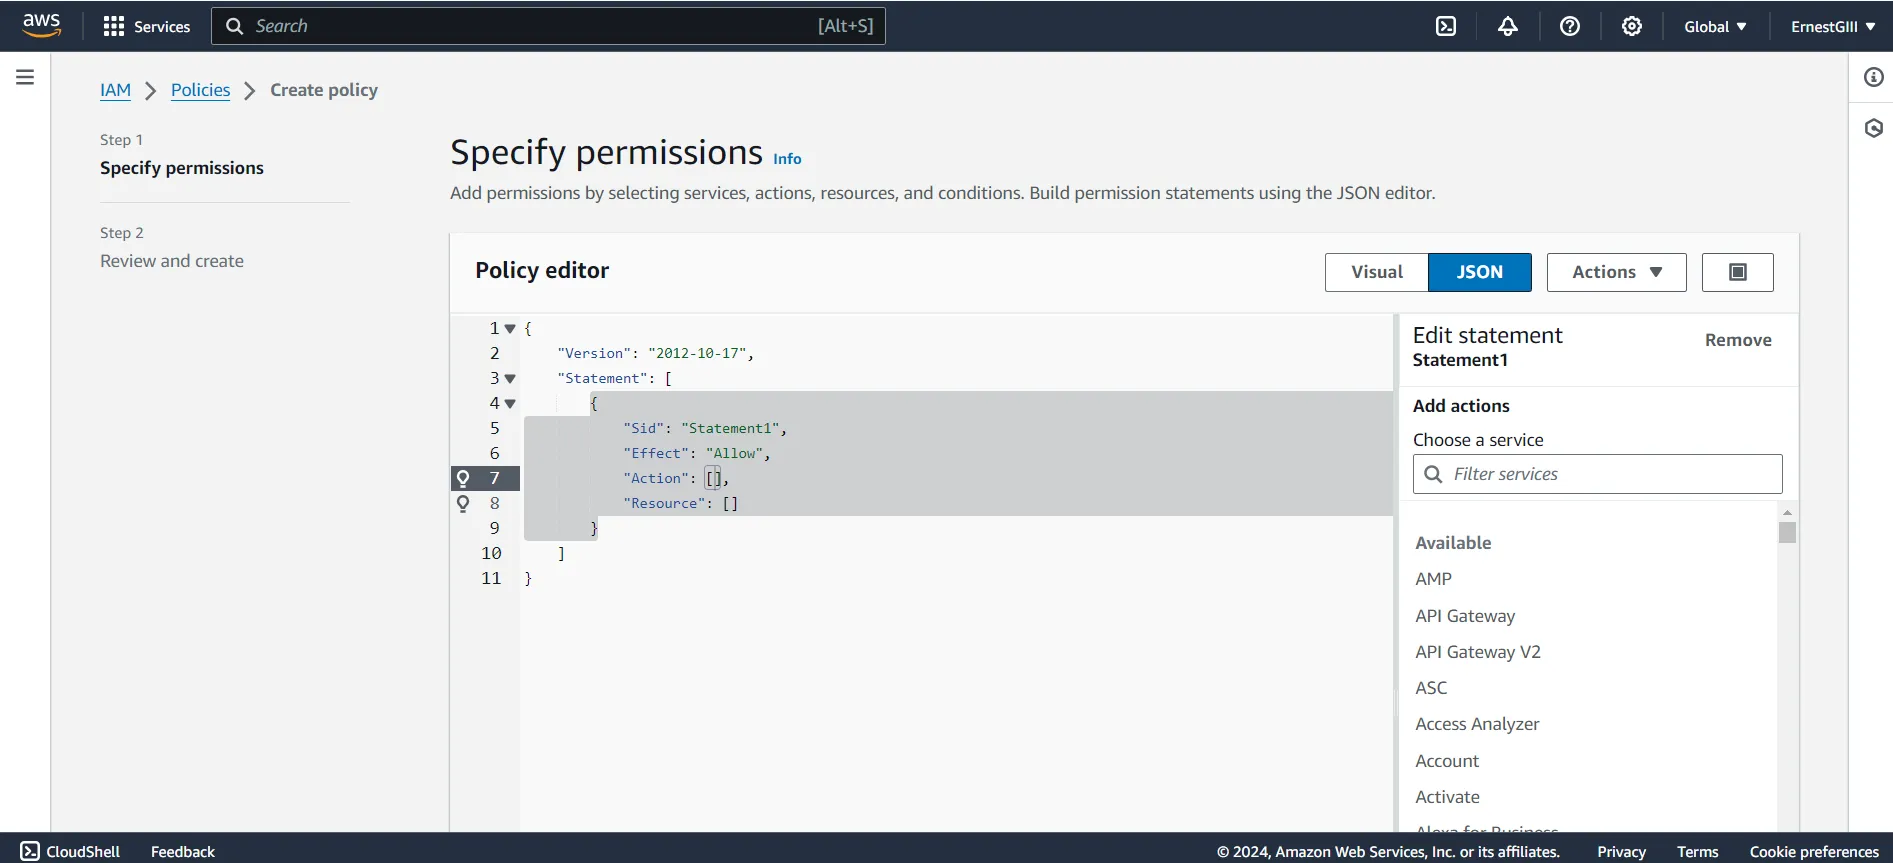
In IAM, we need to create our policy first as this will be required for to help us integrate Snyk with ECR. Since this is our first time integrating the service with Snyk we’ll need to create a new policy for it. We need to select “Policies” and click “Create policy”. We want to choose JSON as our policy editor and that will look like this:
Using the JSON code from our ECR integration in Snyk we want to replace the default JSON code already in place with the code that Snyk has provided us:
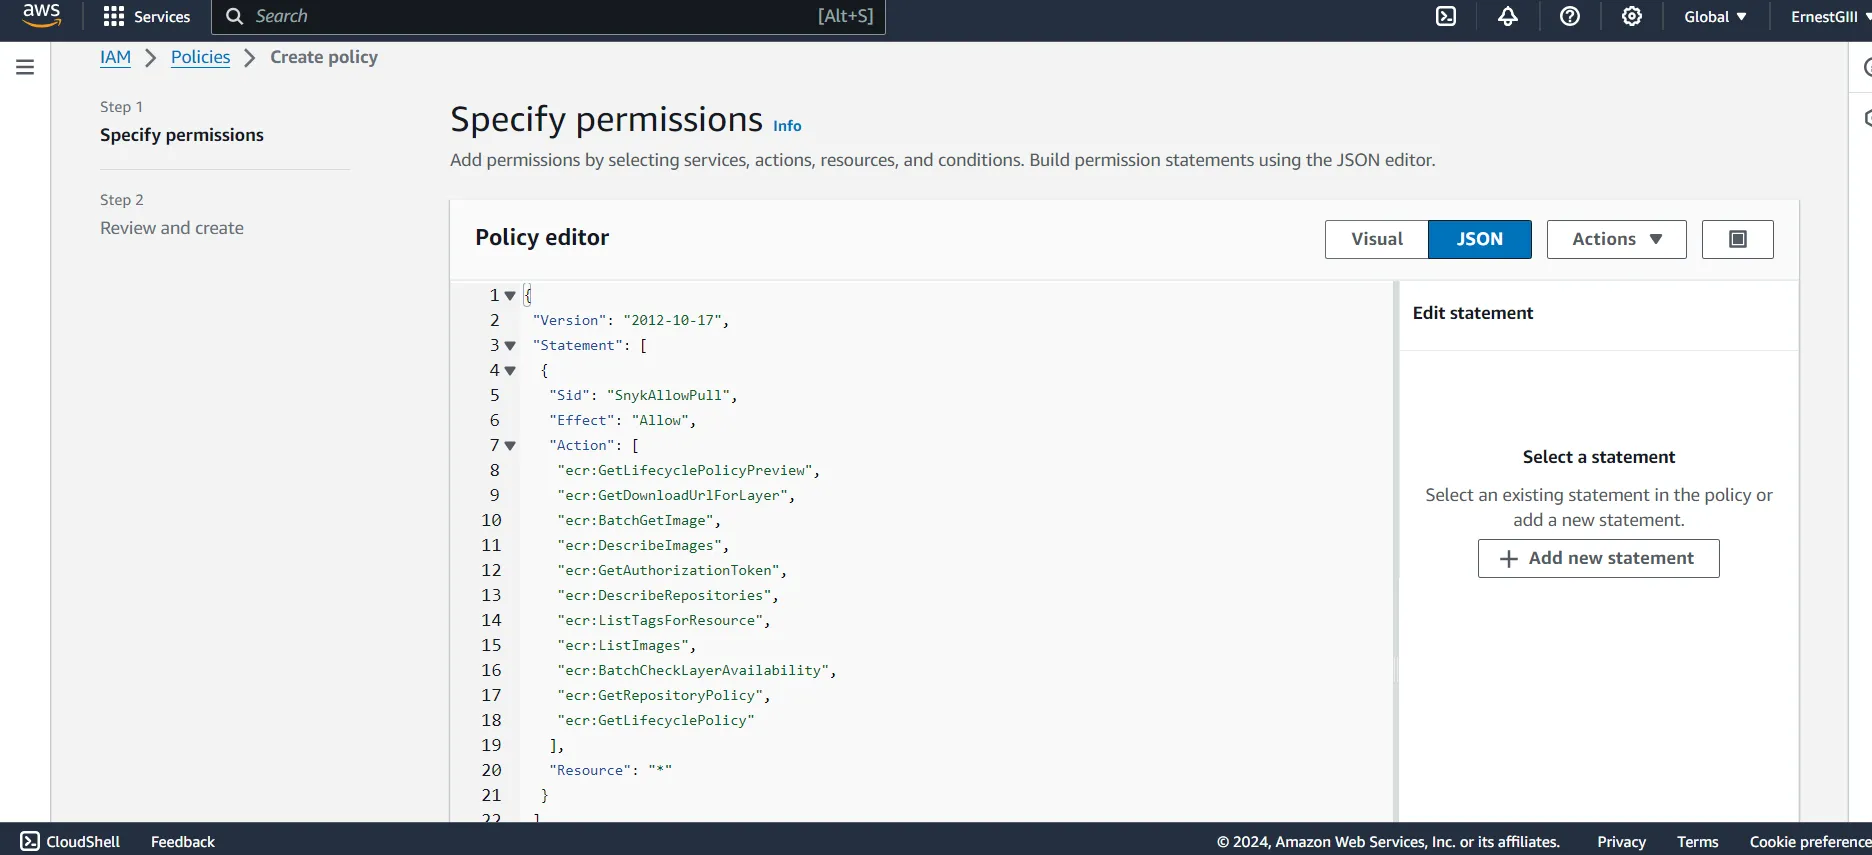
Depending on what your company requires in terms of access, these policies can be edited based on the level of permissions set by your team.
Once we have reviewed the policy we want to name it and add a description to keep things consistent in setting this up.
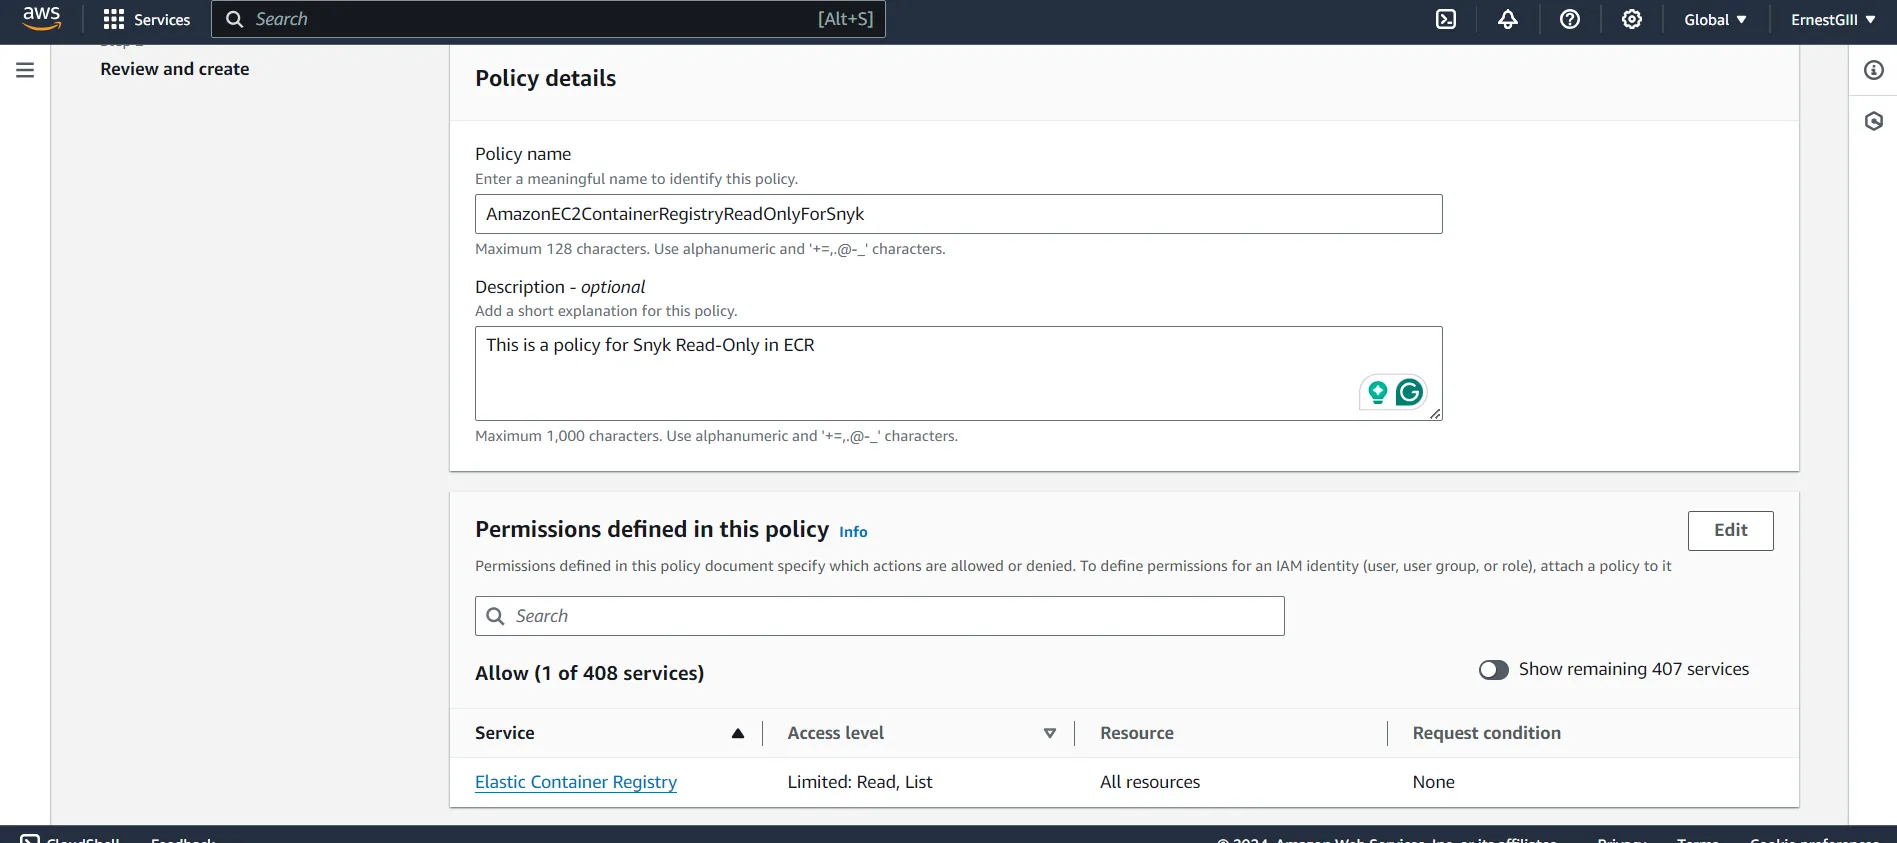
With that completed we have now created our policy.
Step 3( Creating The IAM Role)
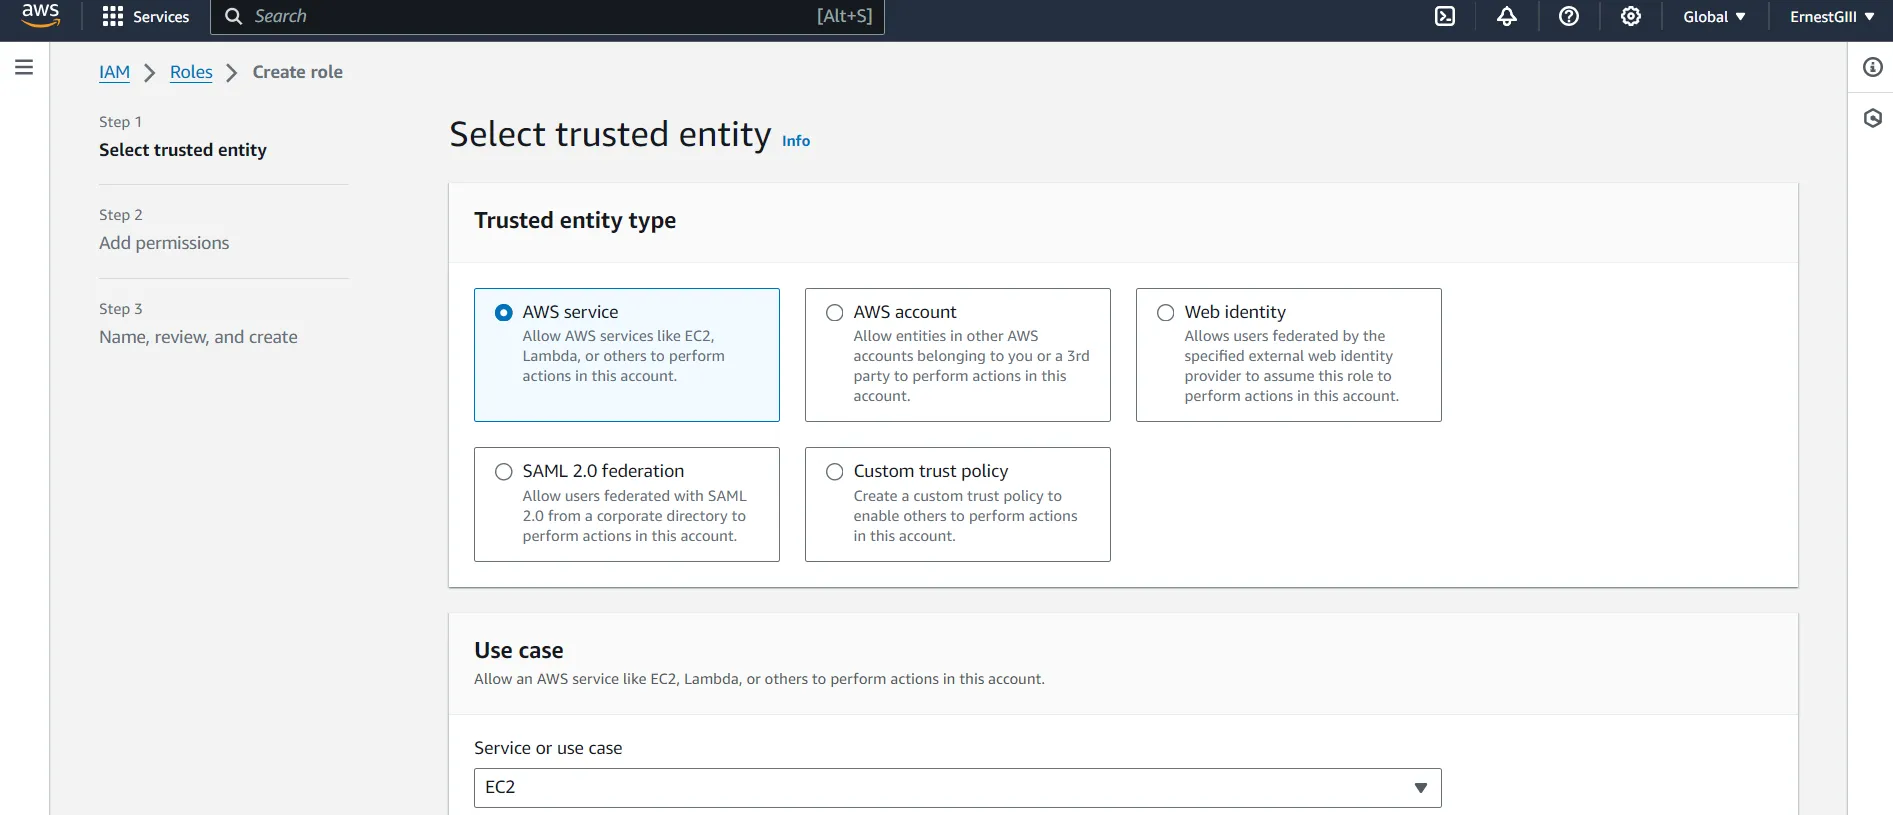
Staying in IAM, we want to select “Roles” to create an IAM Role that lets us implement our policy. We do this by selecting “Create role” and choosing “AWS Service” as the trusted entity type and “EC2” as our use case.
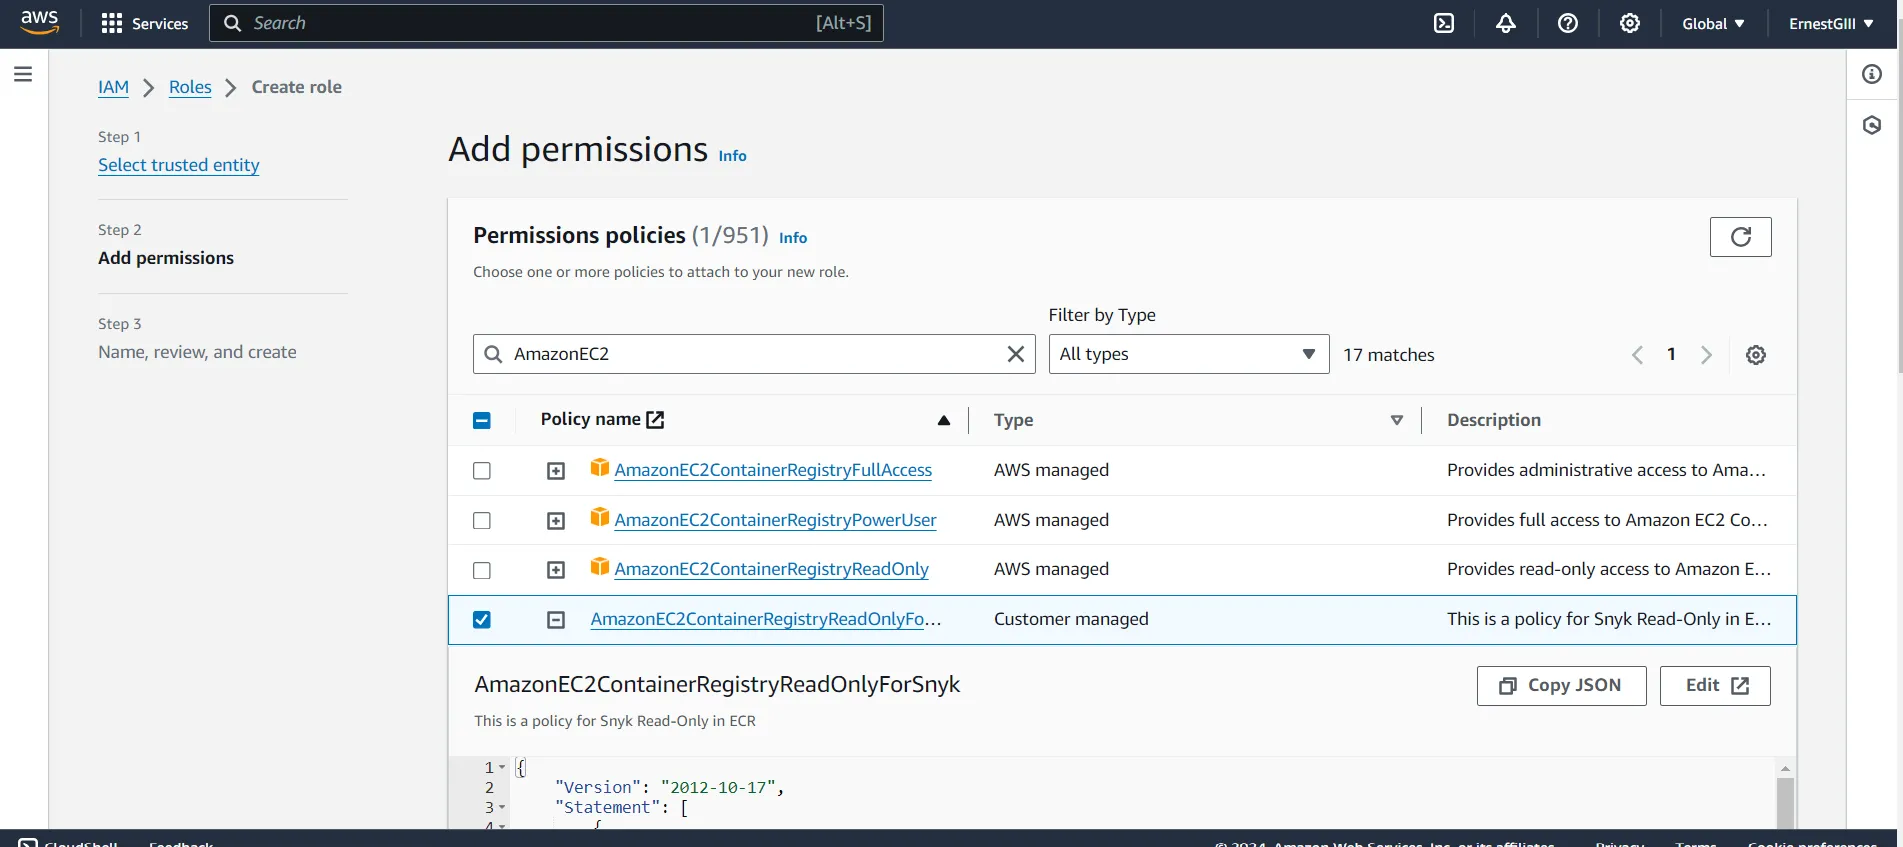
Next, we’ll need to choose the policy that we created earlier under “Add permissions” which would look like this:
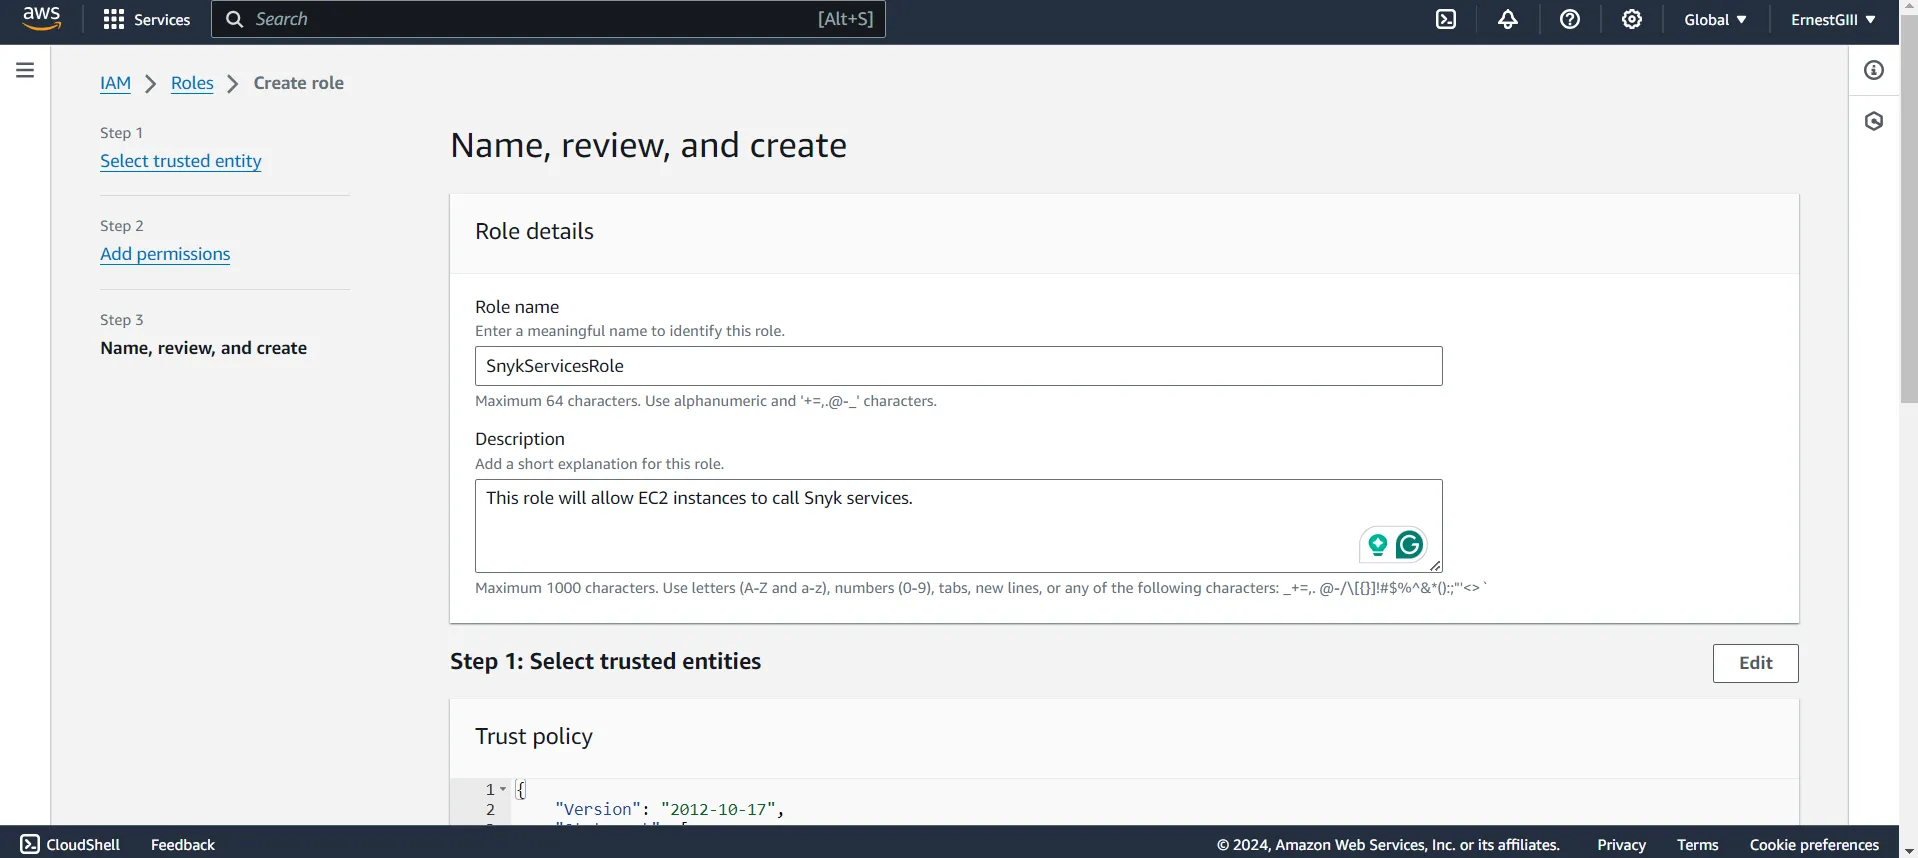
Let’s name and give our description to our role:
We will then select “Create role” and our IAM Role is created.
Step 4(Creating A Trust Relationship)
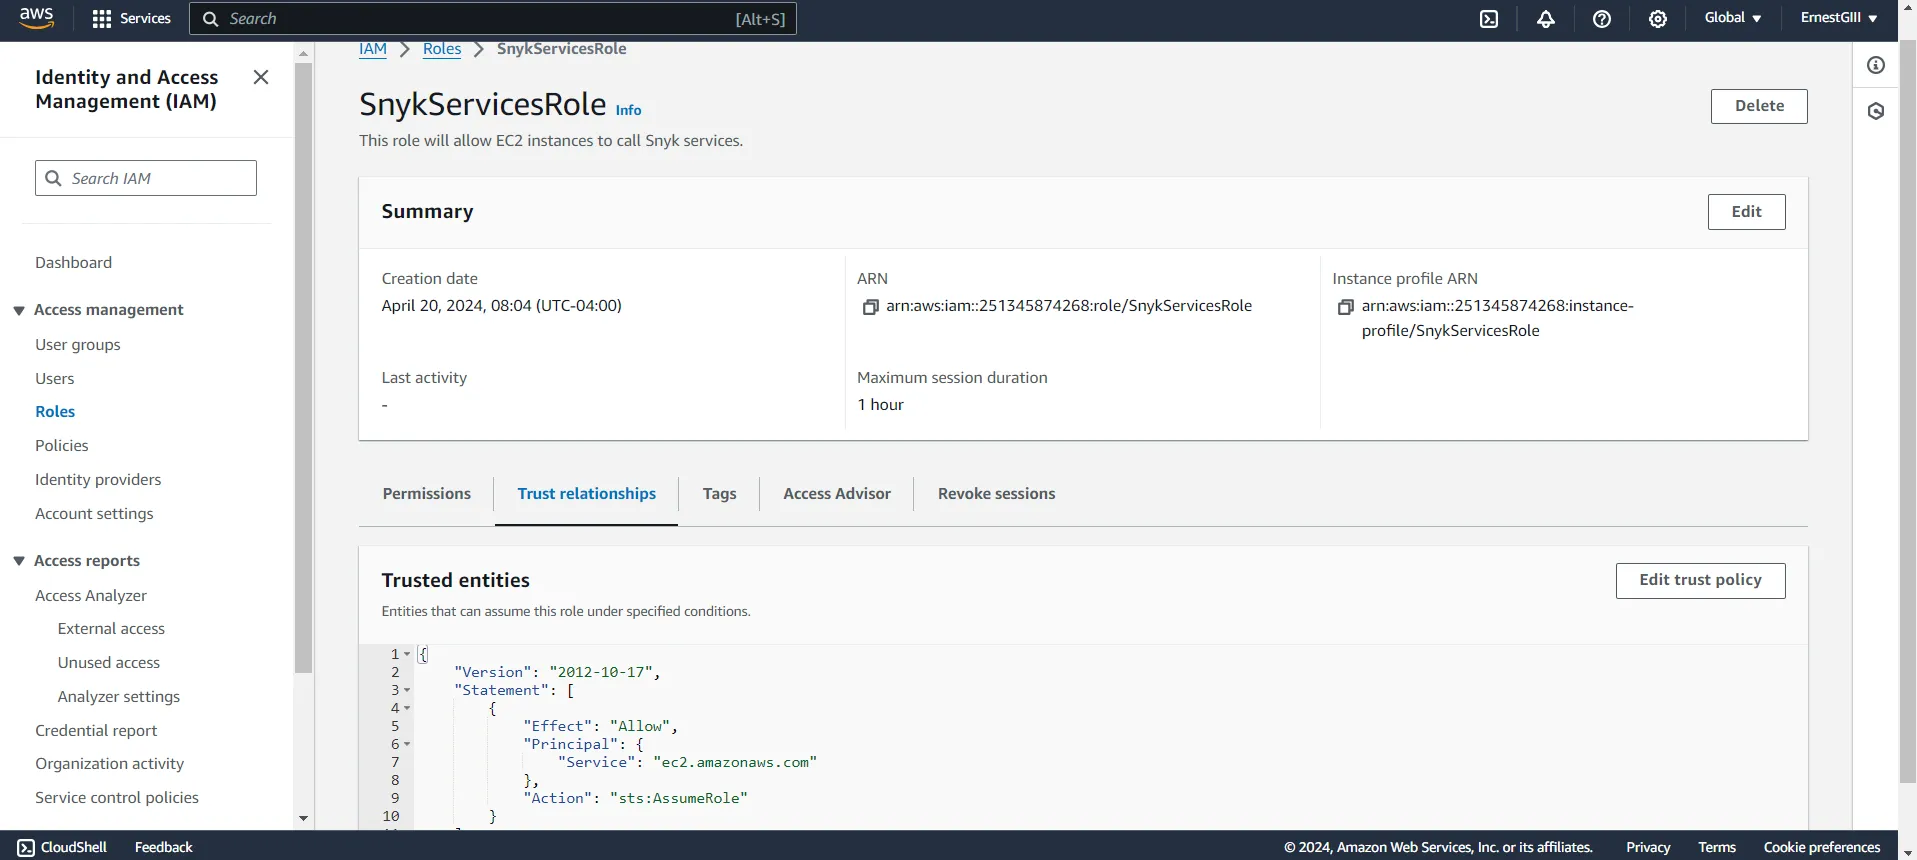
Before this project, I was not familiar with “Trust Relationship” in the Roles section IAM but researching it, it defines what entities can assume the role created. In the IAM Role we select the “trust relationships” option which looks like this:
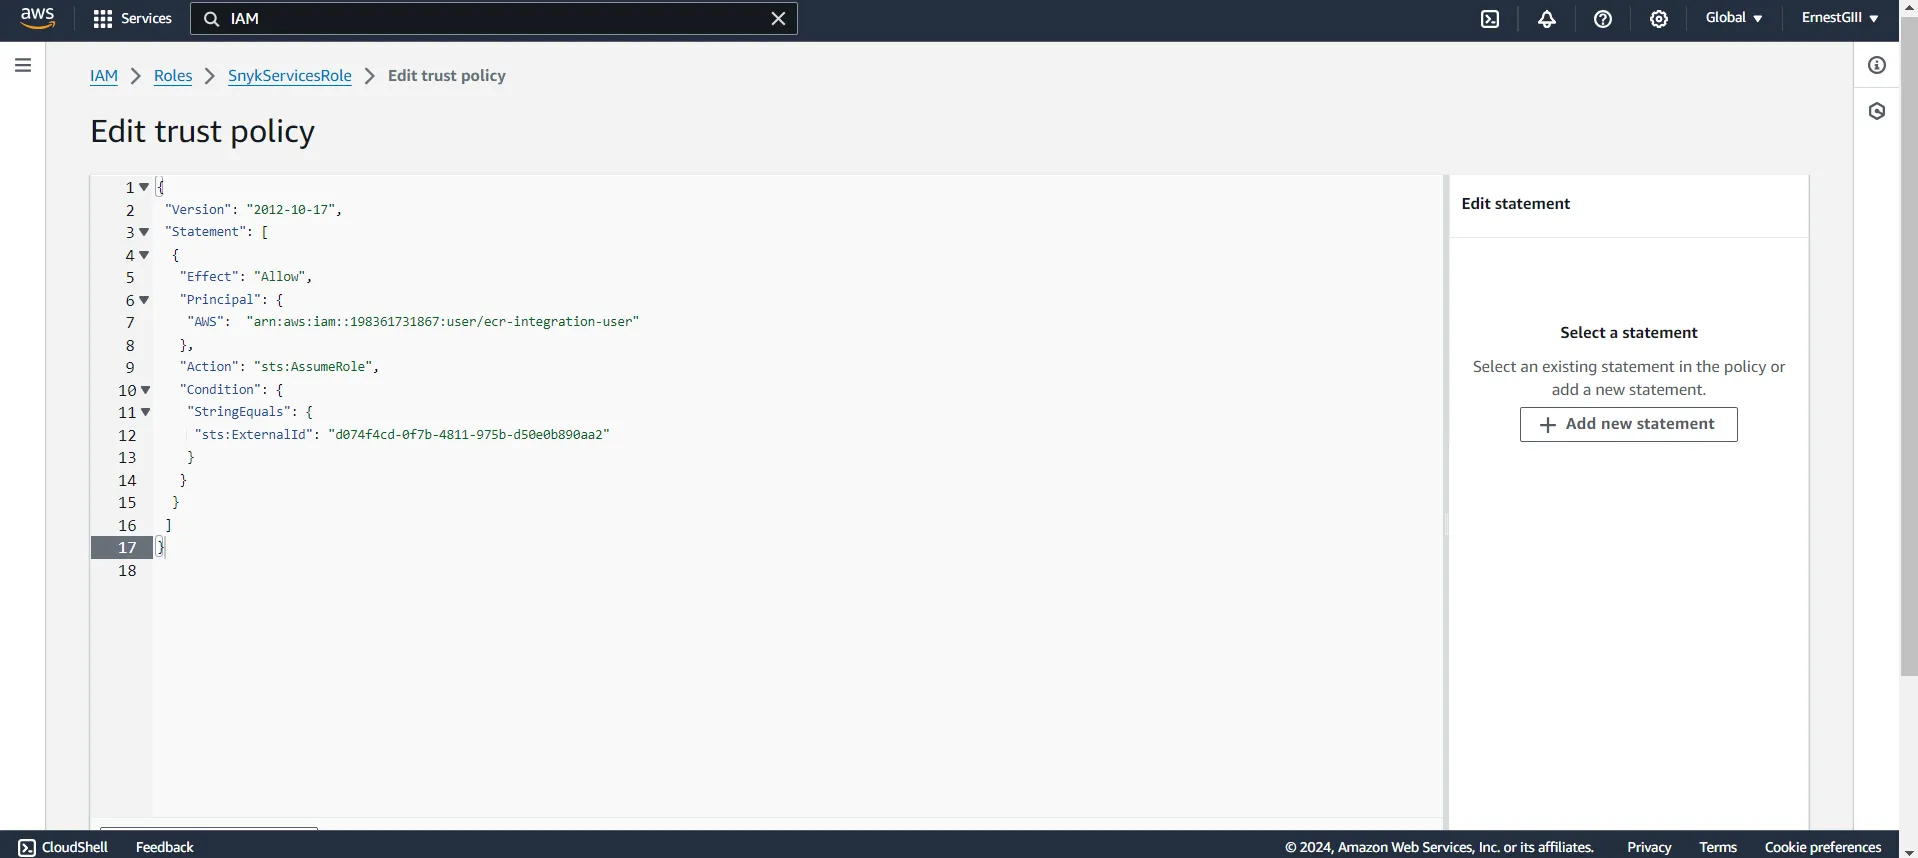
By selecting “Edit trust policy” we want to update the policy with the one that Snyk had provided us and replace the default trust policy already there.
Step 5(Connecting Snyk and ECR Together)
With both our IAM Policy and Role created we want to copy our IAM role ARN and the region that Snyk will connect to in our account. Once we’ve added those two items we will need to save our changes and it will take a few seconds to a minute for Snyk to make the connection to ECR. We will get a screen that looks like this:
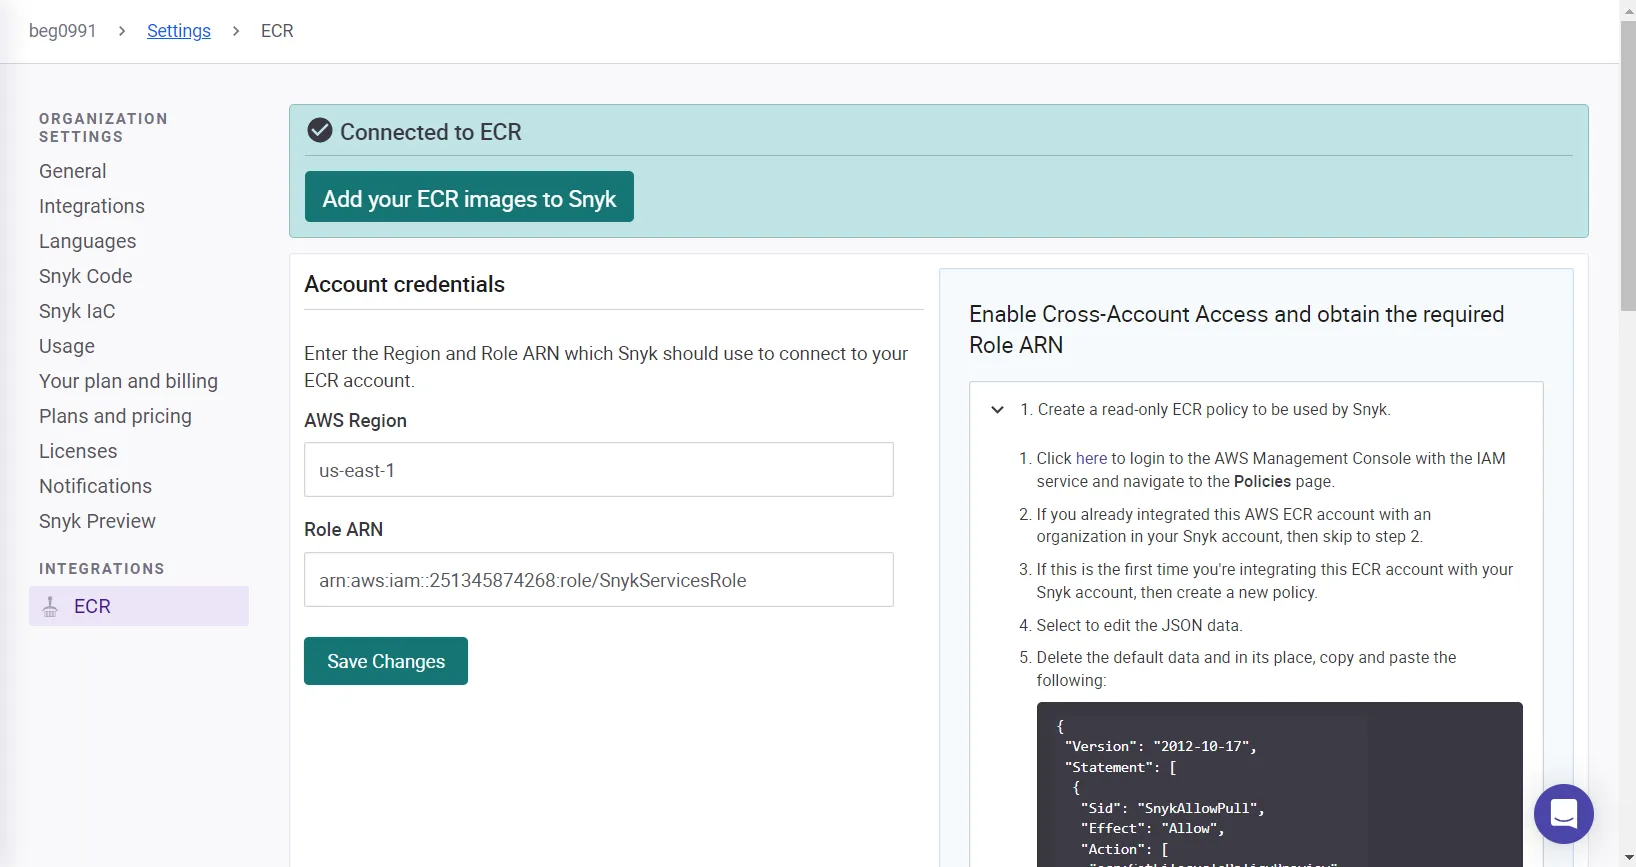
Success!! You will see a “Connected to ECR” message on the screen. To confirm that it works, we want to select “Add your ECR images to Snyk” and we’ll be taken to a screen that shows our current ECR images.
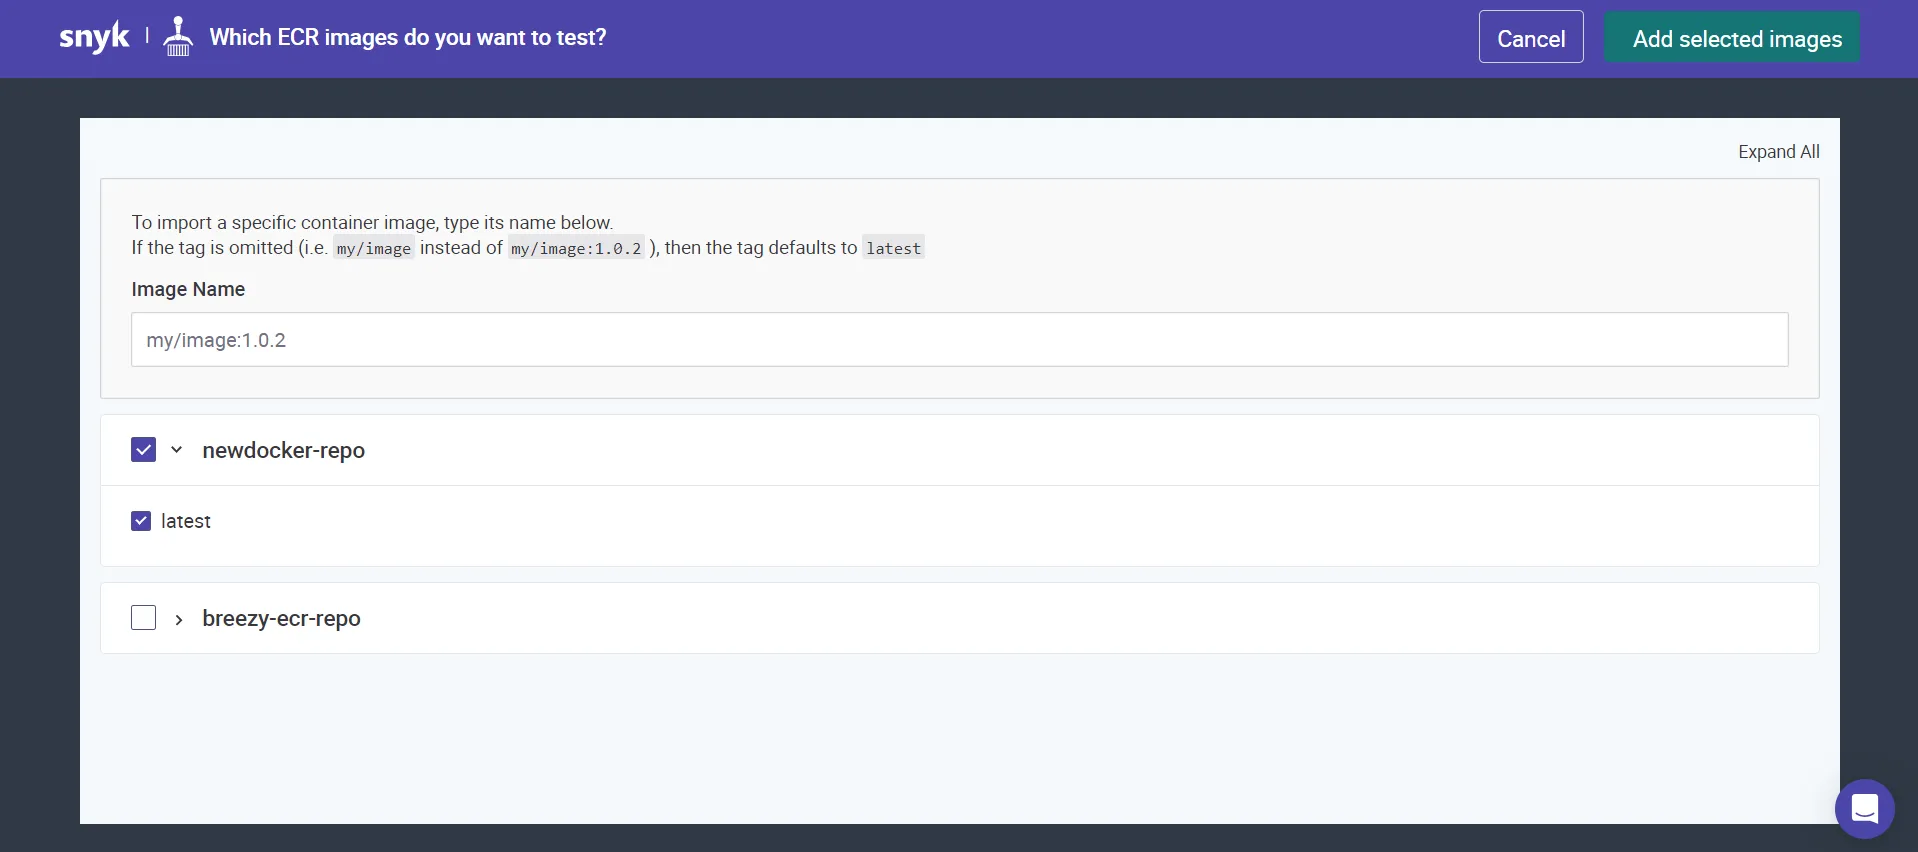
I have a repo from a previous project that I wanted to use and ended up using it for this project. We select our repo and choose the “Add selected images” option which will show us our projects and the errors that Snyk has found in our repos
,

From the screen, these issues are grouped into 3 classes: C for critical, H for High, and M for medium, and that determines the severity of the issues found by Snyk.
To look at one of these issues in depth let's choose one:
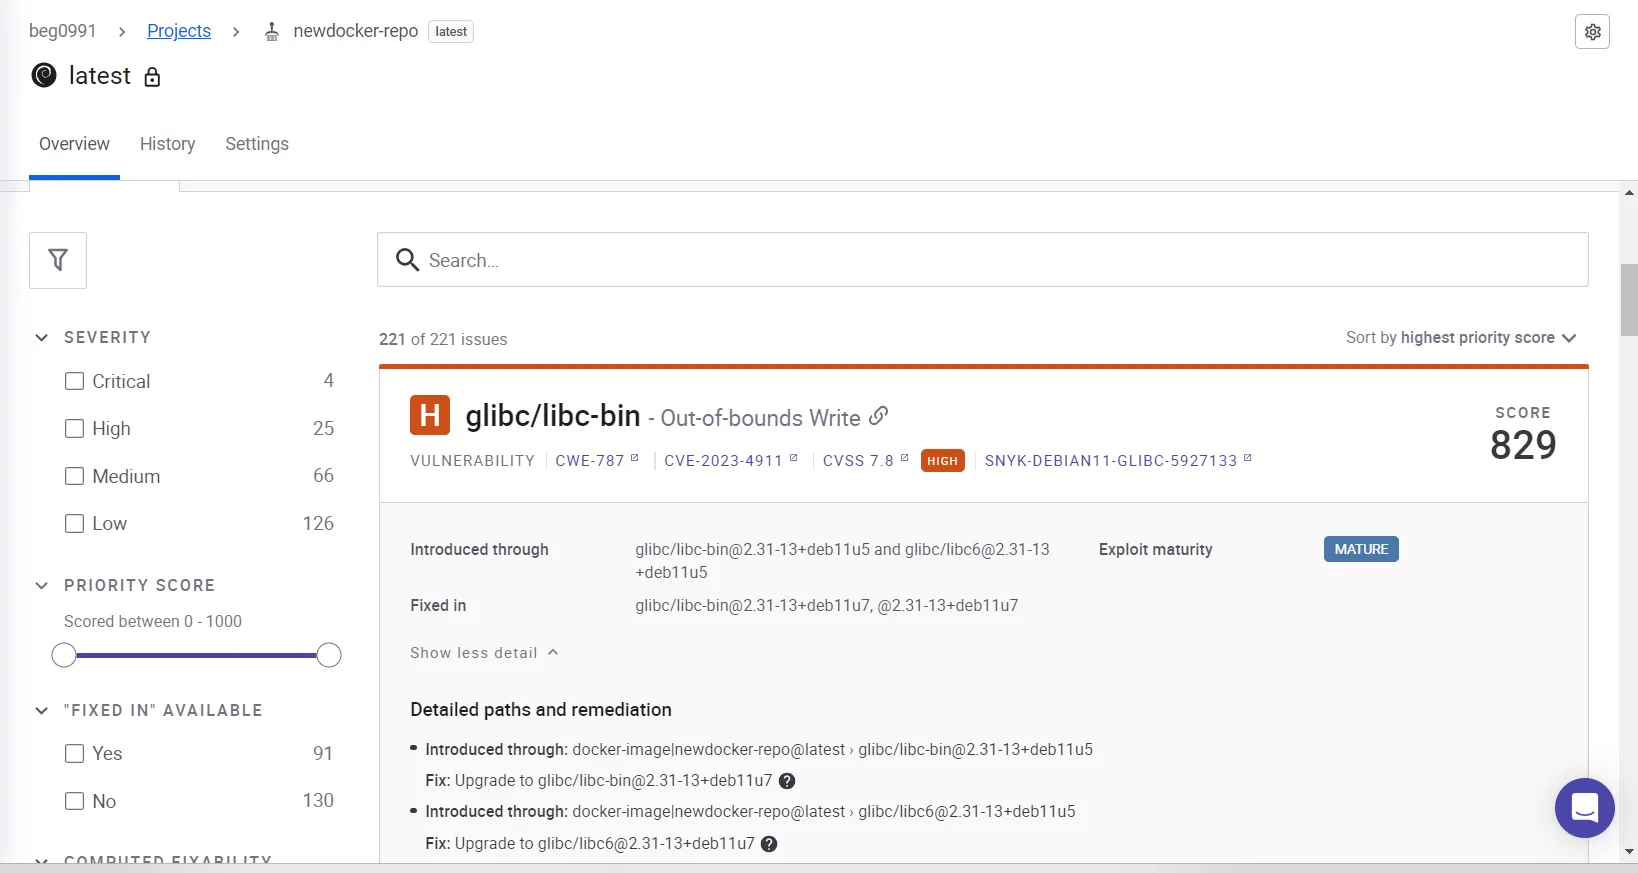
Snyk provided us information about the issue and possible ways to fix it confirming that Snyk is now integrated with ECR in AWS.
Conclusion
To conclude, this is another way that we can use Snyk within our organization to scan for vulnerabilities in our code or repo to improve its security. I’m hoping that this tutorial sheds light and provides a better understanding on how you can integrate a service with Snyk. See you in the clouds!
2 Comments
Log in to comment