Enabling real-time queue reporting for Amazon Connect agents
Step by step guide to a no code approach
Gianluca Vegetti
Amazon Employee
Published Jun 27, 2024
Amazon Connect provides customizable reports on queue real-time metrics. Such reports are in the majority of cases consumed by the contact center supervisors and administrators. There is also a use case for agents to have visibility of some metrics for the queue they are serving. A common scenario requires agents to have this visibility in order to provide them with flexibility into taking breaks or shifting between different tasks. While Amazon Connect API provides access to real time metrics and allows customers to implement custom dashboards, in this article we will walk you through a no-code approach.
In order to implement this solution, you will need to use the following.
- An Amazon Connect admin user associated to a security profiles with the following permissions (the standard Admin security profile of Amazon Connect will work)
- Analytics: SavedReports
- Analytics: ReportsAdmin
- Agent applications: CustomViews
- Users and Permissions: All
- Routing: Queues and Routing: RoutingProfiles, or Routing:All
- A IAM user with access to third-party application onboarding, as described in the Onboard third-party applications section of the Amazon Connect administrator guide.
- An Amazon Connect agent user, to validate that the generated report is accessible to agents.
You are also supposed to know how to create and configure real-time metrics reports on Amazon Connect.
In order to implement the solution, you will need to go through the following steps:
- Create a real-time report
- Create a third party application to embed the reporting in the agent workspace
- Create a security profile to provide agents with access to the report
- Use resource tags to limit visibility to a specific set of resources (optional)
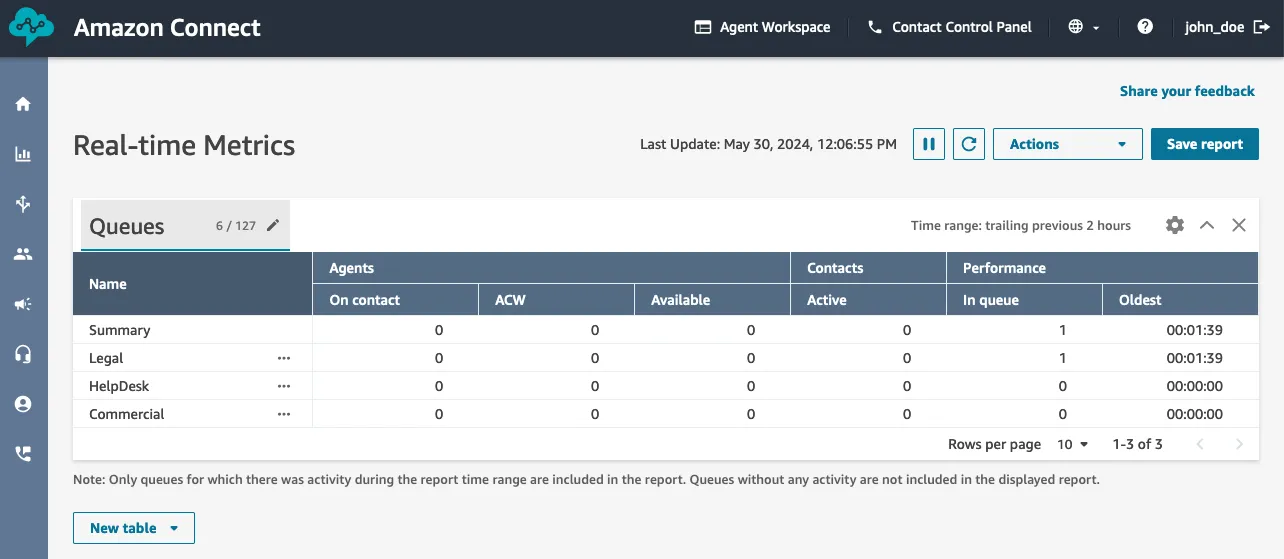
From the Amazon Connect administrator interface, navigate to Analytics and optimization and select Real-Time metrics. From this section you can create a report that suits your reporting needs. In this example, we created a report that shows, for all our queues, the number of agents currently on contact, on ACW and Available. The report also shows the number of contacts active and in queue. Once your report is finalized, save it by clicking on the Save report button.
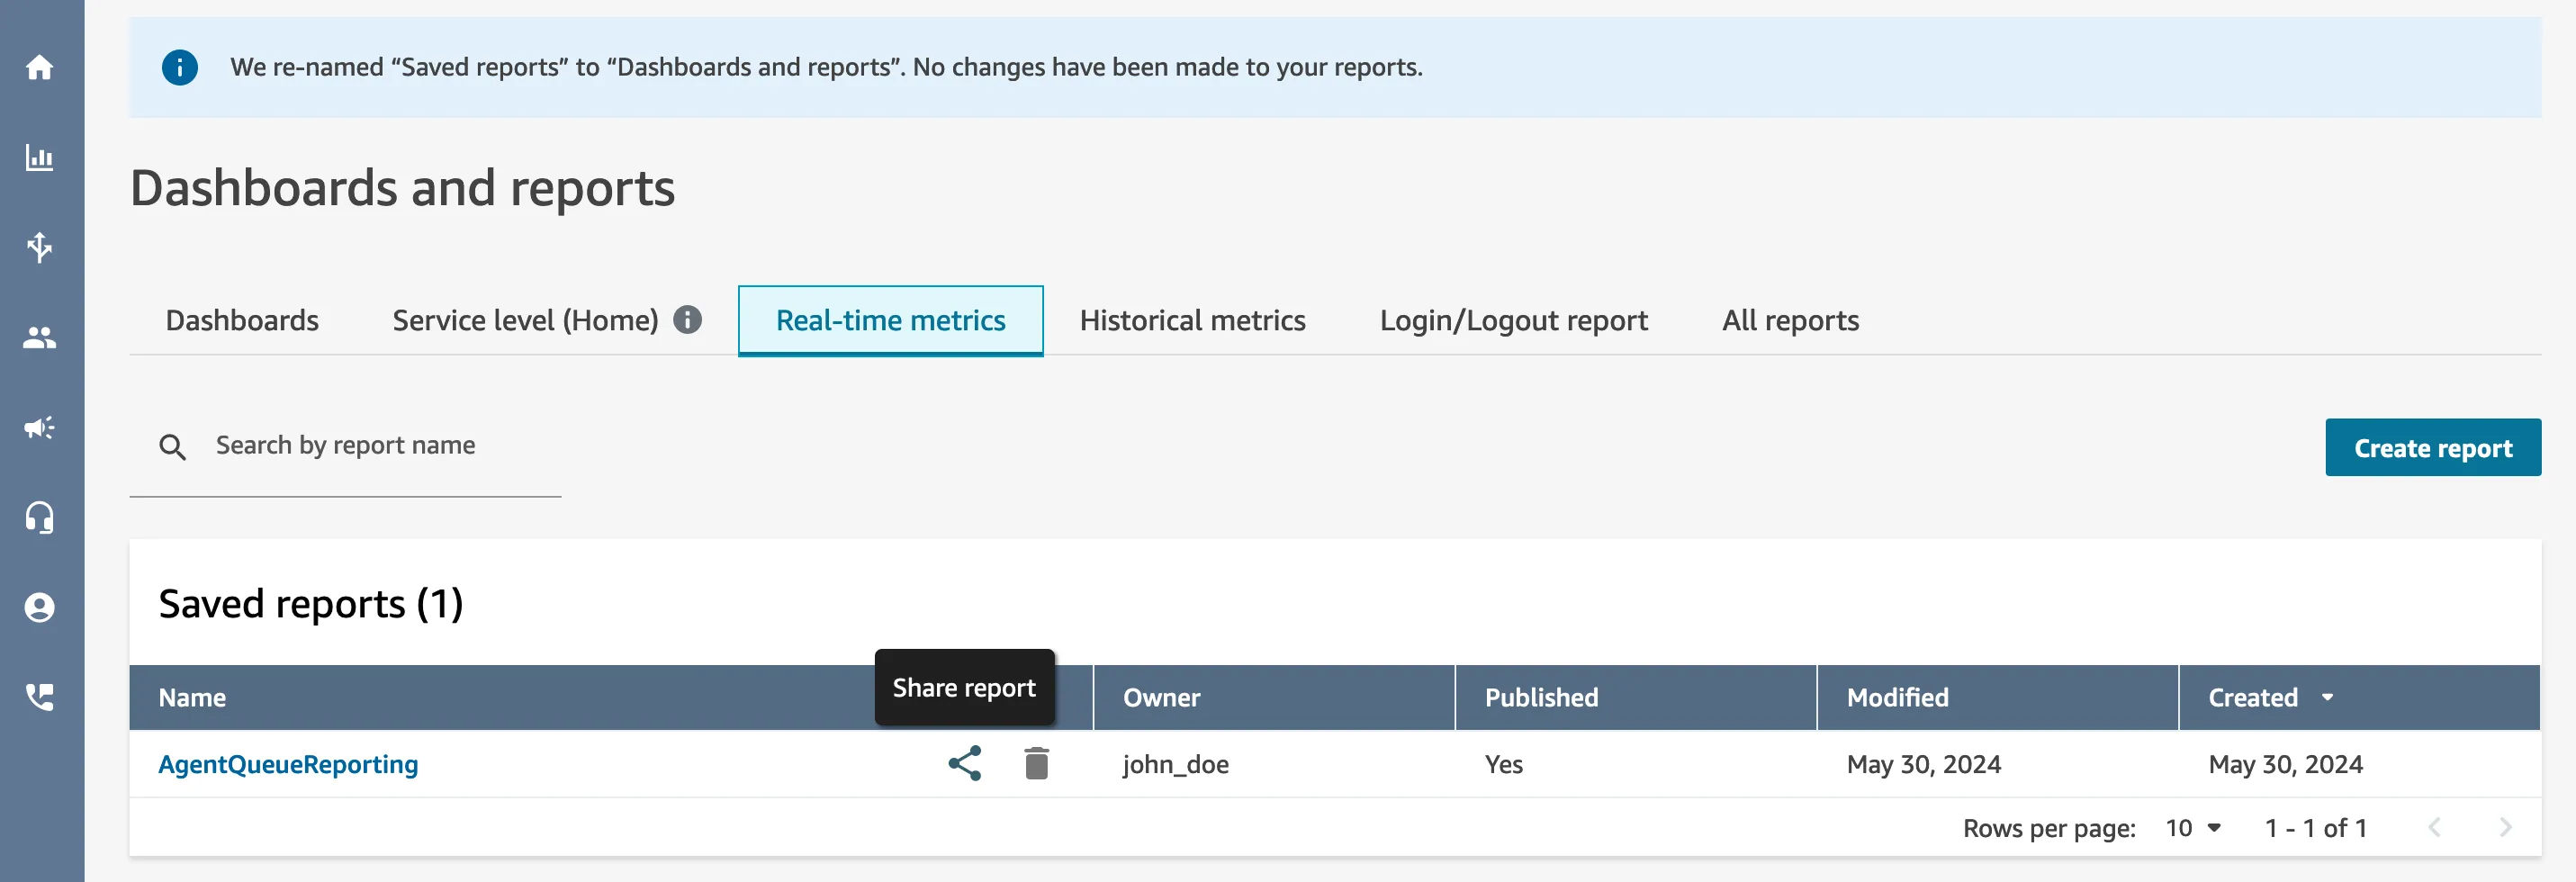
Your report is now visible by navigating to Analytics and optimization, selecting Dashboards and reports and then selecting the Real-time metrics tab. As you move your mouse over the report name, click on the Share report button.
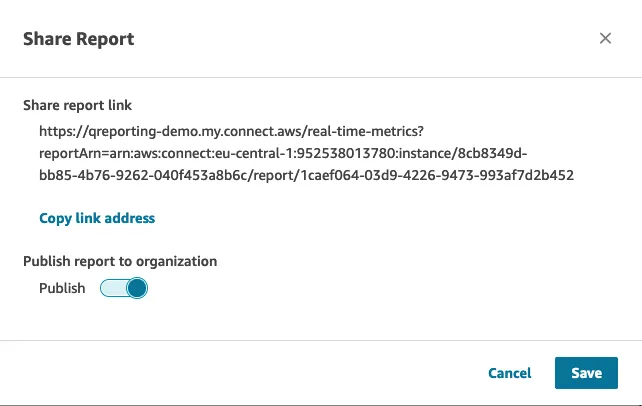
Copy the Share report link and make a note of it as we will need it later. You can optionally flag the Publish option, to make this report visible to other users, but it’s not strictly needed to implement this solution.
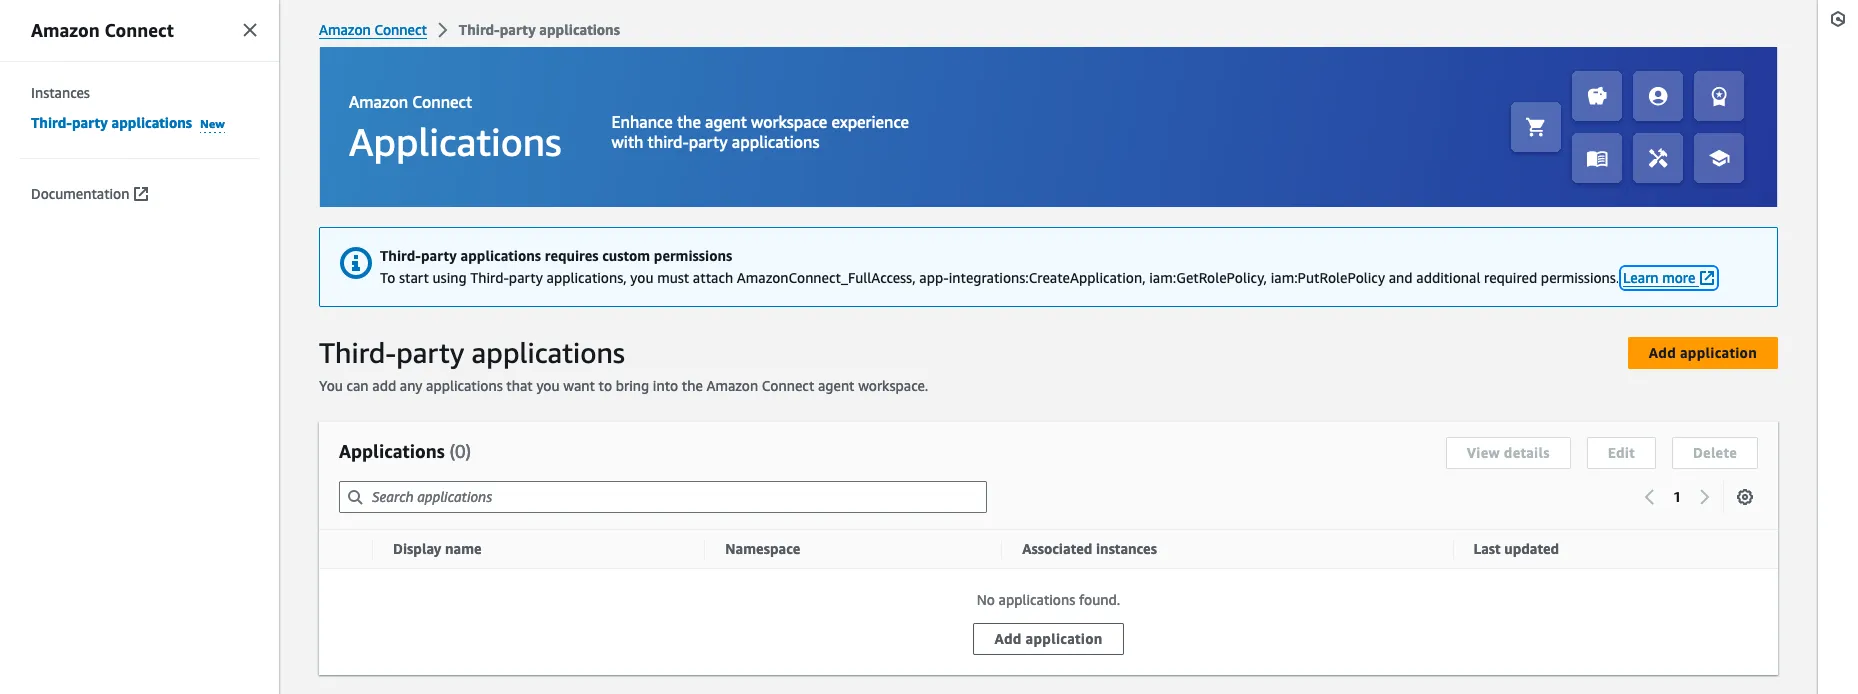
From the AWS Console, navigate to the Amazon Connect section and select Third-party applications, then click on Add application.
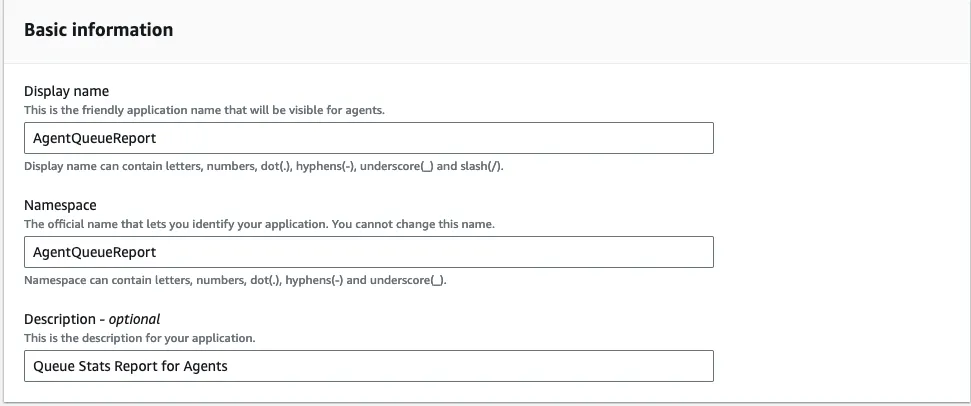
You will need first to provide Basic information about the application. See example below.
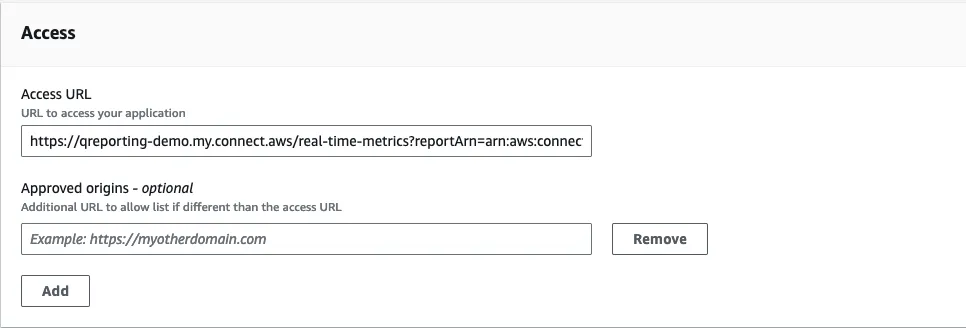
In the Access URL field, copy the Shared report link that you previously noted down.
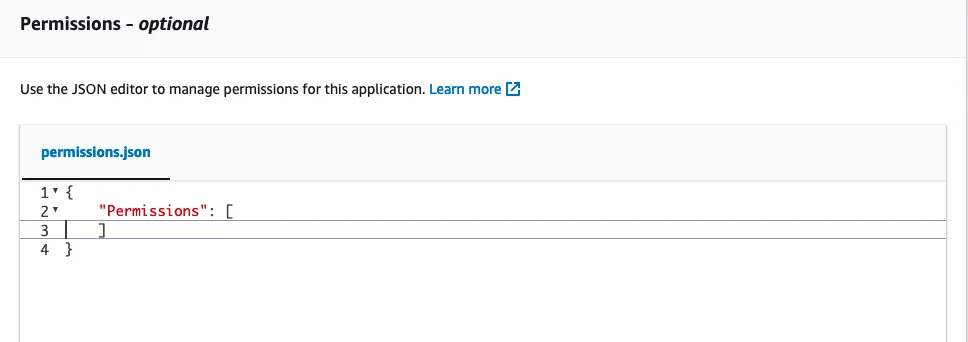
No permission is needed in this case.
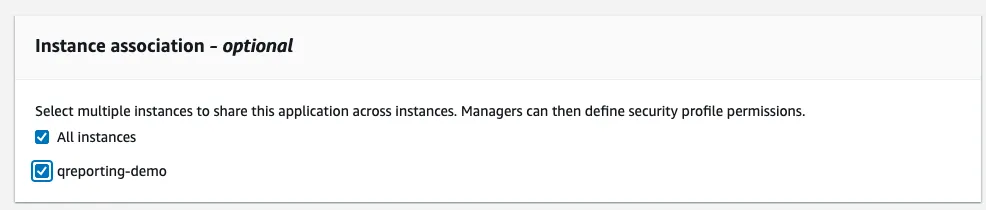
Finally, associate the application to your Amazon Connect instance.
Now that we have created and shared the queue report, we need to provide agents with access to it via a security profile. Since each user can be assigned multiple security profiles in Amazon Connect, we will create a new dedicated one, containing only the permissions needed to access our report. Alternatively, you could edit an existing security profile by adding these permissions.
First, create a new security profile and assign name to it, like RealTimeMetricsAccess. In this new security profile, navigate to the Analytics and Operations section and enable Access permission for Real-time metrics and View permission for Saved reports.
First, create a new security profile and assign name to it, like RealTimeMetricsAccess. In this new security profile, navigate to the Analytics and Operations section and enable Access permission for Real-time metrics and View permission for Saved reports.
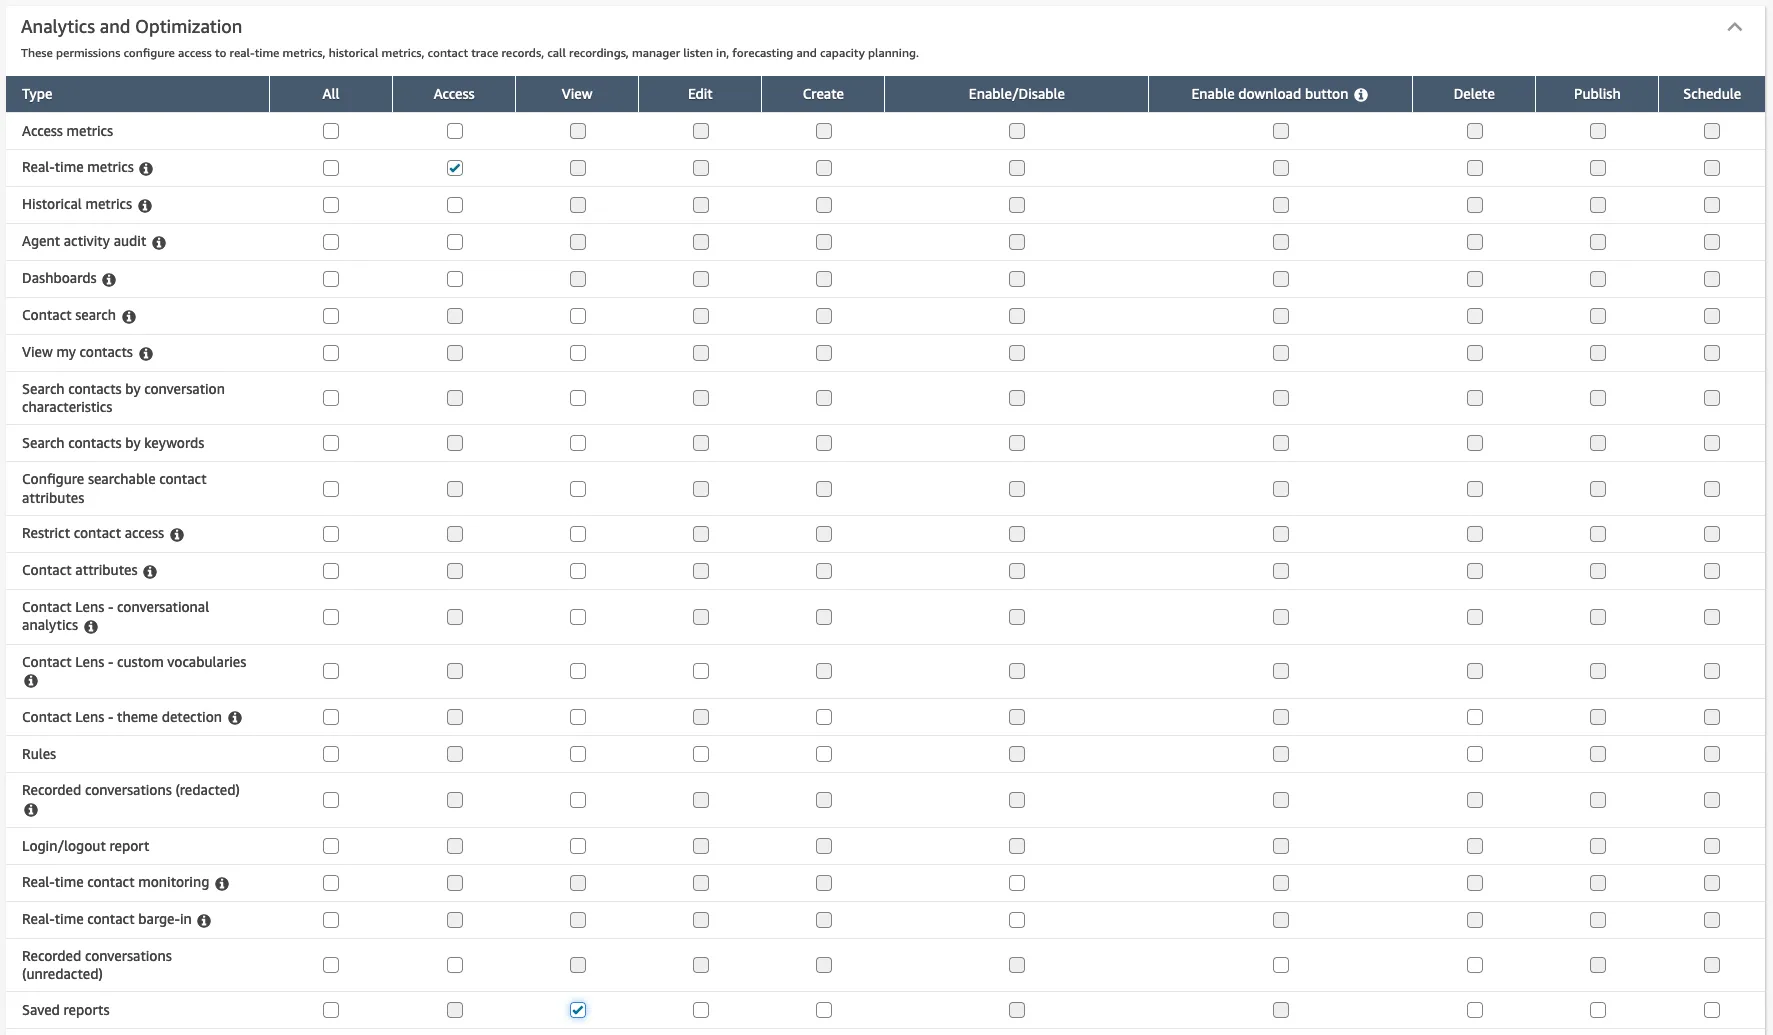
In the Agents Applications section, select Access permission for the third-party application.

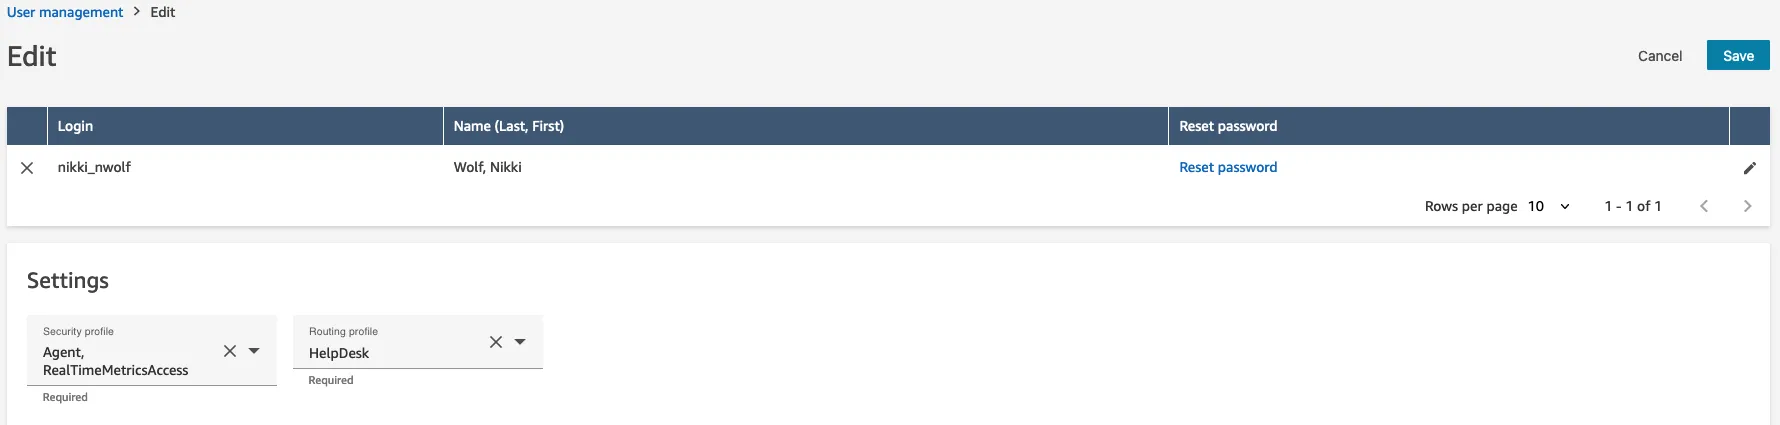
You can now save the security profile and assign it to your agents. In this example, our agent Nikki Wolf is associated with two security profiles, the default Agent profile and the RealTimeMetricsAccess that we just created.
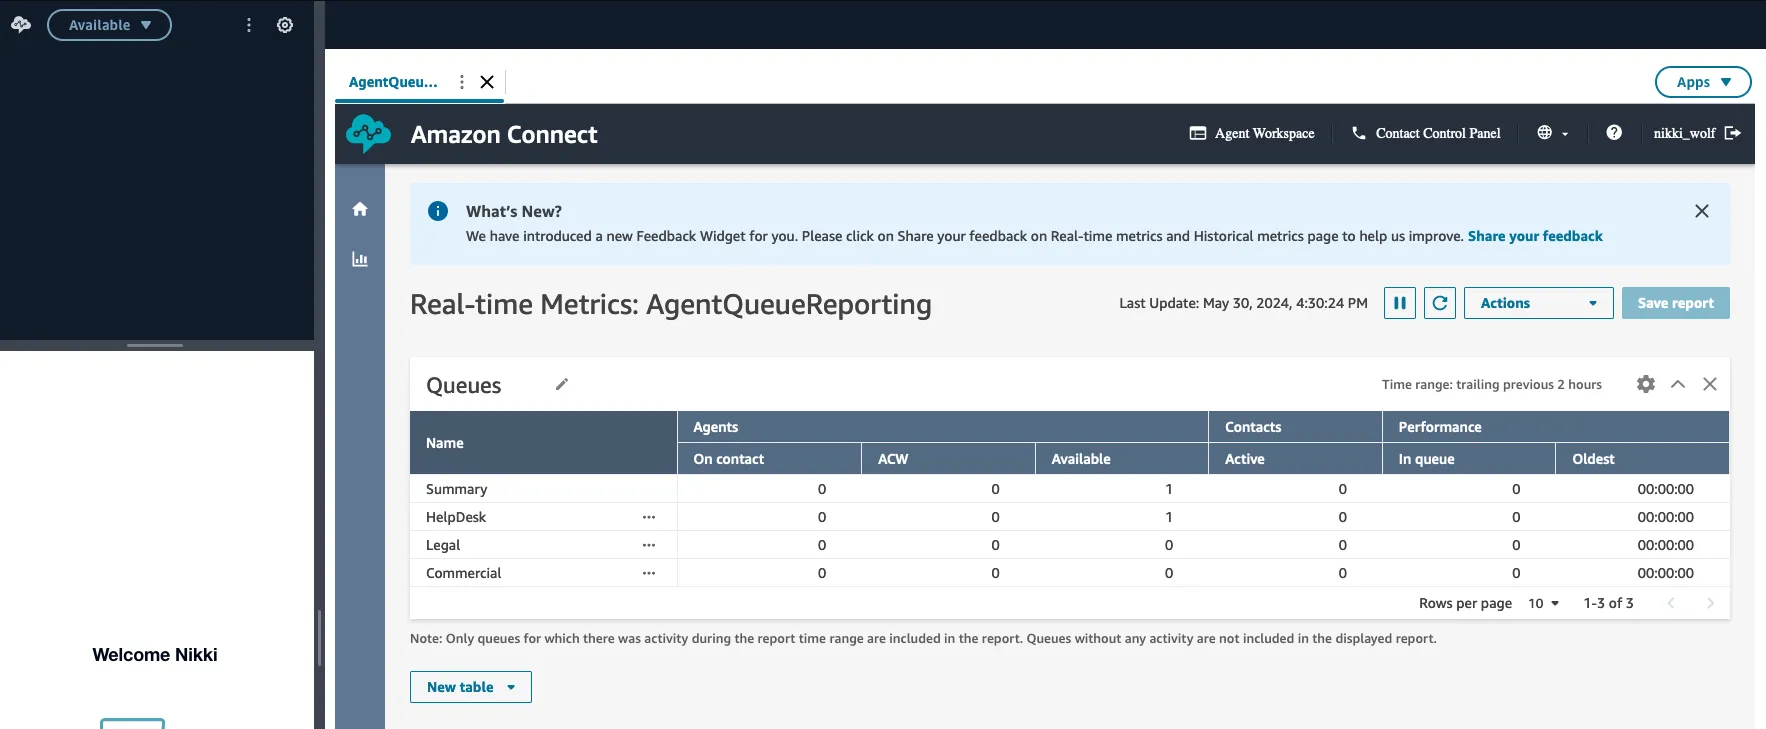
Once Nikki logs into the Agent workspace, she will be able to select the AgentQueueReport application, which will bring her to the report we just created.

It’s worth noting that, with the configuration that we implemented so far, Nikki would be able to consult real time reports for any queue (HelpDesk, Legal and Commercial in our example) and for any resource for which Amazon Connect provides real-time reports, like routing profiles and agents.
In our example, Nikki is assigned a routing profile that is serving only the Commercial queue, so we want to provide her visibility only into this queue. Moreover, we don’t want Nikki to have access to real-time reports for routing profiles and for agents. We can achieve this by configuring tag-based access control. First, we will edit the Commercial queue and add a tag. We are using in this example a tag with key AccessVisibility and Value Commercial.

Next, we duplicate the RealTimeMetricsAccess security profile by editing it and selecting “Save as” to create a new identical profile. We are calling the new profile RealTimeMetricsAccessCommercialQueue. While editing this new profile, we click on the “Show advanced options” link to open the Access control section. Here we need to check the box for Tag-based access control, then select Queues, Routing Profiles and Users under Resources and AgentVisibility and Commercial as tag key and value respectively.

As mentioned in the warning in the previous screenshot, we also need to provide at least view permissions to those resources.


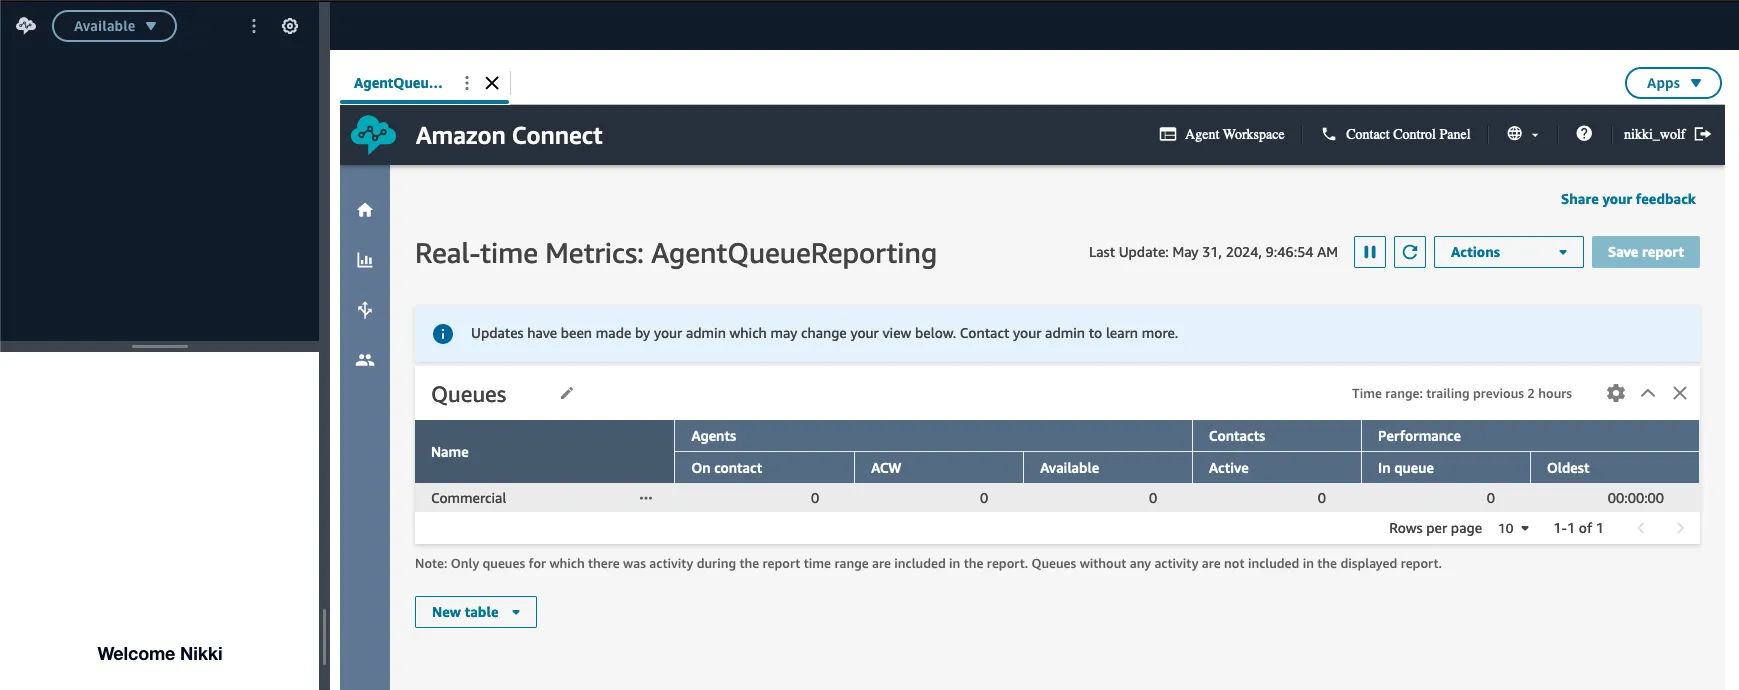
Once we enable tag-based access control for these resources, Nikki will only be able to view metrics about resources tagged with the key-value pair we specified. Resources tagged with a different value, or not tagged at all with this key, will not visible.
Make sure that the the security profile you have created is assigned to the agent user and that it contains the
Analytics: RealTimeMetrics and MetricsReports.View permissions.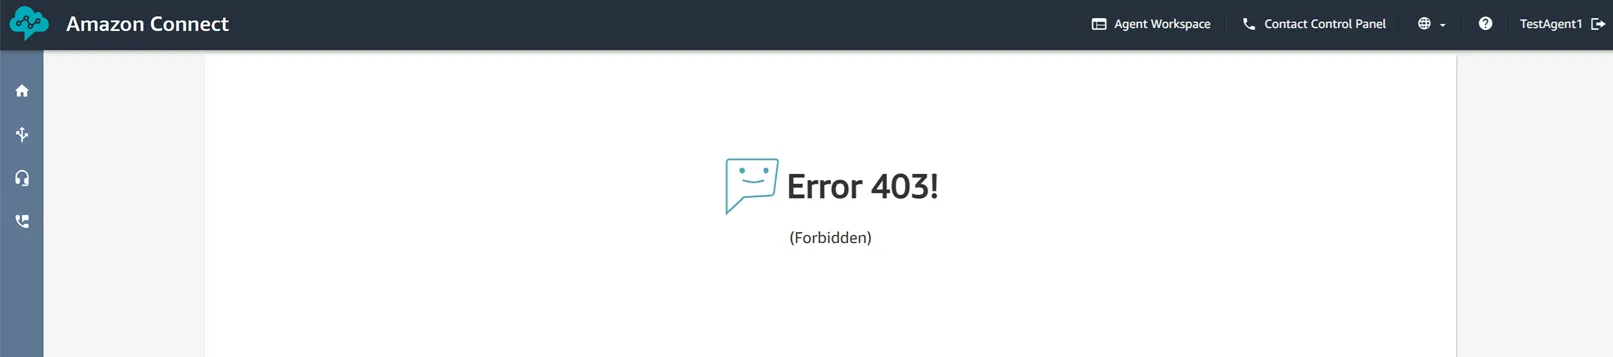
In case the following error is displayed when saving the tag based security profile and the Save button is disabled, make sure to click on the Add button to add the tag configuration to the profile.

In this article we have shown how to implement a no code solution to provide queue performance insights for your contact center agents on Amazon Connect. The solution can also limit access to a selected sect of resources by implementing tag-based access control. You can find out more about real-time metrics, tag-based access control and third-party applications by following the links in the references section.

Gianluca Vegetti is a Senior Enterprise Architect in the AWS Partner Organization, aligned to Strategic Partnership Collaboration and Governance (SPCG) engagements. In his role, he supports the definition and execution of Strategic Collaboration Agreements with selected AWS partners.

Arie Hazekamp is a Senior Partner Solutions Architect for Customer Experience in the AWS Partner Organization. In his role he supports partners and customers to be successful with AWS customer experience services like Amazon Connect, Amazon Lex and Amazon Bedrock. He is based in Barcelona, Spain.

Senior Partner Solutions Architect, Amazon Connect
Anatoly has joined AWS in April 2020 and currently provides technical guidance on how to leverage the full power of Amazon Connect service and its openness for integration in order to deliver innovative and cost efficient contact center solutions. Anatoly has over 30 years of IT experience with career path evolving from Software Developer to Solution Architect working for IT leaders, such as Microsoft, Oracle, Hewlett Packard in regions including EMEA, Australia, USA. During his career path Anatoly has architected and delivered a number of complex large scale projects, such as contact center transformation for one of the leading health insurance providers in Australia, operational data consolidation for the largest bank in the Russian Federation.
Anatoly has joined AWS in April 2020 and currently provides technical guidance on how to leverage the full power of Amazon Connect service and its openness for integration in order to deliver innovative and cost efficient contact center solutions. Anatoly has over 30 years of IT experience with career path evolving from Software Developer to Solution Architect working for IT leaders, such as Microsoft, Oracle, Hewlett Packard in regions including EMEA, Australia, USA. During his career path Anatoly has architected and delivered a number of complex large scale projects, such as contact center transformation for one of the leading health insurance providers in Australia, operational data consolidation for the largest bank in the Russian Federation.
Any opinions in this post are those of the individual author and may not reflect the opinions of AWS.