Live Streaming from Unity - Broadcasting a Game With Full UI (Part 3)
Let's build on the last post to enhance the live stream with a full HUD!
Todd Sharp
Amazon Employee
Published Feb 16, 2024
In the last post in this series, we walked through the process of configuring a Unity game to broadcast a real-time stream directly to an Amazon Interactive Video Service (Amazon IVS) stage.
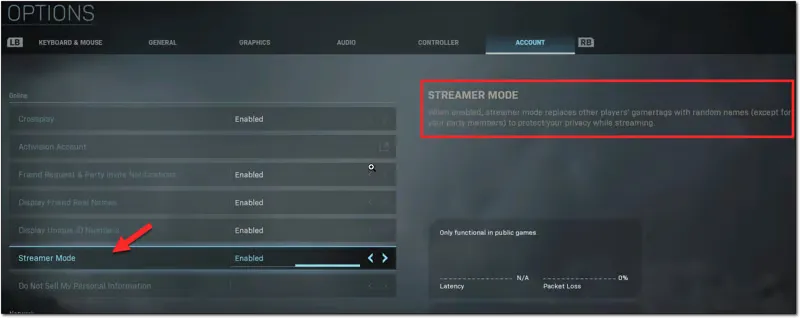
You may have noticed a few things missing from the resulting stream - notably the heads-up display (HUD) and UI overlays. This is because the HUD in the demo game that we were using is rendered inside of a canvas element that is configured to use 'Screen Space - Overlay' which means it renders on top of everything that the camera renders to the game screen, but not on top of the camera that we used to stream the gameplay. That's not necessarily a bad thing since UI screens can sometimes contain personally identifiable information (PII) like a player's IP address, physical location, name, etc. But we may want things like the match timer and on-screen notifications visible to the stream viewers. The exact approach here will depend on your game. For example, some games implement a feature to mask usernames.

In this post, we'll look at one approach to stream the entire screen including HUD and UI elements. I'll assume that you've read the previous post in this series (part 2), and we'll modify the
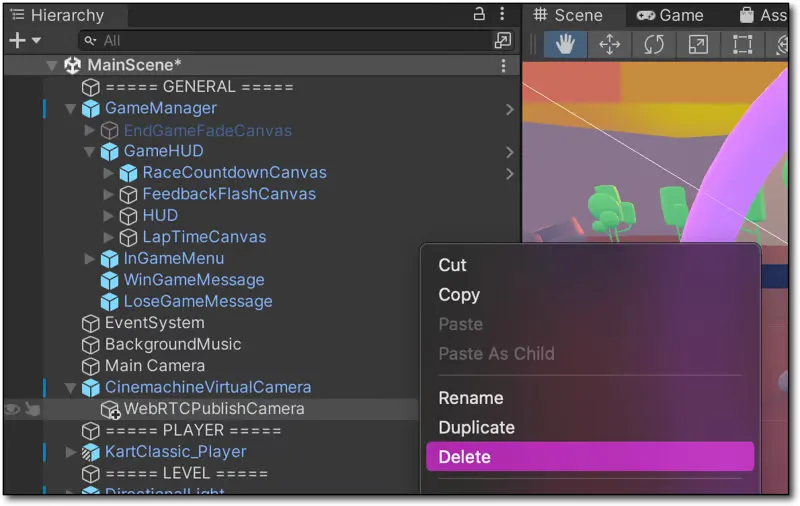
WebRTCPublish script from that post to stream the entire UI. For reference, here's the entire final script:Before we modify the script, let's delete the
WebRTCPublishCamera that we added last time. We won't need it anymore. Don't worry, deleting the game object will not delete the script itself.
Next, select the
CinemachineVirtualCamera and scroll down in the 'Inspector' until you see the 'Add Component' button. Click 'Add Component', scroll down to 'Scripts', and find and select our Web RTC Publish script.Open the
WebRTCPublish script in your editor. Replace the declaration for cam with two variables:Next, inside
Start(), delete the following lines:We can't use this camera, because
CaptureStreamTrack would make the camera output inaccessible within the game (which would probably make it difficult to play 😵). Instead, we'll use a RenderTexture as the source of the VideoTrack.Next we'll need to update the
renderTexture at the end of every frame in order to construct a video feed. Add a LateUpdate() function and start a coroutine called RecordFrame() that we'll define in just a second.In
RecordFrame(), we'll begin by waiting for the end of the frame, then capture a screen shot, flip it and ensure the image resolution matches the current max resolution for our Amazon IVS stage (720p), and update the global renderTexture which is already associated with our videoTrack.At this point, we're ready to test playback again. Again, you can generate a token via your local service that we created in the last post and paste it into this CodePen or create a local playback page with the Amazon IVS Web Broadcast SDK. Fire up the game and give it a play, and you'll now notice the HUD
Here's the entire script after our modifications from the last post.
In this post, we modified our script to broadcast from our game to an Amazon IVS stage in real-time to include the HUD and UI overlays. In our next post, we'll introduce integrating Amazon IVS chat directly into our game. This can be used to let the streamer keep an eye on their stream chat, and even directly respond from within the game itself. But it also lays the foundation to use the Amazon IVS chat connection as a message bus for future dynamic interactions as we'll see in another future post.
Any opinions in this post are those of the individual author and may not reflect the opinions of AWS.
