Automate your container deployments with CI/CD and GitHub Actions
Learn how to test and deploy a containerized Flask app to the cloud with CI/CD with GitHub Actions.
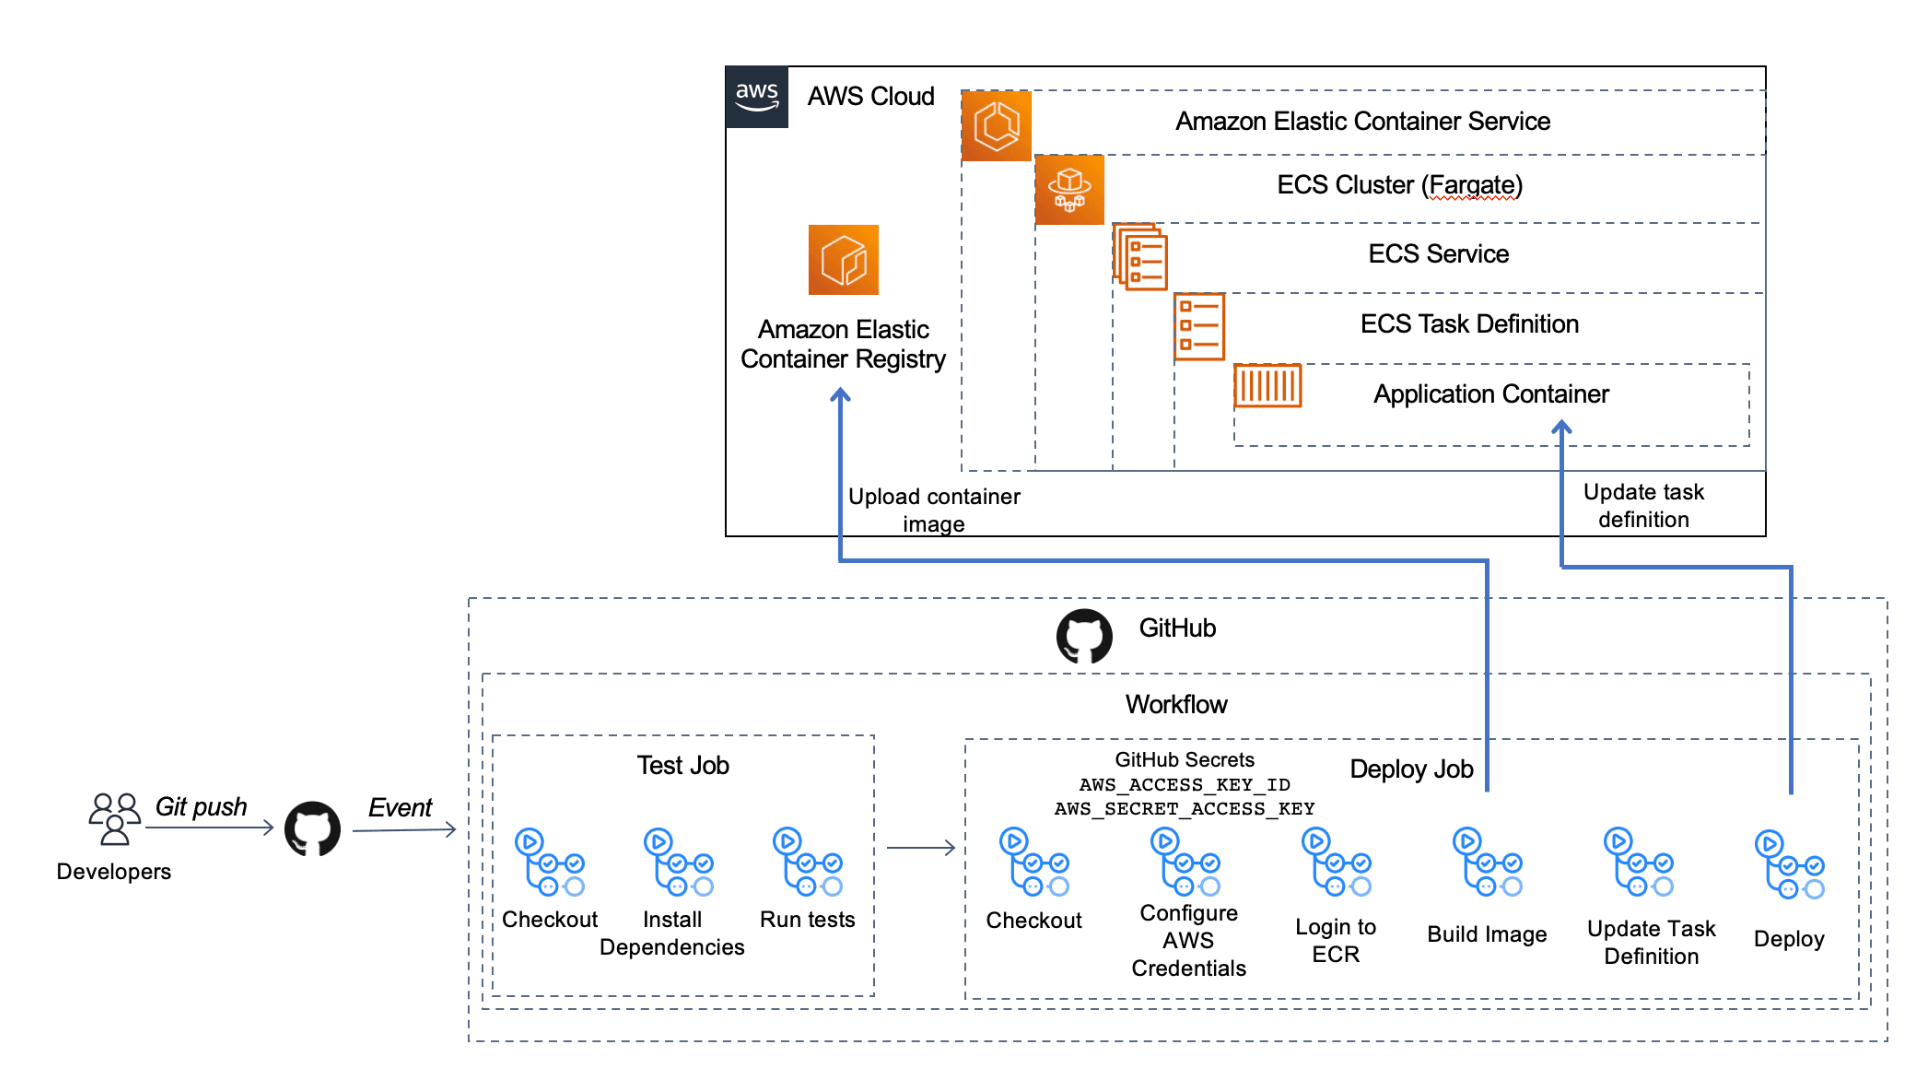
- a test job to run unit tests against our Flask app and
- a deploy job to create a container image and deploy that to our container infrastructure in the cloud.
- An AWS account. You can create your account here.
- The CDK installed. You can find instructions for installing the CDK here. Note: For the CDK to work, you'll also need to have the AWS CLI installed and configured or setup the
AWS_ACCESS_KEY_ID,AWS_SECRET_ACCESS_KEY, andAWS_DEFAULT_REGIONas environment variables. The instructions above show you how to do both. - Docker Desktop installed. Here are the instructions to install Docker Desktop.
start-here branch: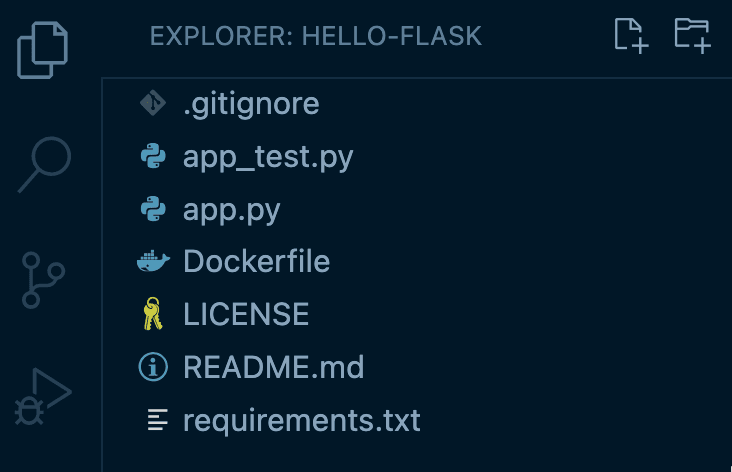
app.py, there is one route that reverses the value of a string passed on the URL path and returns it:app_test.py file to ensure our business functionality of reversing that string value is working:Dockerfile to set up our container image. This file is a template that gives instructions to Docker on how to create our container. The first line starting with FROM bases our container on a public Python image and then from there we customize it for our use. We've set up the working directory (WORKDIR), copy application files into that directory on the container (COPY), install dependencies (RUN pip install), open up port 8080 (EXPOSE), and run the command to run the app (CMD python).hello-flask project directory, run the following command to build the container image:http://localhost:8080/hello-world and see that it returns dlrow-olleh.docker system df:
task-definition.json file that ECS needs. This is a blueprint for our application. We can add multiple containers (up to 10) to compose our app. Today, we only need one. Using the code below, you'll replace YOUR_AWS_ACCOUNT_ID with your own AWS account ID.ecs_devops_sandbox_cdk/ecs_devops_sandbox_cdk_stack.py file.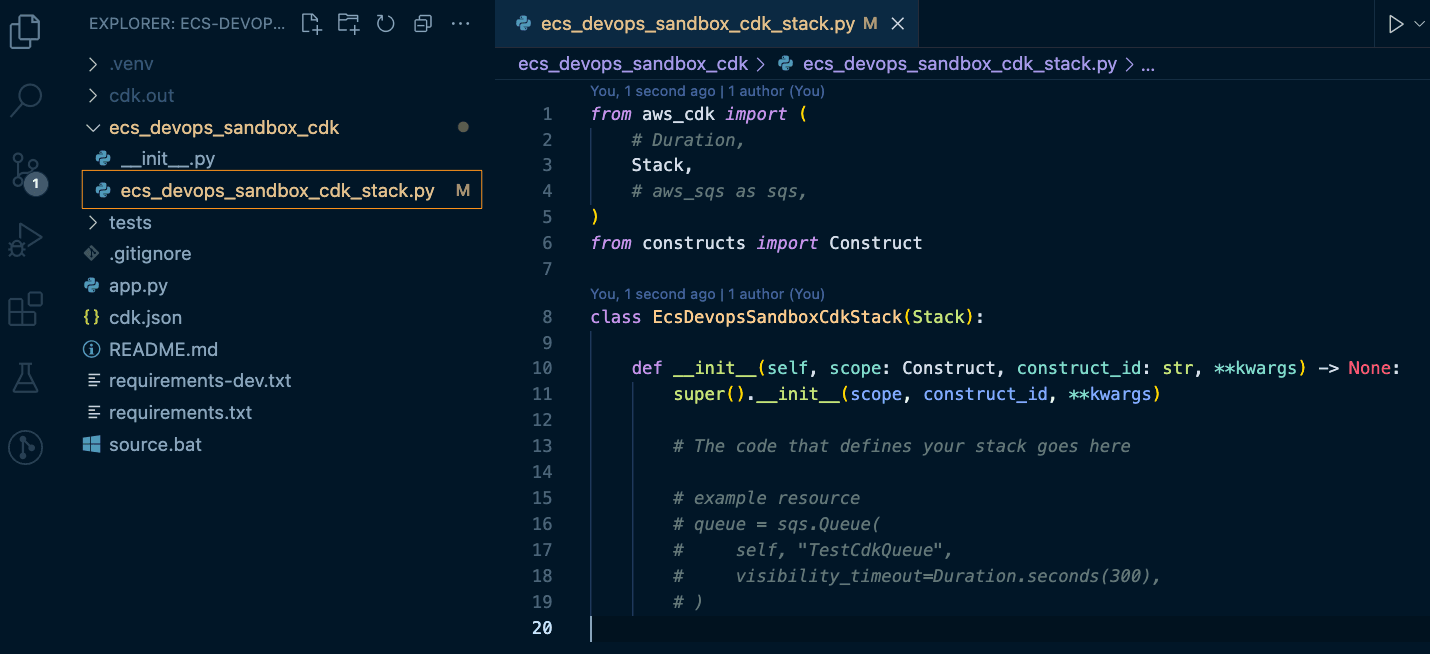
ApplicationLoadBalancedFargateService construct. Both of these options create resources with non-trivial costs if left provisioned in your account, even if you don't use them. Be sure to clean up your resources (cdk destroy) after working through this exercise.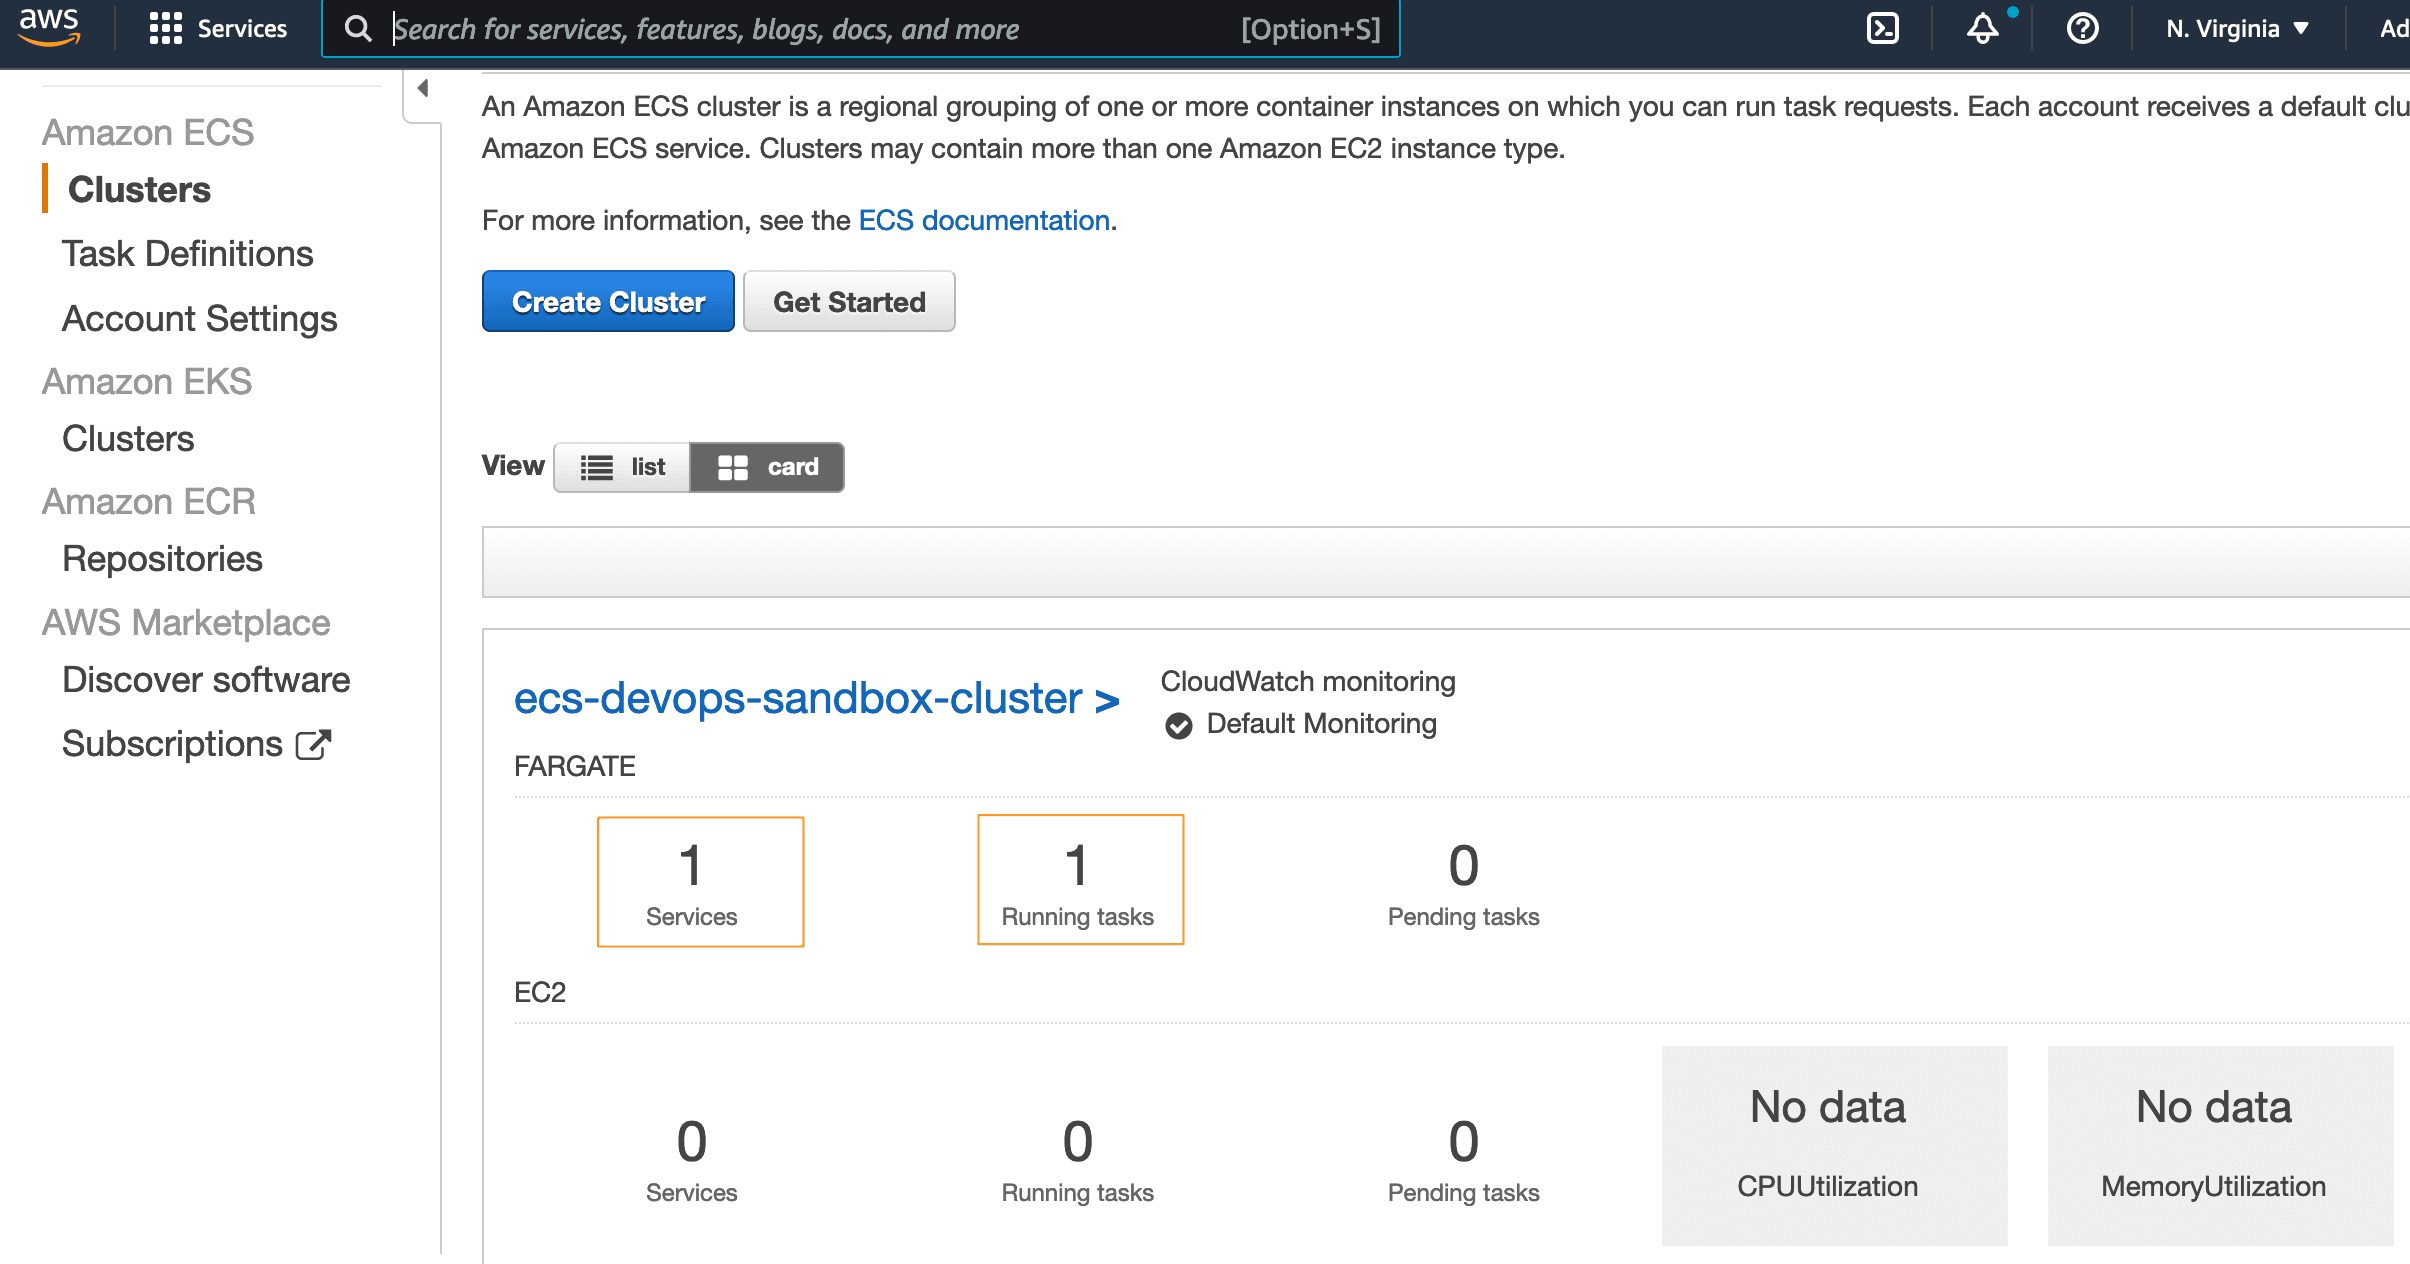
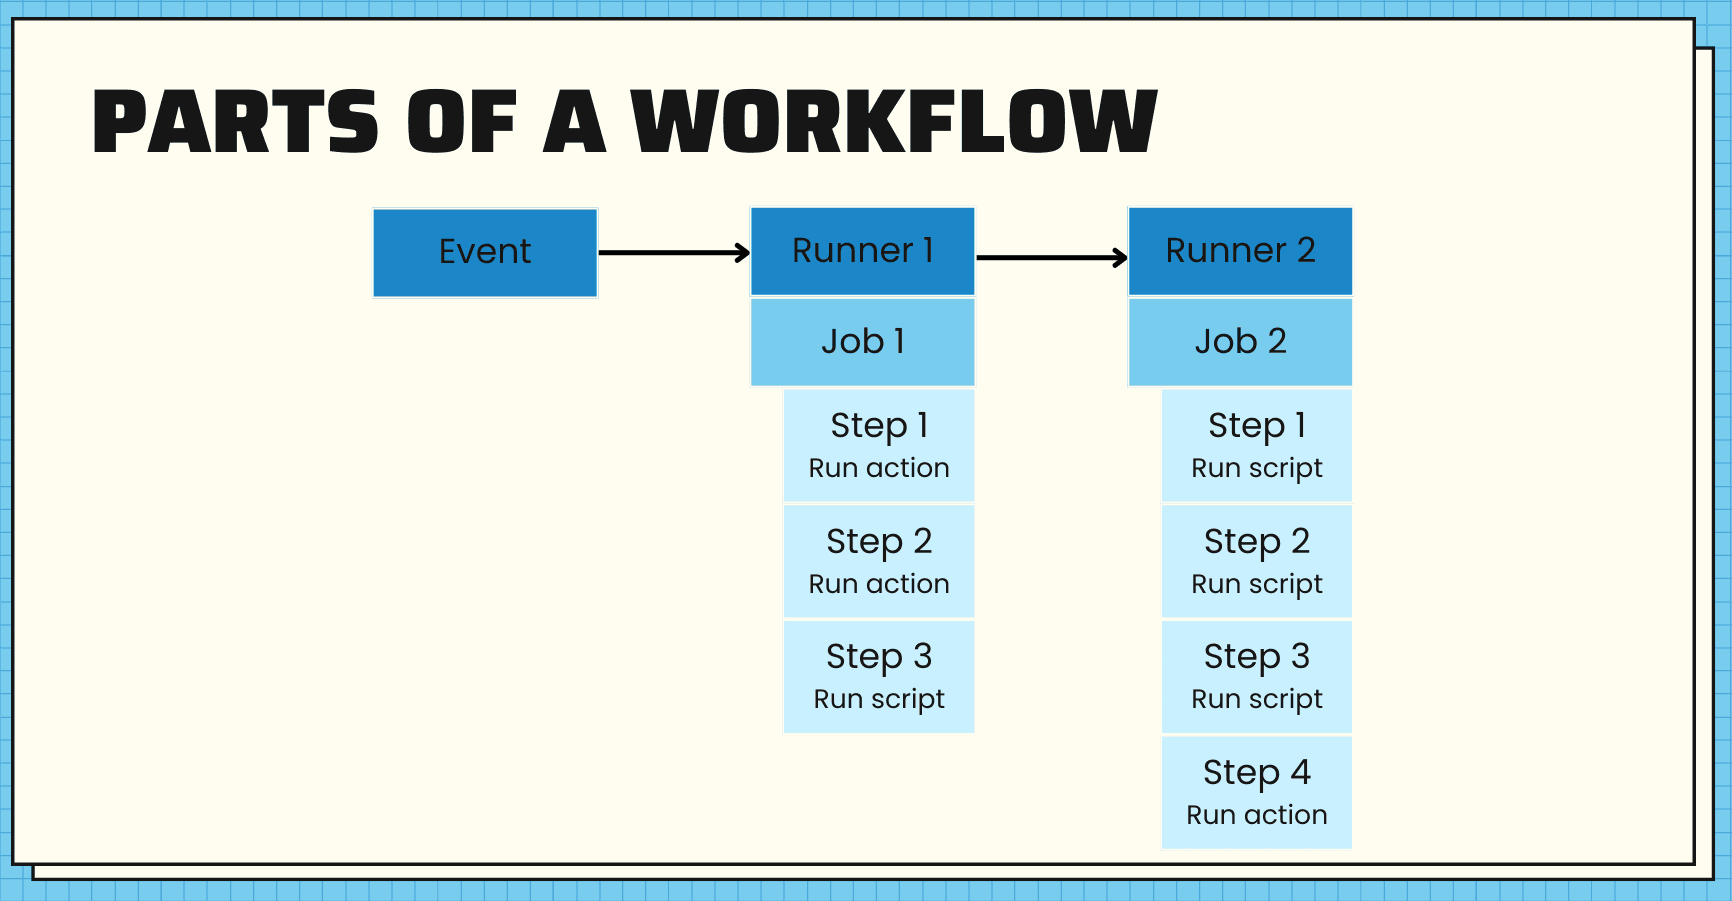
- Checkout code - an action created by the GitHub organization
actions/checkout@v3
- Configure aws credentials - an action on the marketplace created by AWS
aws-actions/configure-aws-credentials@v1
docker buildordocker push
- one workflow
- that triggers when there's a push to the main branch
- with two jobs, a test job and a deploy job
- the deploy job will depend on the test job, so if our tests fail, the deploy will not happen
.github/workflows directory and add the code below to this file, test-deploy.yml.- Lines 3-6: This tells GitHub to trigger this workflow when there is a push to the main branch
- Lines 8-16: This sets up some environment variables to be used throughout the workflow
- Lines 18-19: This adds read permission to the contents of the repo for all jobs
- Lines 23-45: Configures the test job
- Line 27: Checks out the code
- Lines 28-31: Sets up Python with a specific version
- Lines 32-36: Installs dependencies
- Lines 37-42: Lints the code to check for syntax errors, stopping the build if any are found
- Lines 43-45: Runs the unit tests
- Lines 47-95: Configures the deploy job
- Line 50: Indicates that this job depends on a successful run of the test job
- Lines 54-55: Checks out the code
- Lines 57-62: Uses an external workflow
aws-actions/configure-aws-credentials@v1to configure our AWS credentials with the environment variables we set earlier and our access key ID and secret access key (that we'll set up in the next step) - Lines 64-66: Using an external workflow
aws-actions/amazon-ecr-login@v1, logs in to ECR using the AWS credentials we just configured - Lines 68-79: Builds, tags, and pushes our container image to ECR
- Line 71: Uses an output from the previous step as the registry to use
- Lines 77-79: Runs the docker commands to build, tag, and push the image
- Lines 81-87: Using
aws-actions/amazon-ecs-render-task-definition@v1, updates the ECS task definition with the values set in environment variables - Lines 89-95: Uses
aws-actions/amazon-ecs-deploy-task-definition@v1to deploy the task definition to the ECS cluster
github-actions-user, making sure to give it programmatic access. Then attach the policy below, replacing the placeholder values (<YOUR_AWS_ACCOUNT_ID> and <YOUR_AWS_REGION>) with your AWS account ID and the region you are using:AWS ACCESS KEY ID and the AWS SECRET ACCESS KEY to use in the next step. Treat these like a username and password. If you lose the AWS SECRET ACCESS KEY, you’ll need to generate a new one.hello-flask repo. Then go to Secrets -> Actions in the menu. Select New Repository Secret to create a new one. Add both the AWS_ACCESS_KEY_ID and AWS_SECRET_ACCESS_KEY and their corresponding values from the previous step.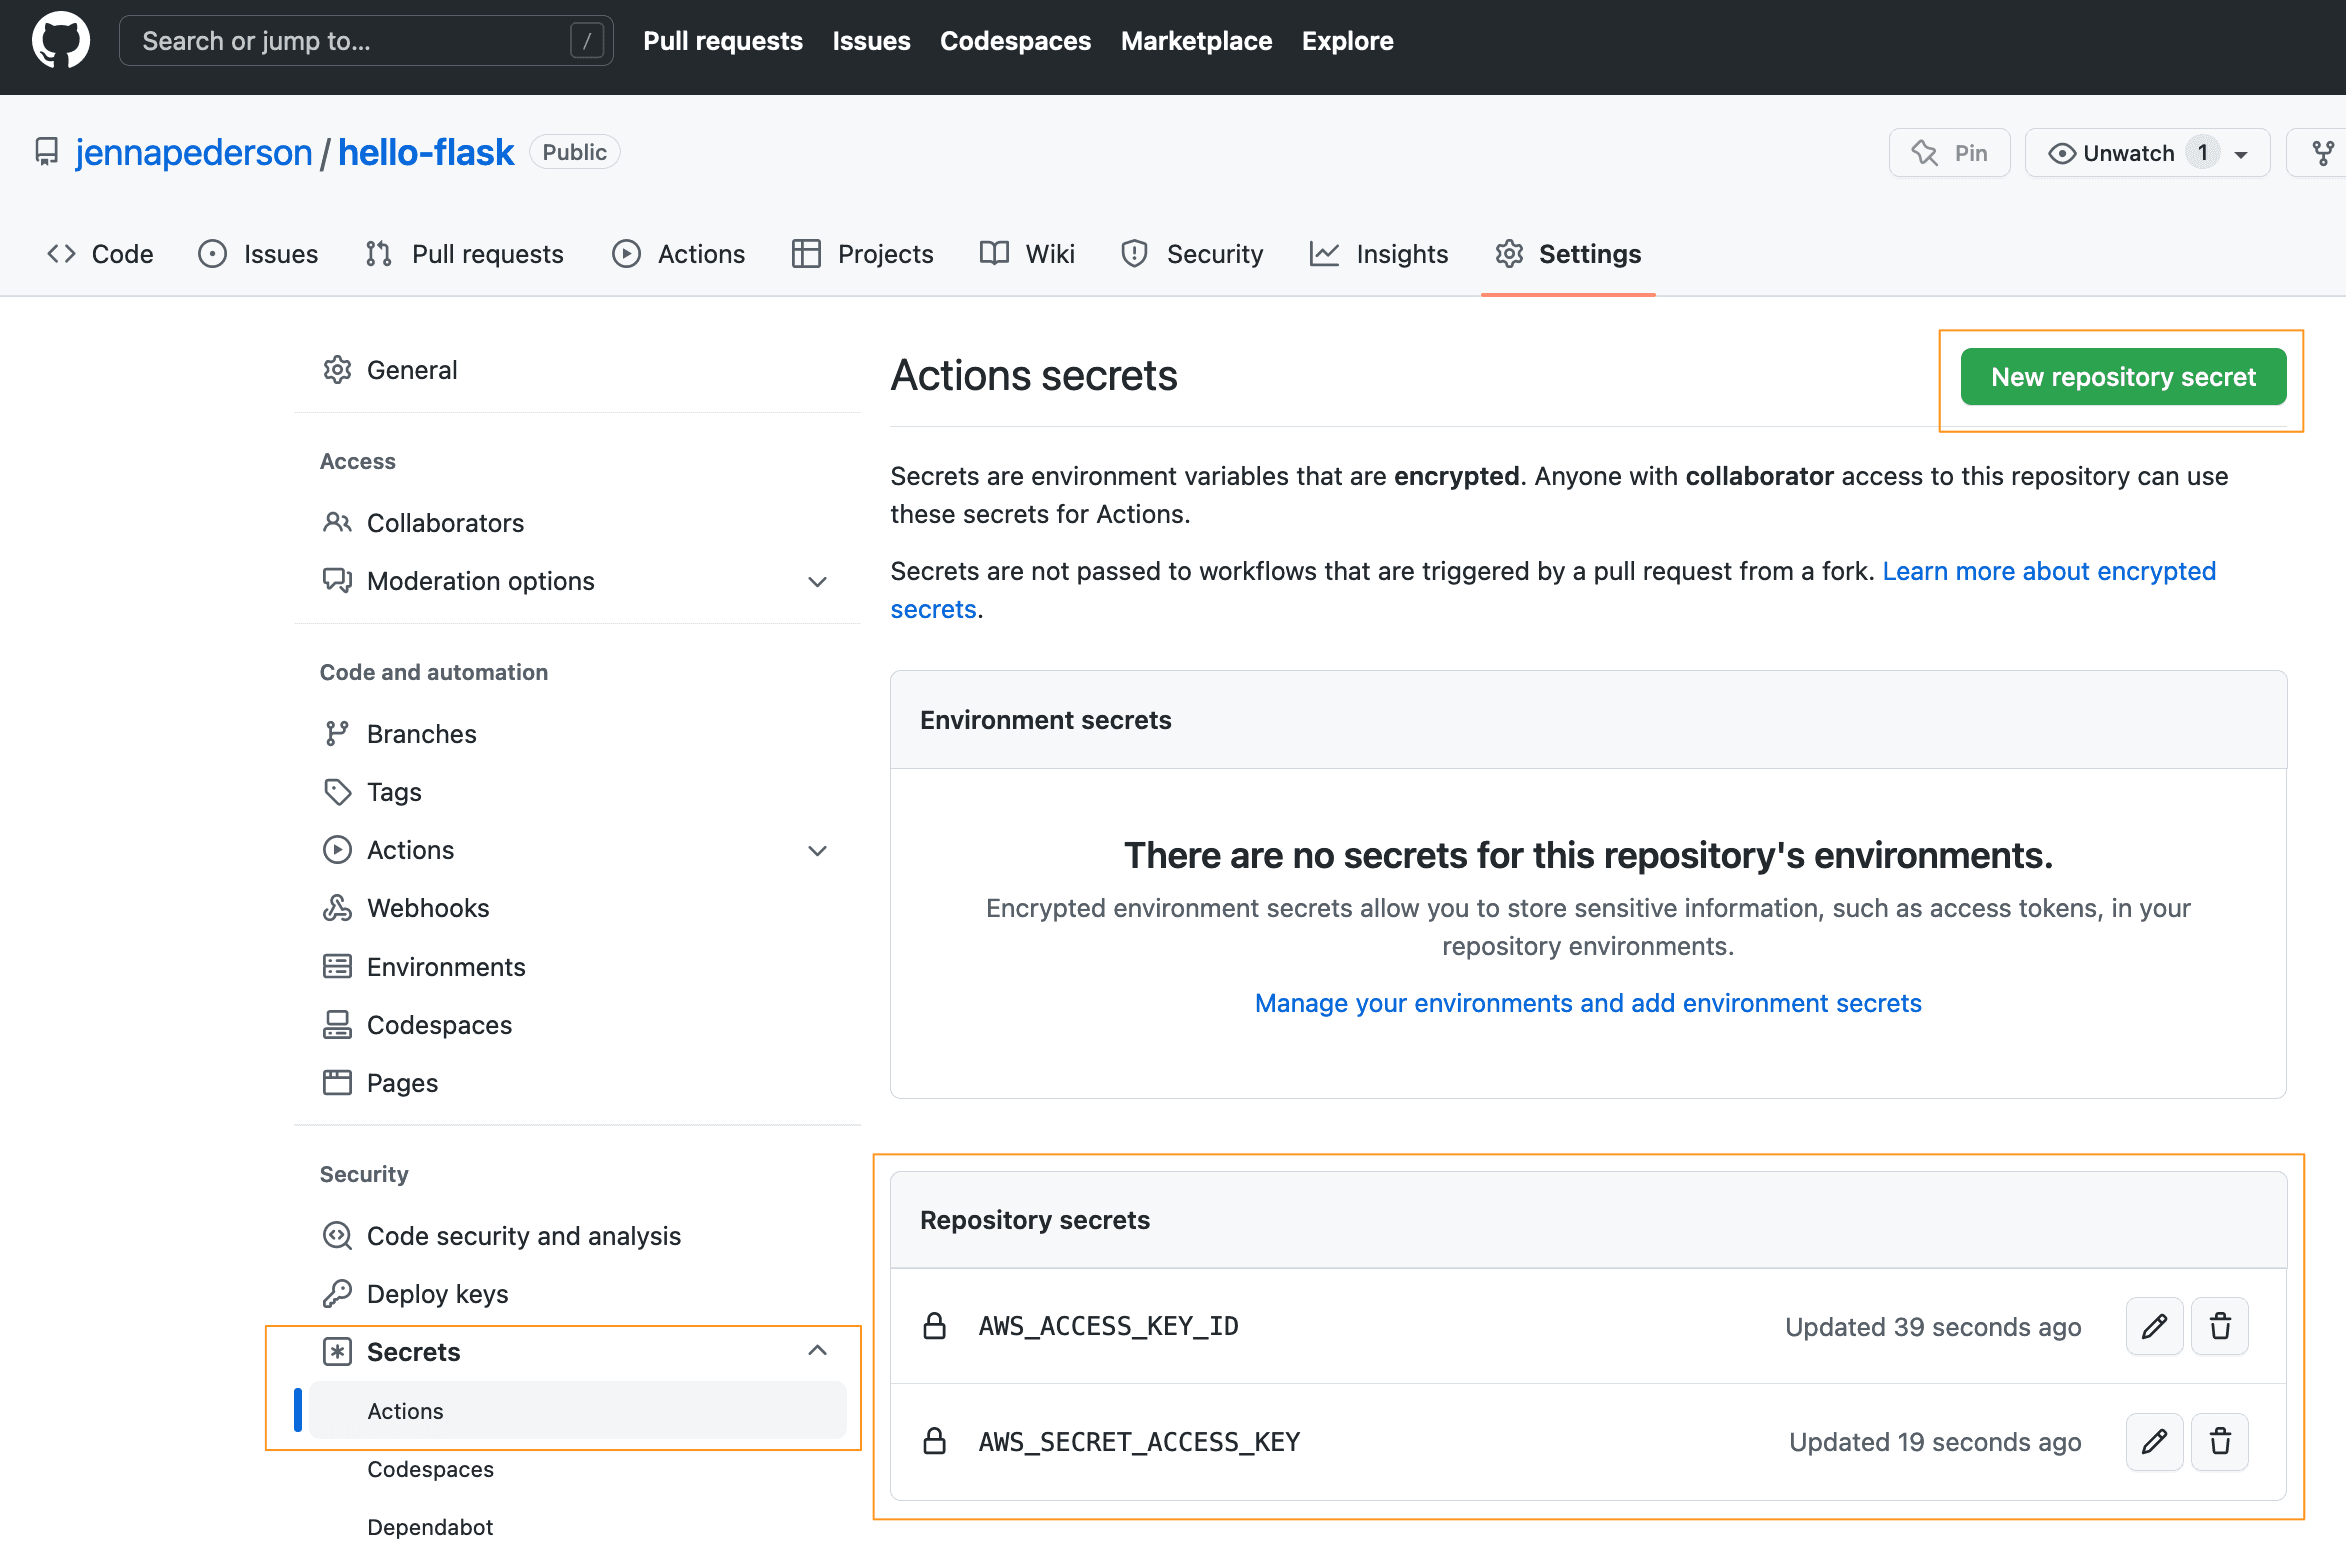
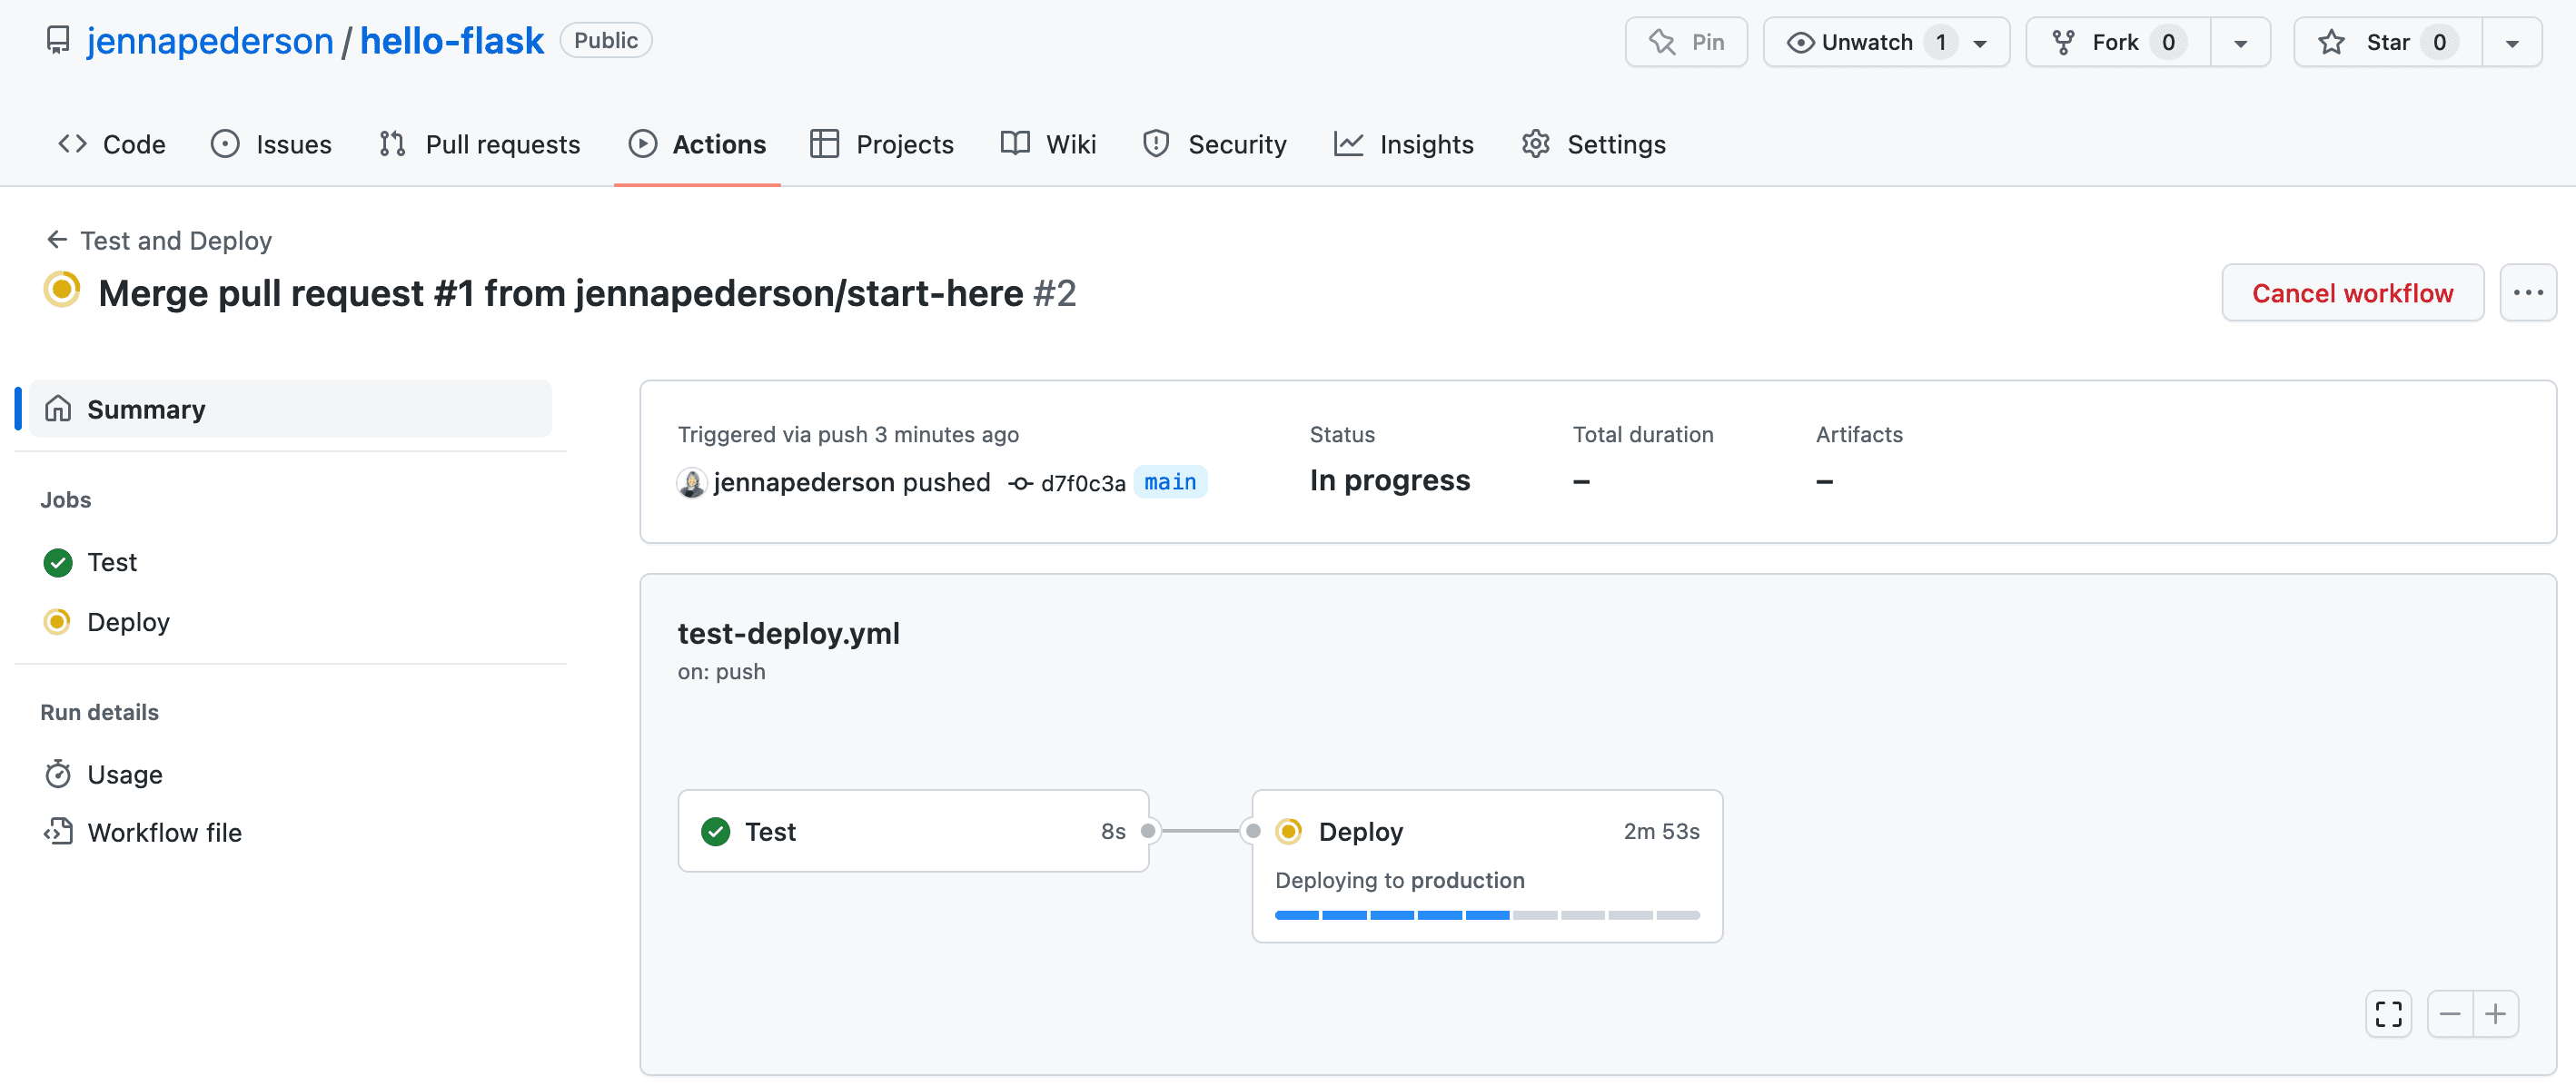
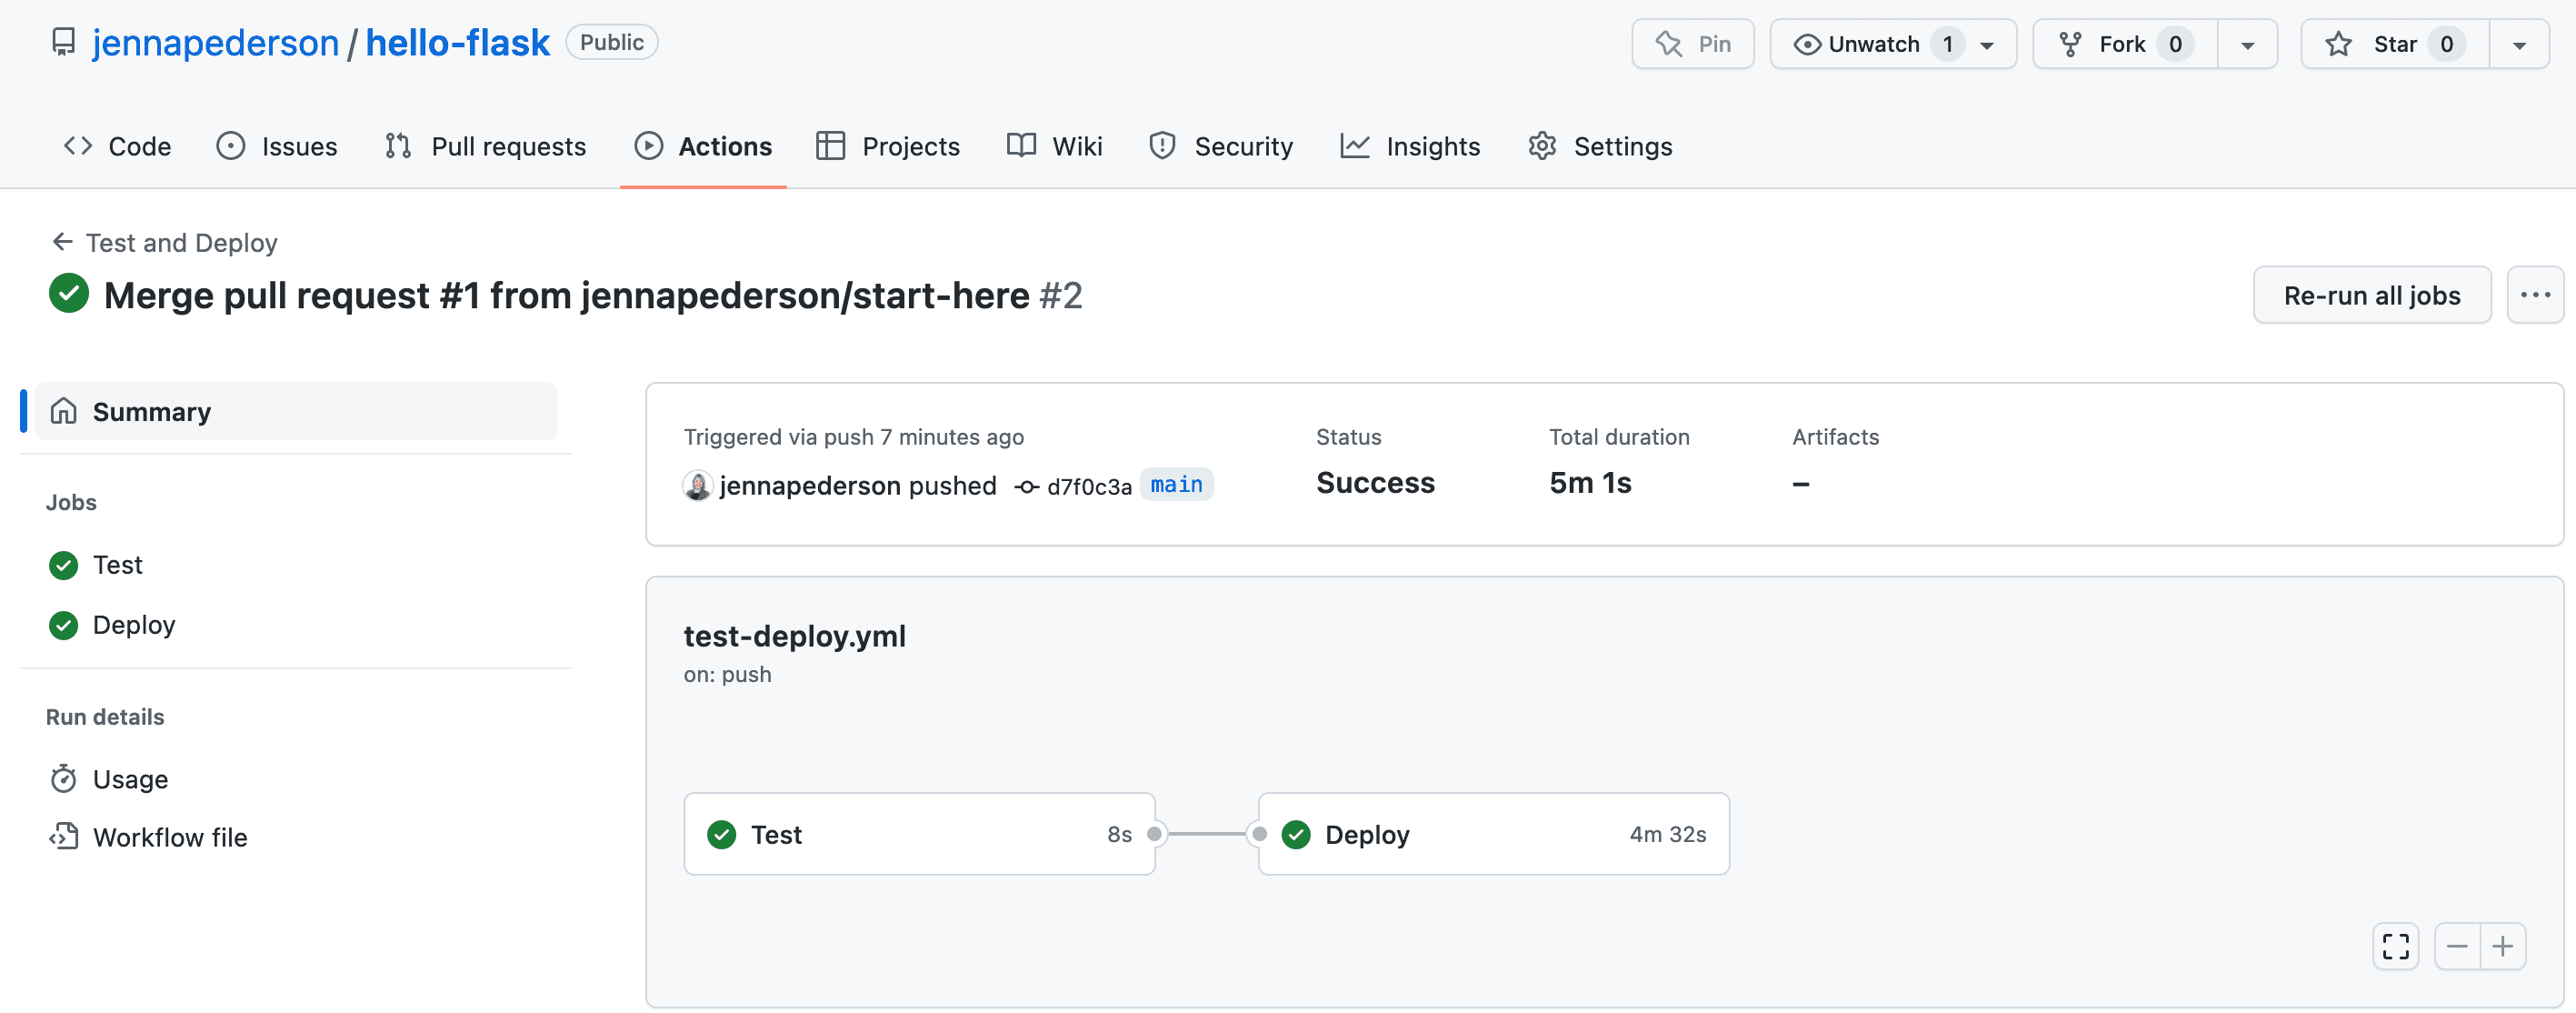
hello-flask repo to GitHub. The workflow will kick off momentarily. Let's go check it out!hello-flask to see that the test job has kicked off, as in the image below.
ecs-devops-sandbox-repository project at the command line and run: